These June reflections are part of the Seasonal Reflections series — a year-long practice of living with the rhythm of nature.
In June, we transition from late spring to early summer. Days start early and nights fall later, culminating in the Summer Solstice at the end of June with the longest day and shortest night. After the new green May brought us, we’ve finally reached what we’ve been dreaming of during those cold and dark winter months: the sheer joy of summer energy.
👉 In these June reflections, we’ll explore seasonal living in June — from the garden and kitchen to simple ways of making the most of early summer.
In June, I (almost) don’t need an alarm clock to wake up in the morning. In fact, I sleep with the blinds and the window open and let myself be woken by the early morning dawn and birdsong. Transitioning into the day with the help of nature instead of an artificial alarm is so much more energising than getting up against one’s inner clock, don’t you think?
And this is exactly what living seasonally in June feels like…
Here in Bavaria, we traditionally watch for the “Frost Saints” in mid-May — after that, the danger of night frost is usually over. In fact, the nights can be pretty warm already, and I sometimes leave the windows of my greenhouse open during the night.
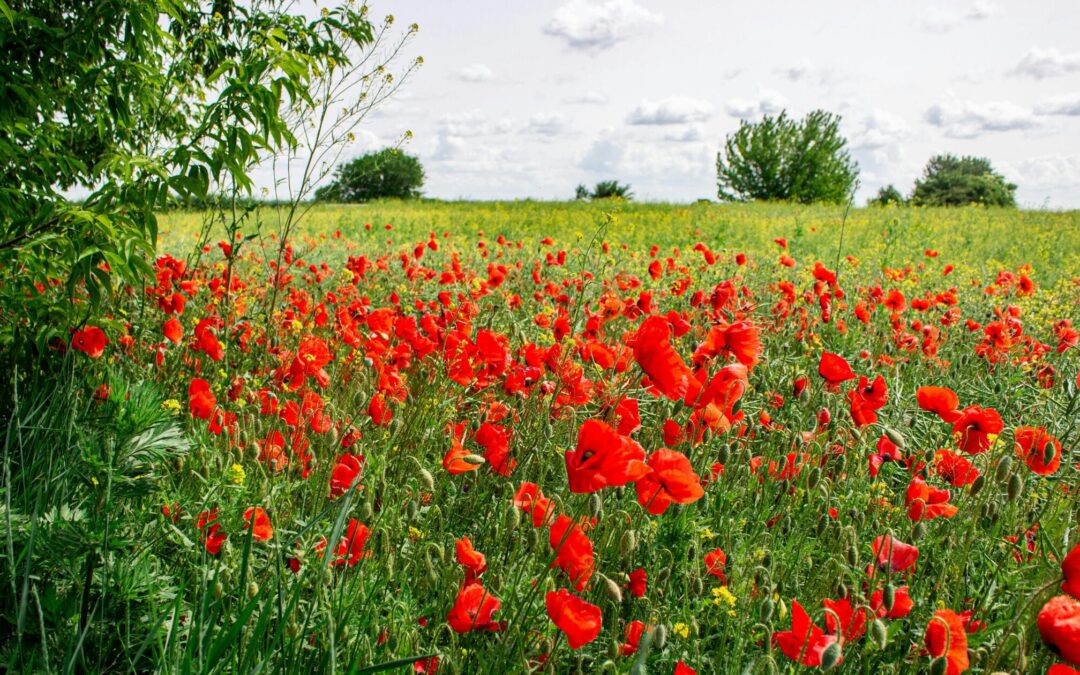
Flowers are blooming everywhere, be it in gardens, in parks, along field paths or in pots and containers on balconies and patios. Nature shows its full abundance without restraint. Nature is in full expansion mode now, pushing everything toward bloom and fruit. I think we should take that as an example sometimes and show all our “flowers” and facets. No holding back for Mother Nature, so why should we do it?
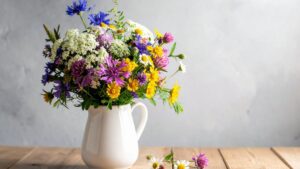
Speaking of which, I love gathering wildflowers now when I’m out strolling through the fields and meadows. A bouquet of buttercups, cuckoo flowers, daisies and wild carnations almost always decorates my coffee table.
June Gardening Tasks & Harvests
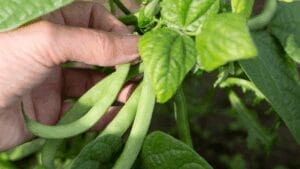
When I go into my garden now, I enjoy the sight of all the blooming herbs and flowers, and I often harvest some fresh lettuce and peas.
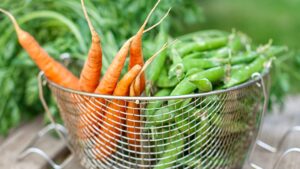
June brings the first truly generous harvests. Apart from peas and salad, early broccoli and carrots, as well as many fruits, are ripe now. Honestly, I could live on strawberries, raspberries, currants and gooseberries right now. With a healthy dollop of cream. And maybe some biscuits…
Around St. John’s Day, herbs are traditionally believed to be at their most potent. If you’d like to preserve that summer abundance, these six herb preservation methods are a lovely place to start.
There are several vegetables we can sow and plant now to fill the gaps in the vegetable garden that form with harvesting. If you’re wondering what to sow and plant in June, I’ve put together a comprehensive guide here.
But June is not always just sunshine and warm weather. When it rains, let’s step inside.
Seasonal Living in June: Kitchen & Home
After weeks of living in a jungle of seed trays and half-grown vegetables, I enjoy a minimalistic décor right now. Clean windowsills, clean surfaces and pastel-coloured cushion covers. This allows the wildflowers I mentioned earlier to shine all the more.
The textures in my home change now, too: I prefer cool linen sheets for the covers and the table that exude a natural counterbalance to the heat and the colourful whimsy of all the flowers outside. Bonus points when the sheets have been air-dried on the clothes line outdoors and have that wonderful scent of sunshine and fresh air.
In the kitchen, I love preserving all the strawberries I picked earlier, for example, with a classic strawberry jam or these strawberry jams with a twist. I also bake fruit cakes now, like this strawberry dome cake and make desserts like in this recipe for super-quick strawberry tiramisu.
On my strolls, I now forage elderflowers, which I preserve as syrup. That homemade elderflower syrup is a great addition to drinks (for example, with prosecco), but also a wonderful addition to strawberry jam.
June Self-Care Ideas
While I was sometimes a bit overwhelmed in May with all this new energy, I’m now full in flow mode and want to make the most of this wonderful early summer month.
Self-Care for Body…
I think by eating seasonally and going out as much as we can, we can give our bodies the best nourishment available. That said, freshly harvested ingredients from the garden, cooked from scratch or just tossed together as a salad, are just what my body needs right now. They provide enough fuel to sustain that summer energy without feeling heavy.
When we were children, my siblings and I used to go barefoot from May to September on the farm. At first, the pebbles in the courtyard felt quite piercing, but by the end of summer, we had developed a callus and could even run across them.
Now that the soil is finally warm enough, I also love taking a barefoot stroll around the garden or through the meadow. It not only reminds me to slow down but also helps me feel where I am. I refrain from walking over pebbles, though. Not all childhood memories must be repeated…
… For Mind…
June has so many events, many of them open-air. The hardest part is choosing which ones to attend. In Augsburg, the town near which I live, there’s an open Art Night every June with dozens of events at different locations, and I’m looking forward to attending it.
And just because it’s warm and I want to do everything at once doesn’t mean that I don’t find the time to read. In the evenings in bed, of course, but I also love to read outdoors now. In fact, I have a picnic blanket in the car, and whenever I have to wait somewhere, I take the blanket and a book and look for a lovely place to read and relax.
… And Soul
Soak up the sunlight whenever you can. In the mid-latitudes where I live, we must store every ray of sunlight we can get to boost our vitamin D, which can help support mood and our natural rhythms. Let’s get out there and capture as much natural light as we can.
And why not combine going outdoors with meeting friends? I love inviting people over for an informal garden party where everybody brings some food, or we meet up, go hiking and have a picnic. Good company, good food, warm weather and sunshine – is there anything better in life?
🌸 June Reflections
What abundance is blooming in my life right now?
Where am I holding back when nature would simply flourish?
How can I make more room for light this month?
Make the most of June’s abundance
June is one of those months that feels almost impossibly generous — with light, warmth, flowers, fresh food and opportunities to be outdoors. Living seasonally in June means harvesting what’s ready, preserving a little for later, gathering with people we love, and letting sunlight, birdsong and strawberry-scented kitchens remind us that life has seasons for flourishing, too.
Want to continue living with the season? Join my newsletter for monthly reflections, seasonal recipes and garden inspiration.
Want to continue living with the season? Check out all the articles of the Seasonal Reflections Series:
Gardening is wonderful for the soul — but tough on the hands. Soil, sun, frequent washing, and tiny injuries can quickly leave gardeners with dry, cracked skin. In this guide, I’ll show you how to care for dry hands after gardening with a simple natural hand care ritual – from a simple DIY protective oil you apply before touching the soil, to a gentle hand scrub and a healing salve for overnight repair.
Gardening nourishes us, but it also takes its toll on our skin. Nourishing care, therefore, is just what our hands need after a long day in the garden.
The Story Behind Garden Hands
In spring and early summer, we finally have our hands in the soil again! But all that weeding and digging and planting leaves its marks: Dirt under our fingernails and cracked skin make our hands proof of all the time we spent outdoors. My hands always tell me when the gardening season has truly begun…
Over the years, I’ve found that caring for dry gardening hands doesn’t need to be complicated or expensive — just consistent. A little protection before you head out, gentle cleaning afterwards, and a nourishing salve at the end of the day make all the difference through the growing season.
So, every evening, I make sure to give my hands the extra care they need now. Not out of vanity, but to show my gratitude.
Let me show you how I keep my hands smooth through the gardening season.
Why Gardeners’ Hands Need Special Care
Common Causes of Dry Hands in Gardeners
Dry gardeners’ hands usually stem from exposure to different elements.
soil exposure
frequent washing
sun & wind
friction and small injuries
After a day in the garden, my hands have a tale to tell. The soil dries out the skin, and even when I wear gloves, some soil finds its way into them and sticks to my fingertips and under the nails.
Speaking of gloves: I don’t know about you, but I sweat easily in them, so I remove them as often as I can. And just “forget” to put them on again.
Really, sowing is best done with bare hands, and in the heat of the moment, I go on covering the seeds with naked hands, and while I’m at it, I go on to planting seedlings just like that.
The sun and wind take their toll on our skin as well.
Now, I am also getting aware of tiny injuries on my hands. When dirt gets into small cuts that I normally wouldn’t bother about, it can cause quite some irritation.
When I come home, therefore, I first wash my hands thoroughly and often scrub off the stubborn dirt with a nailbrush. This repeated washing and the mechanical stress, however, remove the natural oils from our skin, which makes it dry out even more.
The best way to protect our hands is by prevention. Let’s see what we can do.
🌿 Gardeners’ Hand Care Ritual at a Glance
Protect before gardening
Clean gently afterwards
Repair overnight
Deep care weekly
Adjust care seasonally
🌿 Continue Living Seasonally
If you enjoy gentle seasonal rhythms, natural care rituals, and slow gardening inspiration, you may like my seasonal letters — quiet reflections and practical ideas sent a few times a month.
Before Gardening: Protecting Your Hands Naturally
How Do Gardeners Protect Their Hands Naturally?
Gardeners protect their hands naturally by creating a protective barrier before gardening, cleaning gently afterwards, and restoring moisture with nourishing oils and salves.
Apply protective oil
Keep nails short
Remove rings
Wear breathable gloves
Avoid harsh soaps before gardening
Before you go into the garden, remove all rings before you work in the garden. Even if you “just want to look”, get your rings off. We all know that we will do something 😏…
Also, keep your fingernails short. The longer the nails, the more soil builds up underneath. With more soil, the pressure towards the skin increases, and although you’ll scrape the dirt off later with a nail file, dark nail edges will remain.
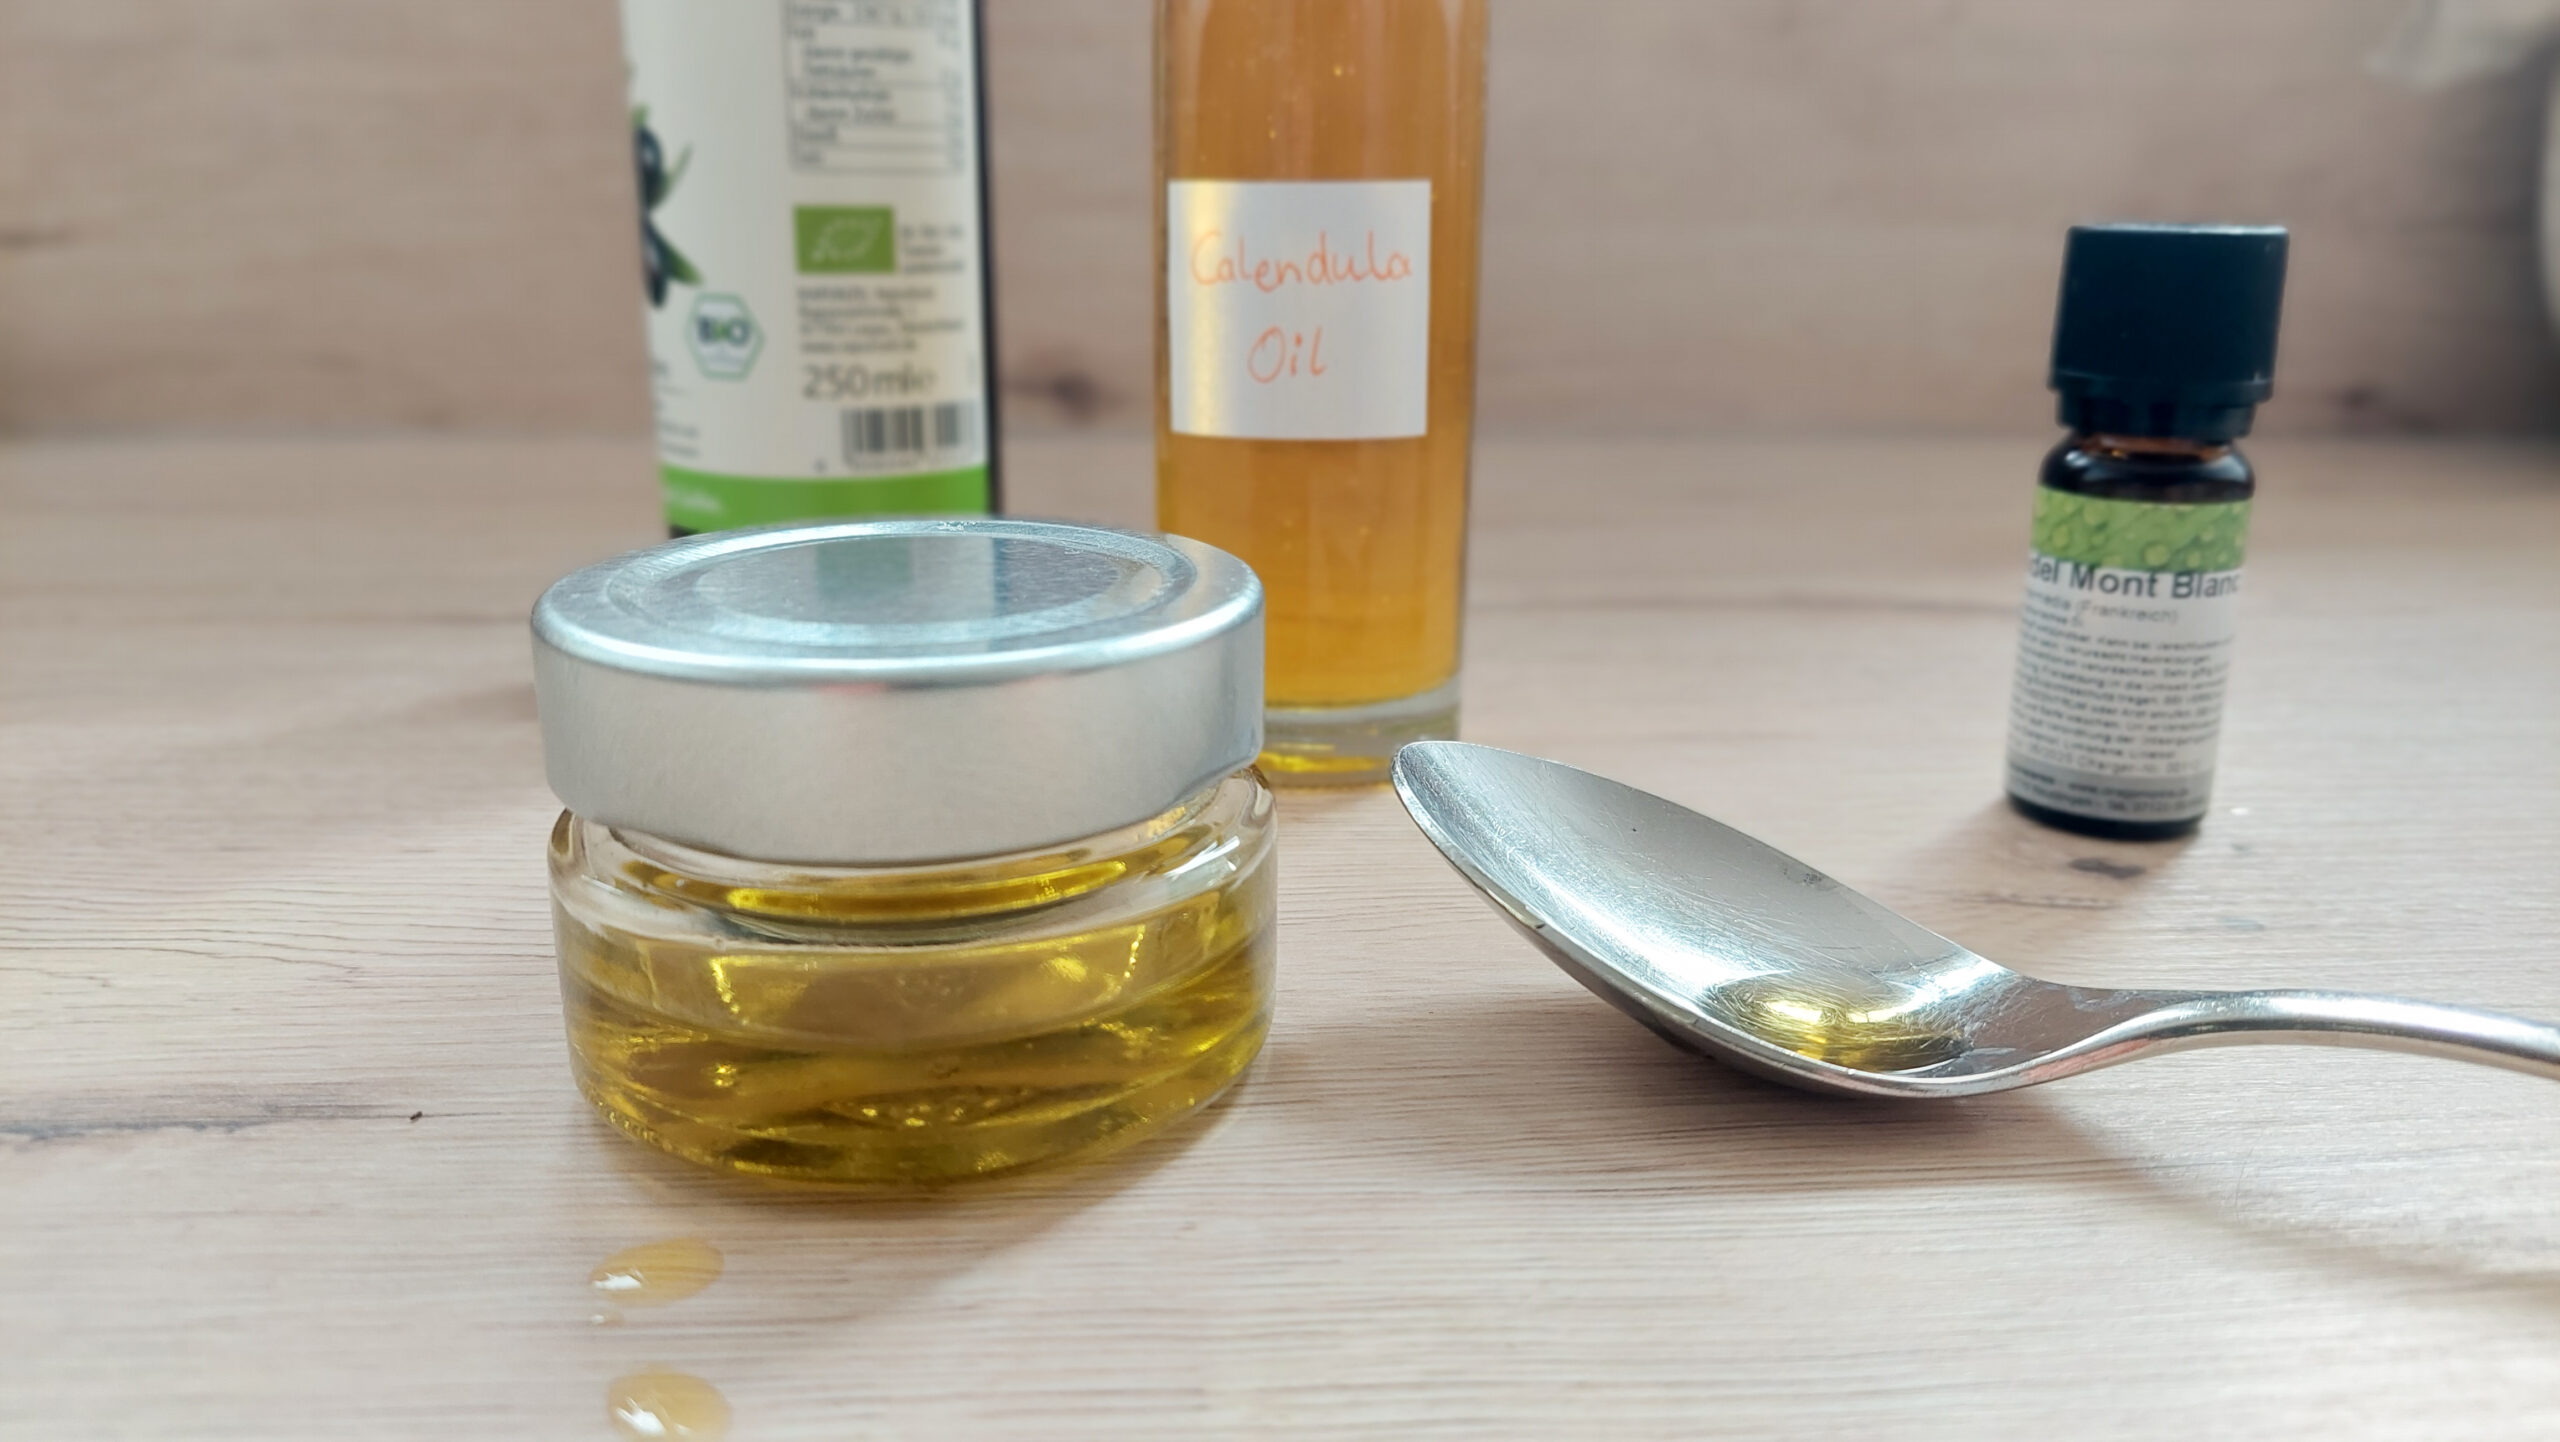
Before I go into the garden, I apply a bit of oil to my hands. You can either use just pure olive or almond oil, or you can pimp it up like in the recipe shown below. Use only a small amount; you don’t want your hands to be sticky. Rub the oil into your skin and make sure you also cover the fingernails. The oil forms a protective barrier on the skin, preventing the soil particles from penetrating it.
Don’t be like me and work without gloves. Instead, use them when necessary, but still apply the oil before.
🌿 Pre-Garden Protective Oil
⚠️ If you have deep cuts, infections, or skin conditions, consult a dermatologist before applying essential oils.
This oil mixture creates a natural barrier on the skin against soil and dirt.
Massage a few drops into your hands before gardening.
Notes
Use this protective oil before you head out to work in your garden.
You are currently viewing a placeholder content from Default. To access the actual content, click the button below. Please note that doing so will share data with third-party providers.
The oil reduces the loss of moisture during long gardening sessions and, at the same time, makes sure that the soil washes off your hands more easily afterwards.
After Gardening: The Gentle Cleaning Ritual
We’ve done a lot to protect our skin before we went out to work in the garden. Now, let’s see what we can do after a few hours’ work to restore our hands:
Washing is the first step, of course, as we must get the soil off our hands before we can nourish our skin. However, harsh soaps will worsen the dryness.
I love using my gentle homemade calendula soap to get the worst dirt off. For fine-cleaning, I use a homemade garden scrub (see the recipe below) and, if necessary, a nail brush. The scrub not only scrapes the remaining soil particles off, but also nourishes the skin in the same step.
Here’s how you can make this simple hand scrub with ingredients you already have at home:
🌿 Gentle Gardeners’ Hand Scrub
Gentle Gardeners' Hand Scrub
A gentle hand scrub to remove fine soil and dirt from gardeners' hands while at the same time adding oil to the skin.
1tsplemon zest or dried herbs like rosemary or thymeoptional
Method
Mix all the ingredients in a bowl.
Massage the scrub into your damp hands. If necessary, use a nailbrush.
Thoroughly rinse it off with warm water.
Notes
Prepare the scrub fresh each time.
You are currently viewing a placeholder content from Default. To access the actual content, click the button below. Please note that doing so will share data with third-party providers.
This gentle hand scrub not only removes soil particles naturally, but also exfoliates your dry skin without adding any damage.
At the same time, it restores the oils in your skin, nourishing it and helping it build a natural barrier.
Soothe & Repair: Evening Hand Care For Gardeners
Best Natural Remedies for Dry Garden Hands
The most effective natural remedies for dry garden hands focus on protection, gentle cleansing, and deep overnight repair:
herbal oil barrier
sugar hand scrub
calendula salve
overnight cotton gloves
chamomile hand soak
This is the heart of the ritual. We’ve protected our hands in advance from the soil, sun and winds before we got out into the garden.
Afterwards, we made sure to clean our skin thoroughly, yet as gently as possible.
Now, take a breath, relax and have a good look at your wonderfully active, but maybe a bit tired hands. Be grateful that you have them and can use them to your full advantage. Honestly, I think we should be grateful more often for what our body can do. It’s definitely not a given.
Let’s add one final step to our gardeners’ hand care ritual and end it with giving the skin some nourishment.
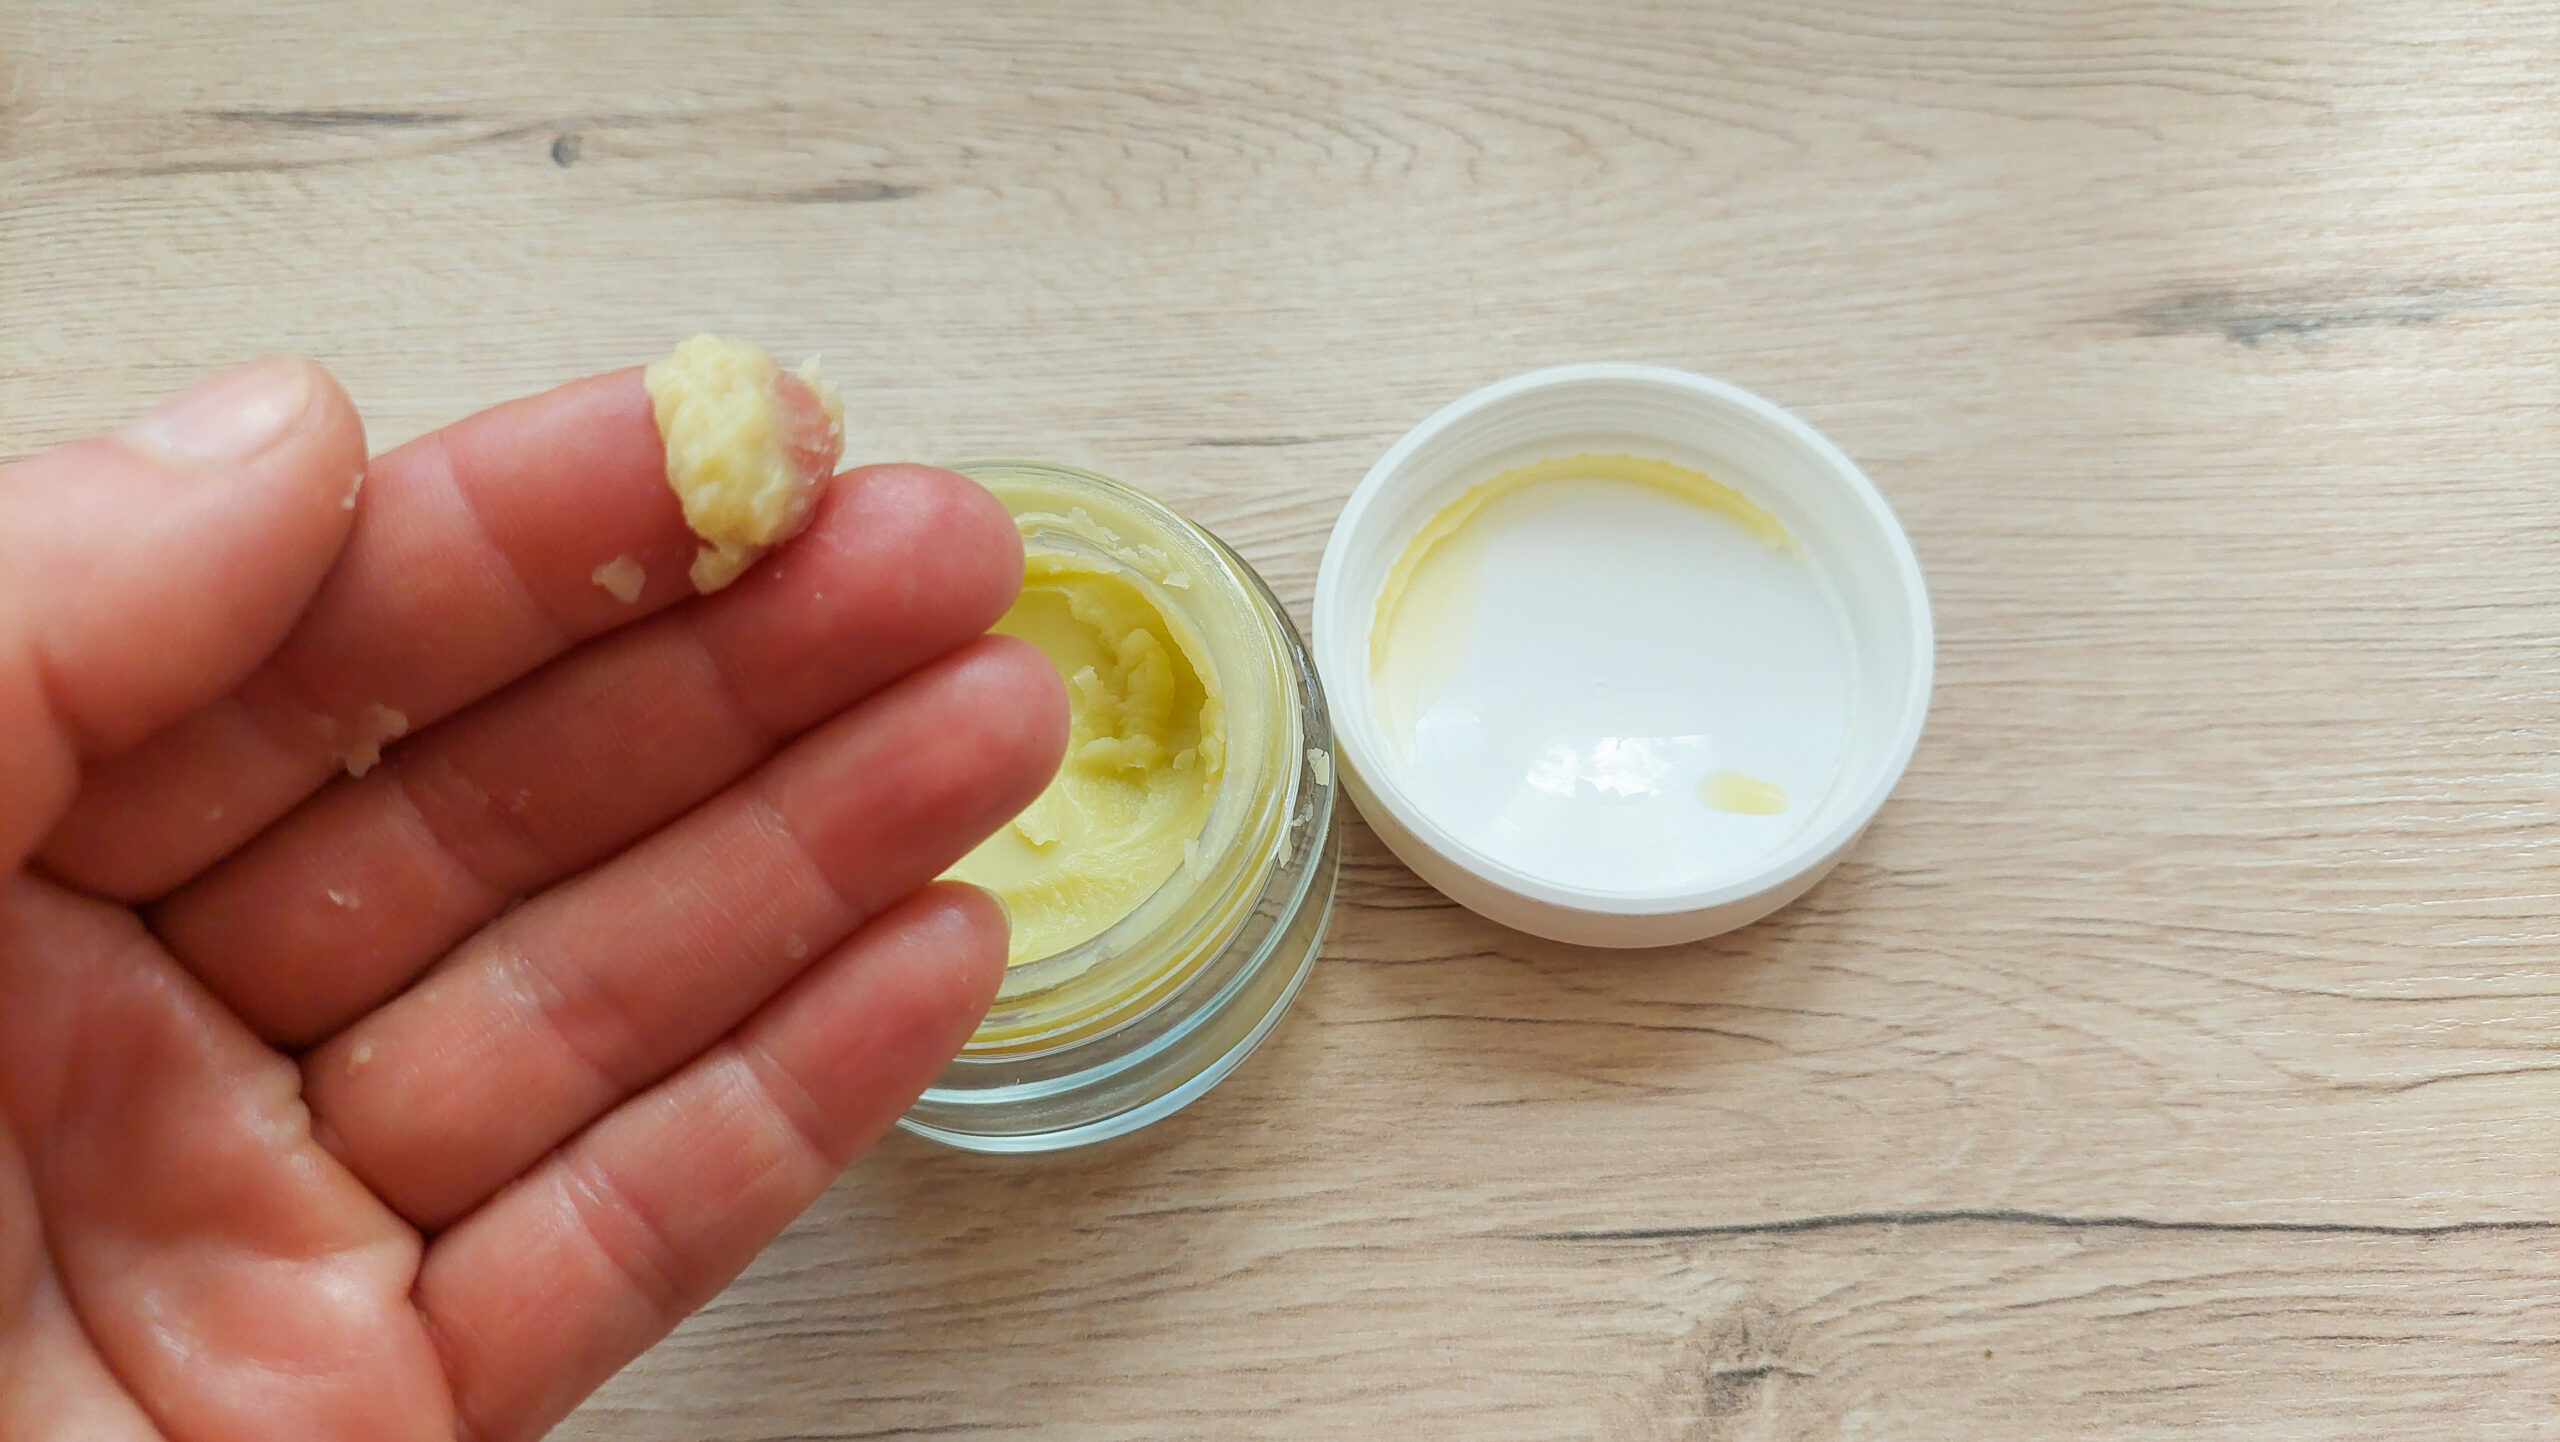
🌼 Simple Gardeners’ Healing Salve
Simple Gardeners' Healing Salve
A healing salve for tired gardeners' hands with small injuries
5 - 8dropschamomile or lavender essential oiloptional
Method
Melt the beeswax and oil gently in a double boiler.
Remove the mixture from the heat and stir in the essential oil
Pour the liquid salve into small sterilised jars, close the lids and let them cool.
Notes
Massage the set cream into your hands before going to bed.
You are currently viewing a placeholder content from Default. To access the actual content, click the button below. Please note that doing so will share data with third-party providers.
I share simple seasonal rituals like this one in my newsletter — ideas to care for your home, garden, and yourself throughout the year.
You’re warmly welcome to join.
This salve helps seal the moisture into your skin. If you use homemade calendula oil, it additionally supports the healing of small cuts or other injuries.
Overall, this healing salve nourishes the skin deeply, and I love applying it as my last evening ritual before going to bed.
🌼 Daily Gardeners’ Hand Care Routine
Apply protective oil before gardening
Wash your hands gently afterwards
Use a nourishing scrub if needed
Apply healing salve in the evening
A Weekly Deep Care Ritual
Once a week, I like to do a bit more for my hands and give them a bit of extra care.
After years of seasonal gardening and testing different natural remedies, this simple ritual has become my reliable way to keep my hands healthy throughout the growing season.
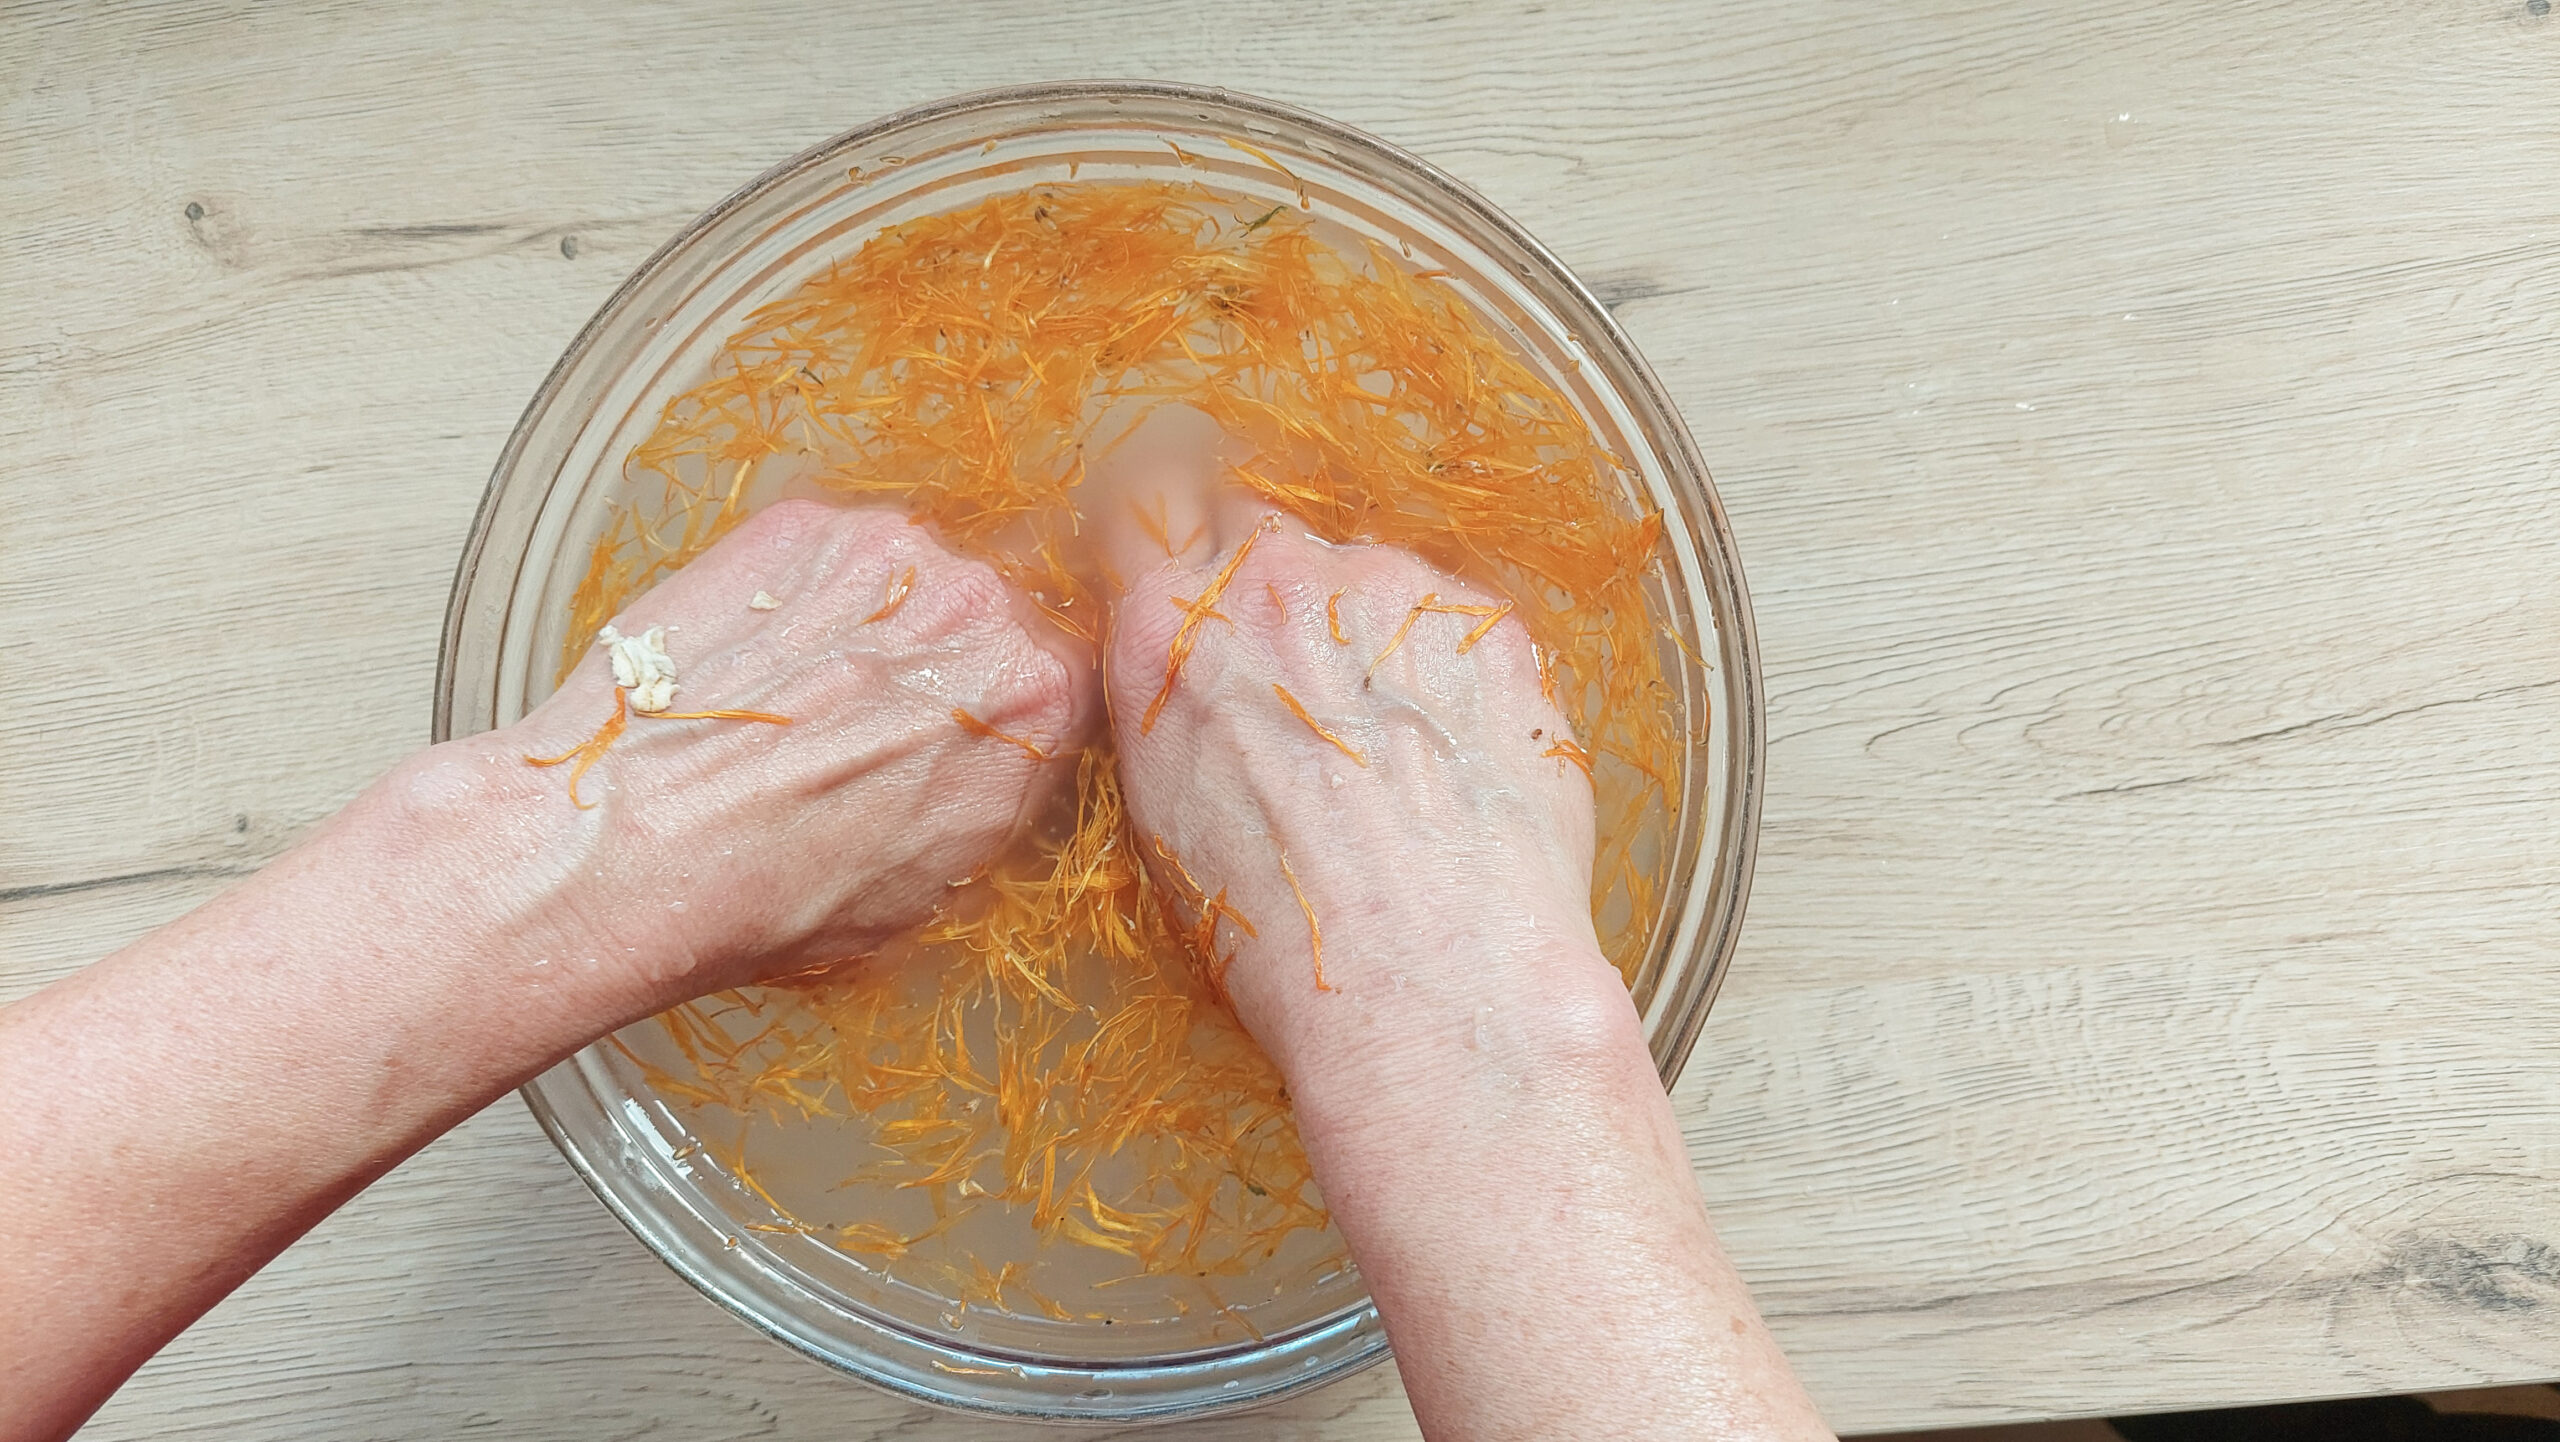
A warm hand soak in chamomile tea and oats (see recipe below) can work wonders for dry and irritated skin. And as the hands are occupied in the bath and I can’t do anything in the meantime, it’s a good opportunity to meditate or just count my blessings.
From time to time, I apply the above-described healing salve thickly and put on cotton gloves so that it won’t be rubbed off during the night. The next day, my hands are hydrated and look fresh and ready to tackle the upcoming (garden) tasks 😊.
Steep the herbs and oats in a bowl of warm water for 5 minutes.
Soak your hands for at least 10, better 15 minutes.
Pat them dry and apply the healing salve.
You are currently viewing a placeholder content from Default. To access the actual content, click the button below. Please note that doing so will share data with third-party providers.
With changing seasons, our skin also has different needs.
In spring, for example, it needs frequent cleaning and afterwards a good repair salve that tends to minor injuries and dehydration.
In summer, when we sweat more easily, the oils we use for protection and repair can be lighter. I often use almond or jojoba oil now. They get absorbed faster into the skin and don’t leave a thick film on it.
Additionally, our hands (or rather all the exposed skin) need good sun protection now. We often tend to forget our hands when we apply sun protection lotion. Next time, think about them as well.
In autumn, I need richer balms that deeply nourish my tired skin. As it gets cooler, richer oils like olive or even castor oil are great for application in the evening. Put on cotton gloves to leave the oil on, like in a deep soak.
Winter is the time for intensive restoration. The air is usually dry, especially in heated rooms; oil and additional hydration and care are necessary to keep the skin on your hands smooth and elastic.
🌿 Seasonal Gardeners’ Hand Care Cheat Sheet
Spring → repair & clean often
Summer → lighter oils + sun protection
Autumn → richer nourishment
Winter → intensive restoration
The Ritual Itself
By washing off the dirt from my gardener’s hands, I not only wash away the day’s work but also transition from the garden back into my home again.
It’s not just a task that has to be performed quickly. I rather see it as a mindful action that makes me mentally finish all I did in the garden today and prepare myself for the quieter and cooler evening hours at home.
I clean myself and give back some nourishment to my skin by doing a hand soak or applying a salve. That way, I care for the body that in return cares for the garden.
Creating a Gardeners’ Hand Care Corner
In the hustle and bustle of everyday life, however, skin care (and self-care) can be easily forgotten.
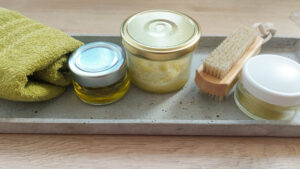
That’s why I’ve created my little hand care corner.
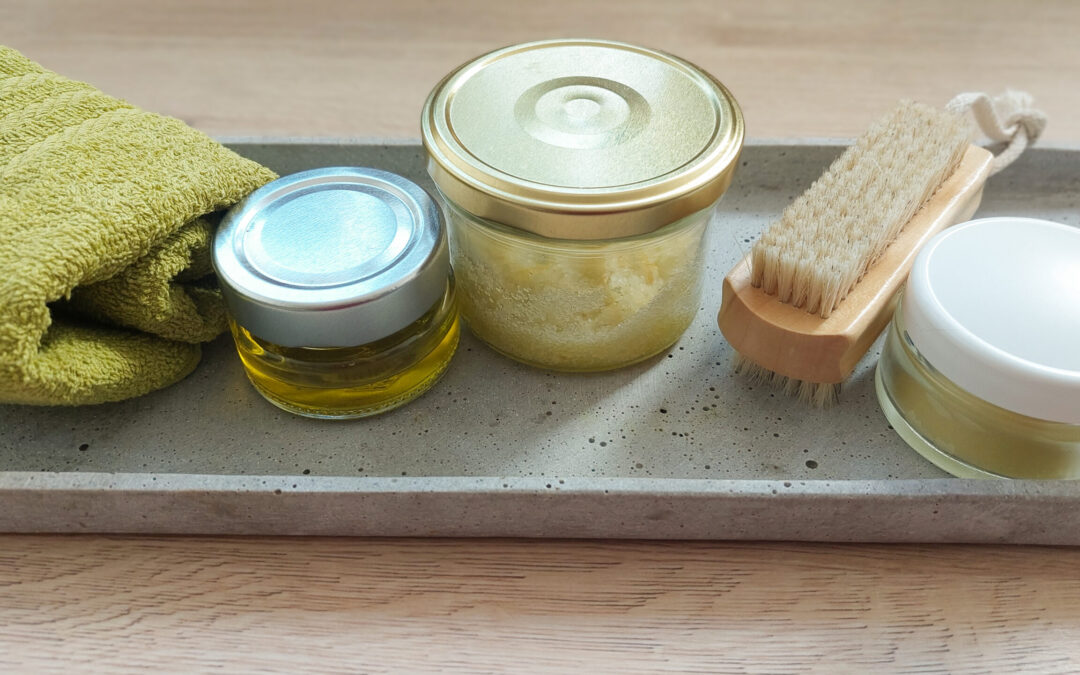
It’s a small tray on the bathroom windowsill near the sink, and it contains
a nail brush
my scrub jar
a bottle with my protection oil
a salve tin with healing salve
a fluffy hand towel
It’s nothing extraordinary, but it reminds me every day to take care of my tired hands and makes it easy as everything I need is within reach.
Gardeners’ Hand Care Made Easy
A healthy garden soil needs care. So do the hands that tend it.
It’s not a luxury to give back some nourishment to your skin, but rather a simple act of gratitude. After all, only a healthy body can do all the garden work that’s necessary for a fine harvest.
By doing a simple yet effective ritual after gardening, we can nourish our tired hands and thus give back some energy.
At the same time, this ritual helps us to mentally finish one part of our day and prepare for the next. It’s an act of mindfulness that brings us fully into the current moment.
Caring for your hands is simply another way of caring for the garden itself.
What small ritual helps you transition from garden to home?
If slow gardening, seasonal rhythms, and natural care rituals speak to you, you’re warmly invited to join my seasonal letters.
If you want to learn more about homemade products for body care and your home, visit my home and body care section.
For deeper insights into gardening, my garden hub will be a valuable source.
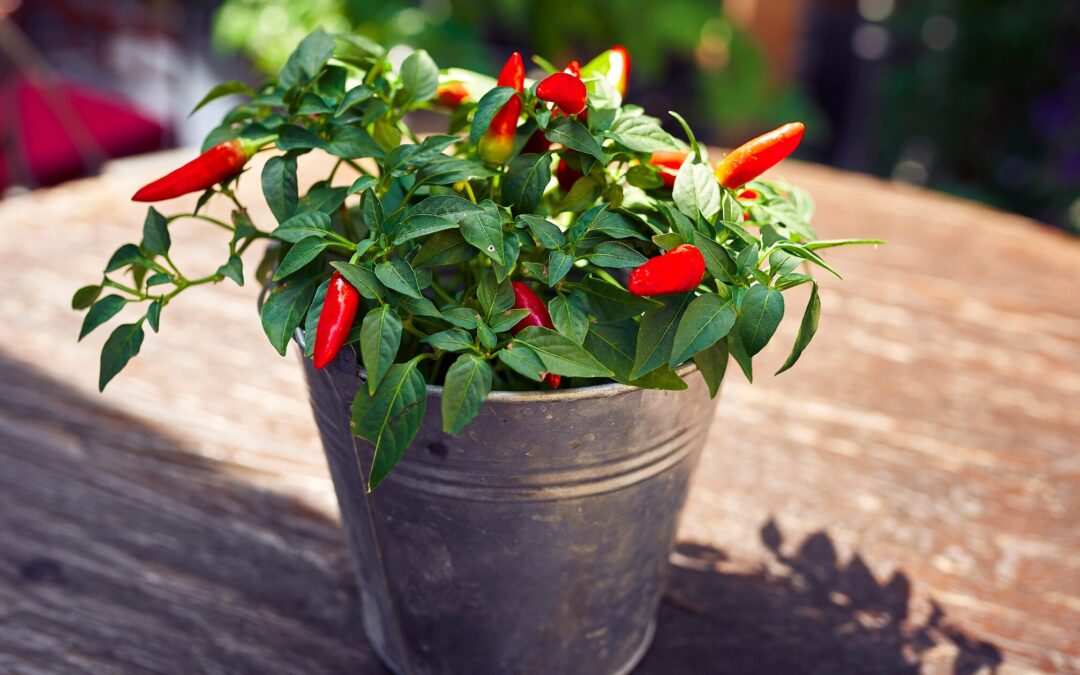
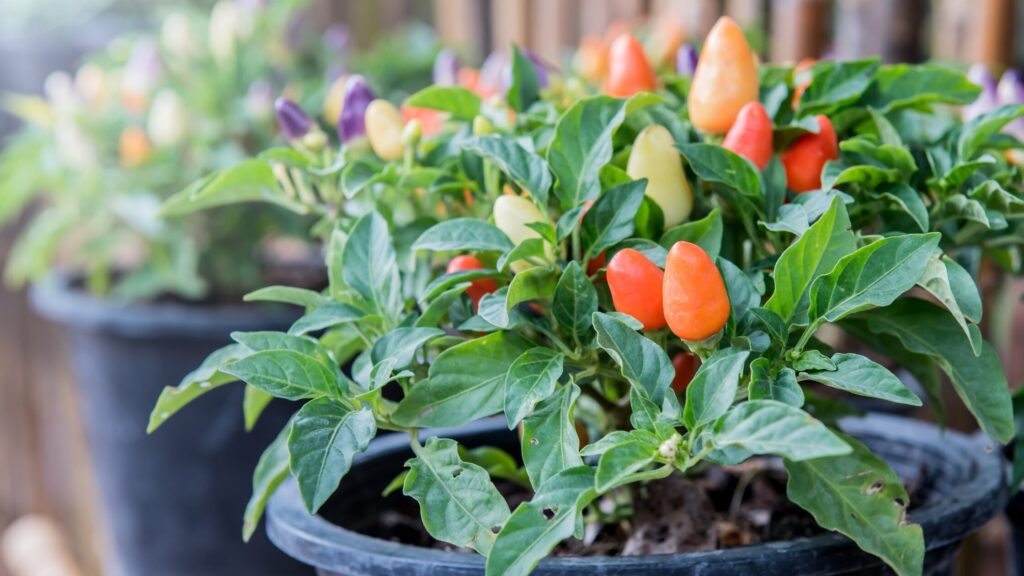
You think you can’t grow peppers and chillies because you don’t have a garden? Think again! In this complete container growing guide, you’ll learn exactly how to grow peppers and chillies in pots, which containers to choose, how often to water and fertilise them, and how to maximise harvests in small spaces. This guide is part of my complete pepper and chilli growing series, including seed starting, pest control and disease prevention.
How I Started Growing Peppers and Chillies in Pots
One year, I really overdid it. I sowed half a handful of pepper and chilli seeds, and almost all germinated. When I finally counted my seedlings, there were 60 of them! Way too much for my garden, and even the greenhouse couldn’t possibly have enough space for all of them.
I know what you’re thinking now: give them away to friends and neighbours, but honestly, I couldn’t bring myself to do it. It felt like I was being forced to give one of my children away.
Weird, I know, but that’s how we gardeners are.
In the end, I planted all the peppers and chillies I didn’t have space for in the garden into pots and cultivated them on the balcony and in my living room.
It worked so well that I want to share the experience here with you and show you that you don’t need a garden to grow peppers and chillies. In fact, they are the perfect crop for urban gardeners who don’t have much space. And container growing turns peppers from climate-dependent crops into highly controllable plants.
So yes — growing peppers and chillies in pots absolutely works. Let’s look at why containers are often even better than garden beds.
Quick Start: Growing Peppers and Chillies in Pots
Use pots 7–20 litres
Place in full sun (6+ hours)
Use well-draining vegetable soil
Water whenever top soil dries
Feed every 2–3 weeks
Move pots to extend the season
Can You Really Grow Peppers and Chillies Successfully in Pots?
Peppers and chillies in pots
✅ are perfect for beginners
✅ work in small spaces
✅ are highly productive
The short answer is: Yes. In fact, peppers and chillies often grow even better in pots and containers than in the ground.
The simple reason for that is that heat-loving plants – like peppers and chillies – can be moved indoors when temperatures drop, or heavy rain or strong winds are forecast. That way, they can be protected from harsh weather with very little effort.
Another advantage is that we have complete control over the soil when we plant peppers and chillies in containers.
Later on, they need to be fertilised, of course, but that’s also easier with containers than outdoors.
Additionally, chillies and peppers grown in containers have a much longer season, resulting in higher yields. In fact, you can even overwinter them in the pots and have an early start next season.
Let’s see which varieties are the most suitable for containers.
Choosing the Right Pepper Varieties for Containers
Basically, you can grow any pepper or chilli variety in a pot, but if you can choose beforehand (and not have to see what seedlings remain, as I had to that year), look out for certain characteristics.
What Makes a Pepper Good for Pots?
If you know upfront that you want to cultivate peppers and chillies in pots, look for varieties that grow compact and bushy instead of long and thin.
In many cases, growth above the soil often mirrors the root growth underground. That means that compact and bushy plants usually have compact and bushy roots. This is much better for the cultivation in pots than roots that strive to grow deep.
Lastly, choose varieties that produce well. After all, with pots, you can adjust the space between plants when they grow bushy and bear many fruits.
Best Types for Containers
Here’s a short list of my favourite pepper and chilli varieties for containers:
Sweet peppers
California Wonder
Roter Augsburger
Mini Bell varieties
Lunchbox peppers
Mild chillies
Jalapeño
Anaheim
Hungarian Wax
Hot varieties
Cayenne
Thai chilli
Habanero (with larger pots)
Now that we’ve determined which varieties are best for container planting, let’s have a closer look at the containers themselves.
The Best Pots and Containers for Pepper Plants
Let’s start with the size.
Ideal Pot Size
Plant type
Minimum size (in l)
Ideal size (in l)
Chillies / Snack peppers
7 - 10
12
Bell peppers
10
15
Large varieties
12
20
It may be tempting to use a small pot for your pepper plant, especially when your growing space is limited. But don’t be fooled.
Peppers and chillies need sufficient space to develop strong roots. For that reason, choose a container of at least 7 – 10 litres for small varieties and up to 20 litres for larger plants.
At first, the seedlings may look a bit forlorn, but they’ll grow into it, I promise.
The bigger the pots, the easier it is to care for the plants.
Container materials
The right container material is equally important for a successful harvest.
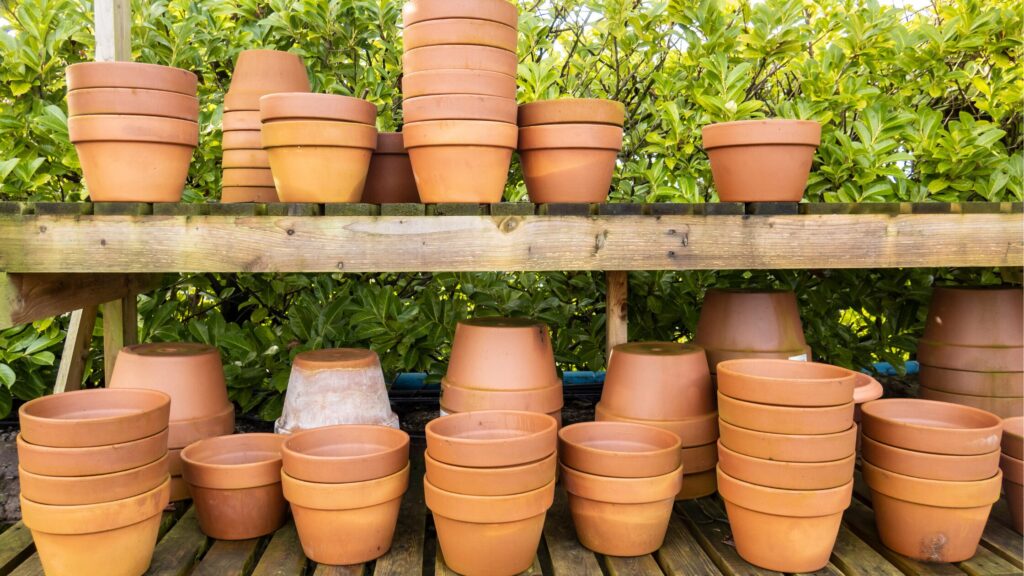
Clay or terracotta pots look nice, but they dry out easily and can even break under extreme temperatures. On the other side, they store warmth and release it slowly at night.
Plastic containers on the other side contain the moisture better and can be moved more easily. On the downside, they can grow really hot in strong sunlight and then damage the roots.
If you’re unsure, plastic or fabric pots are usually the easiest choice for beginners.
And another quick word: One pepper plant per pot almost always produces better harvests than several crowded plants.
Drainage — The Most Important Rule
Peppers and chillies hate wet feet.
No matter what container you choose, make sure it has drain holes. They not only prevent waterlogging but also make sure that the chance of fungal diseases is minimised.
Soil and Compost — The Secret to Healthy Container Peppers
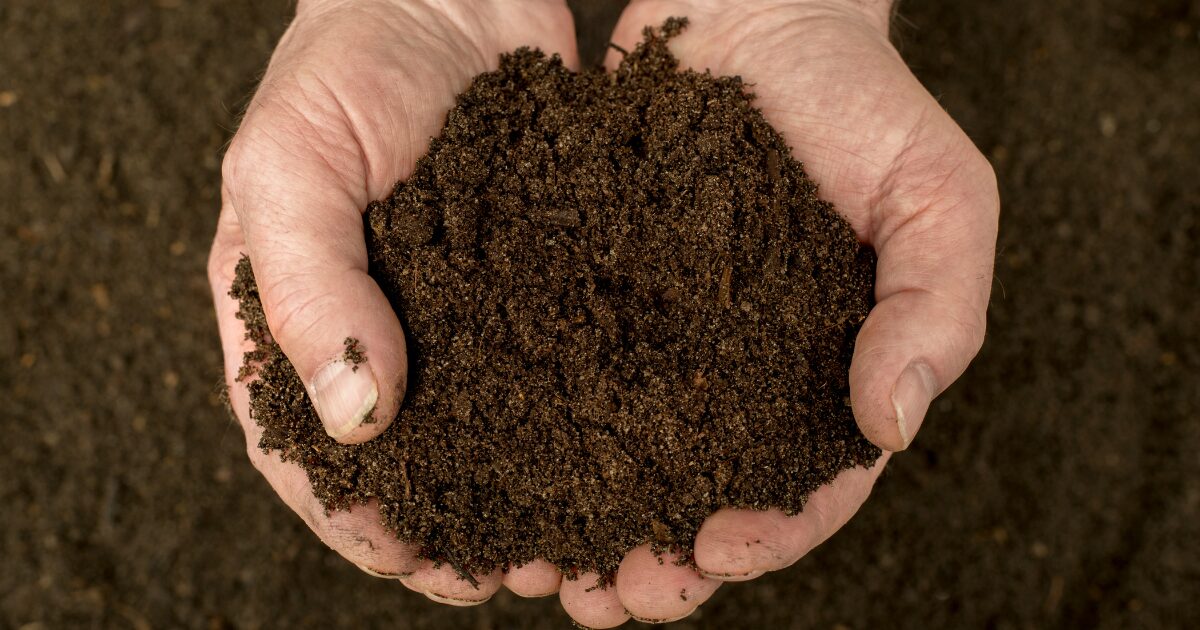
Normal garden soil or standard potting soil intended for flowers is not ideal for potted pepper plants. In fact, that’s one of the main reasons why pot-grown peppers fail.
The reason: Garden soil becomes compacted in containers, preventing proper drainage and airflow around the roots. And flower-soil has not the right nutrients for peppers.
Peppers need a well-drained soil with plenty of nutrients. Special vegetable soil mixes already contain these relevant nutrients like nitrogen, potassium and magnesium that are necessary for good and healthy growth.
❗ The most common reason container peppers fail is heavy, compact soil.
I often use a mix of one part garden soil and one part well-rotted compost, plus a handful each of horn shavings and rock flour as soil for peppers in pots. The compost adds nutrients and organic material, while the shavings and flour work as long-term fertiliser, releasing their nutrients slowly.
Additionally, I put a layer of well-rotted cow manure at the bottom of the pot, which contains highly available nitrogen, stimulating initial growth.
How to Plant Peppers in Pots (Step-by-Step)
Quick overview
Prepare the pot
Add drainage
Fill in the soil
Plant at the right depth
Water in
Place in the sun
Let me show you how to plant your pepper and chilli babies into pots.
1) Prepare the pot
If your pot is new, that’s great; you don’t have to do anything. But if you’ve used the pot before, especially for other plants of the nightshade family, like tomatoes or eggplants, you should scrub it first to remove old soil.
2) Add a drainage layer
Peppers need plenty of water, but they absolutely hate wet feet. In fact, too much water at the roots can kill them. To prevent that, some gardeners (like me) put a drainage layer at the bottom of the pot (or whatever container you use): I usually fill in about 2 inches of pebbles, but you could also use clay shards from a broken pot or bowl.
You can either add a drainage layer or rely on well-structured potting soil — both methods work as long as water drains freely.
3) Fill in the soil
If you want, you can now put some well-rotted manure into the pot, or you can just fill in soil. No matter what variant you choose, only fill the pot until it’s roughly half full. Press it down lightly to compress it a bit and, if necessary, add some more soil.
4) Planting
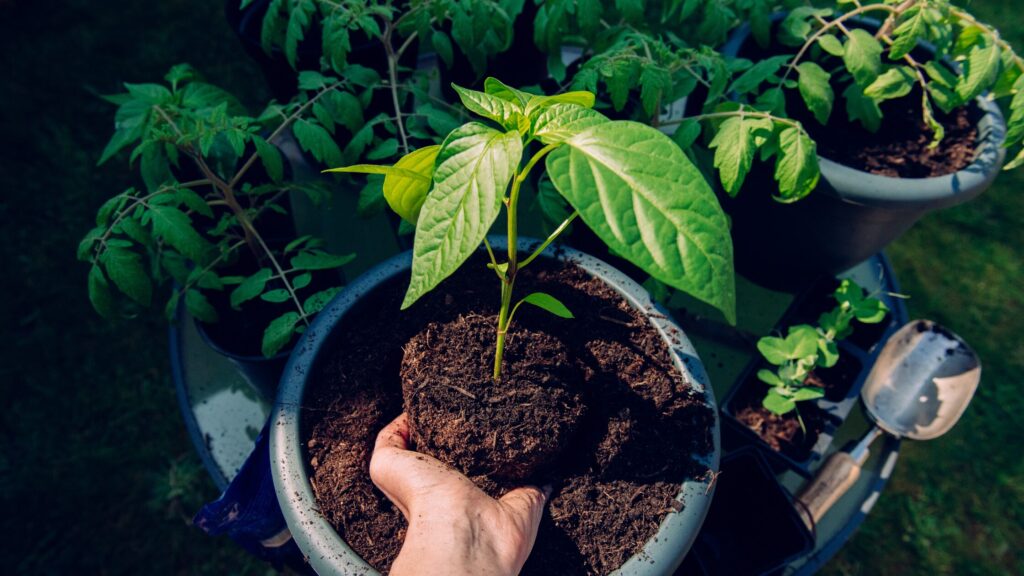
Now comes the greatest part: carefully take the pepper or chilli seedling out of its pot and place it in the middle of the new pot onto the soil.
Hold it with one hand and with the other hand fill soil into the pot until your pepper plant is a bit deeper than in the original seedling pot. That way, it’s more secure.
Press the soil well around the roots and fill in more, if necessary.
5) Watering in
To make sure that the soil connects with the roots, we now water the newly potted seedlings thoroughly. This removes any air pockets and attaches the soil to the roots, which, in return, can extract the nutrients and transport them into the plant.
Make sure that you only water the soil and not the leaves.
Congrats, you have successfully transplanted a pepper or chilli seedling into a container. Now, let’s move it into the sun.
🌶️ Growing peppers for the first time? Join the newsletter for seasonal reminders, practical tips, and updates from my own garden — including how my overwintering experiment turns out this year.
Where to Place Potted Pepper Plants
For peppers and chillies in pots, the location is crucial.
🌞 Sunlight Requirements
Peppers and chillies like it warm and sunny. A minimum of 6 hours of direct sunshine per day is necessary for them to thrive and build plenty of fruit.
South-facing balconies or sunny patios are ideal for cultivating peppers and chillies in containers.
🍃 Wind Protection
Pepper plants can’t stand wind, as it damages their sensitive stem and leaves. The location you put the pots in, therefore, must be protected from the wind.
I grow my peppers and chillies on my west-facing balcony. When there are strong winds or a storm is forecast, I put the pots inside to protect them.
🌡️ Temperature Requirements
Peppers and chillies thrive best at temperatures between 20 and 30 °C (70 – 85 °F). Depending on your growth zone, of course, you won’t always have these ideal conditions. This is one of the reasons we may want to cultivate peppers in pots that we can shove inside when it gets too cold outdoors.
Temperatures between 15 and 20 °C (60 – 70 °F) are okay, but the plants will grow more slowly and ripen later.
Below 12 °C (54 °F), growth will stop completely. Check the weather forecast for night temperatures and when they fall below that mark, get your pots in.
If the plants get a frost, they’ll die.
Balconies vs Garden vs Windowsill
Location
Difficulty
Yield
Best for
Balcony
Easy
High
Beginners
Patio
Easy
High
Warm Climates
Windowsill
Medium
Moderate
Indoor growers
Growing peppers and chillies on the balcony, the garden or simply the windowsill – what is the best method?
If you have a garden (or even a greenhouse) that gets enough sun and is protected from the wind, and if your hardiness zone is 6 and above, I’d suggest cultivating peppers in the garden.
However, space is often the problem, even if we do have a garden (even if the garden is larg-ish; mine’s never enough).
A balcony or patio, therefore, is the logical next step. Grow peppers in pots and put them there in a sunny and wind-protected corner. Place the containers near a house wall that absorbs warmth during the day and slowly releases it during the night.
If you do not have any outside space at all, you can still grow peppers and chillies in pots on your windowsill. Now, window glass filters out certain light waves that are necessary for healthy plant growth. It’s best, therefore, to open the windows as often as possible and let the plants enjoy unfiltered sunlight.
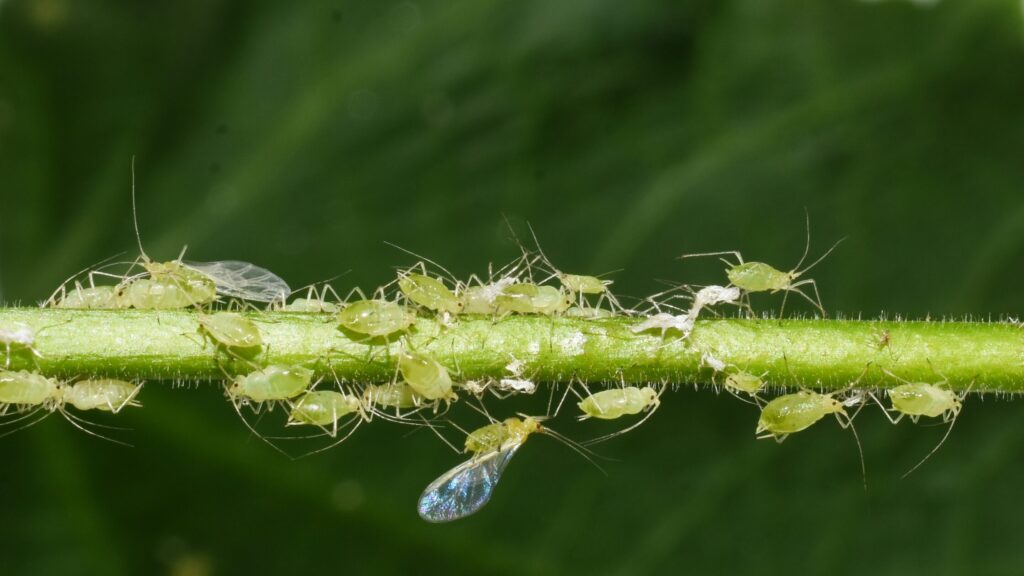
Peppers on windowsills are often prone to pests like fungus gnats or aphids. Check them daily for infections and act quickly so that the pests don’t get the upper hand.
You know the saying, “If you don’t like where you are, move. You’re not a tree.”
Peppers in pots combine both advantages: they are deeply rooted in the soil AND can be moved. If not by themselves, then by us.
In fact, we have to move our pepper pots around pretty much throughout the year:
Hardening off
To get the sensitive plants used to outdoor conditions, we must harden them off. Put the pots outside when the weather is warm for about two hours. Make sure to put them in the shade first, so that the harsh sunlight won’t stress them.
Each day, prolong the time the plants stay outdoors, and after 3 days, you can start placing them in the sunlight (not around noon, that would be too much).
To make them accustomed to the wind, gently brush them with your hand, simulating wind movement.
When storms are forecast, get your pepper pots inside. During a storm, pepper and chilli stems can easily snap, especially when the plant bears fruit.
Summer heat
Although peppers and chillies like it hot, temperatures above 32 °C (90 °F) can stress and even damage them. When the heat rises in summer, put your pots in the shade or even indoors, if necessary.
Wall heat
This is a factor that’s often overlooked: walls reflect heat and duplicate it. What’s great during the night, when a wall releases heat that it stored during the day, can be devastating to the plant during the day. Then, the heat from the sun is reflected by the wall, which makes a spot there even hotter.
Install a thermometer on the wall where you’ve got your pots and move the plants in the shade when it gets too hot.
Bringing indoors before frost
It goes without saying that you should move peppers and chillies indoors before frost strikes. I even recommend getting the pots in when temperatures fall below 12 °C (54 °F), as the plants stop growing then.
Seasonal Container Care Checklist
Spring — harden off
Summer — water daily & feed
Autumn — harvest & reduce watering
Winter — overwinter indoors
Watering Container Peppers (Most Common Failure)
Containers dry out faster than soil in the garden, simply because the volume is smaller (a pot always contains less soil than a whole garden, however small).
For that reason, we must water peppers in pots more often than those in the garden or a greenhouse. In hot summers, we must water daily.
In midsummer, peppers in small pots may need watering every morning — sometimes twice daily during heatwaves.
Check the soil for moisture by poking a finger into it: when it feels dry, water the pot thoroughly. Also, check the plants for signs of underwatering, like hanging, wilting leaves and water them regularly.
Avoid overwatering, though. Peppers will die when their roots are too wet. A clear sign of overwatering is plants that seem to wilt and even rot, although the soil is moist.
Feeding and Fertilising Container Peppers
We all know that we have to fertilise, but plants in pots have different requirements:
First of all, peppers and chillies are heavy feeders, which means they need lots of nutrients to thrive and produce fruit. So, we have to feed them with fertiliser, no matter where we grow them.
While for plants in garden soil, fertilising every 4 – 6 weeks is ok, peppers in containers need more frequent feeding. The soil in pots depletes sooner, simply because there’s not much of it compared to the garden.
For that reason, peppers and chillies in pots must be fertilised every 2 – 3 weeks, but with a smaller amount.
If you, like me, put well-rotted manure in the pot, this provides an initial boost of nutrients, additional to the fertiliser in store-bought soil or the compost in home-mixed soil. After about 4 weeks, give your potted plants another portion of nutrients, especially nitrogen. A good (and cheap) way to produce organic, nitrogen-rich fertiliser is with this homemade nettle manure.
When the plant builds blossoms, it needs more potassium and phosphorus, which you can either get by making liquid manure with comfrey or with a store-bought tomato fertiliser.
Even during harvesting, you can feed your plants to encourage them to create new blossoms and fruits. A potassium-rich fertiliser helps the plant build large fruits. This is especially important when you plan to harvest regularly until the first frost.
Pruning Pepper Plants in Pots
Pruning is optional but can improve airflow and plant structure.
Like in the garden, peppers and chillies in containers can be pruned. Pruning encourages the plant to form new twigs and grow sturdier. A sturdy plant can bear more or larger fruits without collapsing.
If you want to prune your pepper plants, cut off the tip of the main stem when it’s about 15 – 20 cm (6 – 8 inches) high. Use a pair of clean gardening scissors and cut directly above a pair of leaves.
When there are too many side shoots and leaves, thin them by thoughtfully cutting some of them off. Don’t remove too many leaves, though. The plants need them for photosynthesis.
This thinning improves the airflow and decreases the risk of fungal diseases, and the plants can also absorb more sunlight.
Always cut off shoots near ground level, little shoots that sprout out of the stem very near or even under the ground. They’re just side stems and only cost the plant energy.
Common Problems When Growing Peppers in Pots
As easy as growing peppers and chillies in pots may be, there are still some problems that could arise. Let me show you the most common ones and how to avoid them.
Yellow leaves – Cause & Solution
This is almost always a sign of nutrient deficiency and false watering.
Solution:
If the soil is too wet, let it dry off; if it’s too dry, water the plant.
Add some liquid fertiliser to the water, either homemade nettle manure or store-bought tomato fertiliser.
Flowers dropping – Cause & Solution
When peppers and chillies drop off buds and blossoms, the temperature is usually not right for them. When temperatures get over 32 °C (90 °F) or fall below 12 °C (54 °F), the plants get stressed and throw off all their blossoms.
Other reasons for blossom drop can be inconsistent watering or over-fertilisation, especially when you feed your plants too much nitrogen.
Solution:
Shade the pots in hot weather and get them in when temps fall below 13 °C.
Check your watering and fertilising schedule and adjust it if necessary.
Small fruits – Cause & Solution
When the plant bears too many fruits, they will stay small.
Solution:
Cut off some small fruits
Remove some of the newly-built flowers
Slow growth – Cause & Solution
This is mostly due to inadequate temperatures, as described with falling flowers.
Solution:
Shade the pots in hot weather and get them in when temps fall below 12 °C.
Pests in containers – Cause & Solution
Unfortunately, peppers and chillies in pots will still be found by pests. Check your plants regularly for any pests and remove them as soon as possible to keep them at bay. Also, protective nets can prevent them from reaching the plants.
Solution:
Check your plants regularly and remove pests as soon as you find them
As a rule of thumb, most varieties need 60 – 80 days from flowering to full ripeness. For peppers in pots, this is between mid-July and mid-August. Larger fruit takes longer to get ripe than smaller ones.
Colour, firmness and size
Frequent harvesting encourages the plant to produce more flowers and fruits.
Peppers and chillies are ready to harvest when they’ve developed their variety-specific colour. Ripe peppers and chillies feel firm and have a slightly glossy appearance. They have reached their expected full size (which you can check on the seed package), and the colour should be deep and uniform, not pale or patchy.
Green peppers are unripe, but can, of course, also be eaten. Their taste may not be fully developed, though, and they might taste less sweet and more bitter than ripe ones.
Harvesting green peppers can be sensible when there are (too) many fruits on one plant, increasing the risk of collapse. In fact, harvesting the first pepper, the so-called “king pepper”, when it’s still green, is often done to encourage the plant to form more fruit.
Overwintering Pepper Plants in Pots
After growing peppers both in the garden and in containers for several seasons, I’ve found that pots often produce healthier and more productive plants.
Strictly speaking, peppers and chillies are perennials, not annuals. Last year, I dug up some pepper and chilli plants from the greenhouse, planted them in pots and brought them indoors to overwinter. Unfortunately, they were infested by aphids and lost all their leaves, and eventually, they died.
My first overwintering attempt taught me that overwintering peppers indoors is possible, but challenging — pests and low light are the main obstacles.
This year I’m going to cultivate peppers and chillies in pots again, which will make it easier to overwinter them. I think the main reason last year’s plants died was that they hadn’t grown well into the pot and their roots hadn’t found hold yet.
Even if overwintering fails the first time, the experiment is worthwhile — and far easier when peppers are already growing in pots. I’m still experimenting with this and will share what I learn.
Frequently Asked Questions
How big should a pot be for peppers?
Most pepper plants grow best in containers between 7 and 20 litres (2–5 gallons), depending on variety.
Can peppers grow on a balcony?
Absolutely, as long as they get enough light. Choose a south or west-facing balcony.
How many peppers can I plant per pot?
Just one. Peppers need lots of nutrients, which are limited in pots. If you cultivate more than one plant per pot, nutrients will deplete too soon.
Do chillies grow better in pots or in the ground?
That depends on the location rather than the planting medium. Peppers and chillies need enough sunlight, warmth, nutrients and water. If you can provide that in the garden, grow them in the ground. But if your garden doesn’t meet these requirements, it’s better to grow them in pots.
How often should I water container peppers?
Usually every day in summer, and whenever the top 2–3 cm of soil feels dry.
Do peppers in pots need full sun?
Yes — peppers require at least 6–8 hours of direct sunlight daily to produce fruit.
Why are my potted peppers not producing fruit?
This is either a question of wrong nutrients or temperature:
1) Nutrients: To grow flowers and thus fruits, peppers need potassium and trace elements like magnesium. As a beginner, you can use ready-made tomato fertiliser, which contains all those nutrients in the appropriate amounts.
2) When temperatures are under 20 °C (68 °F), growth is slower; with temps below 12 °C (54 °F), growth even stops completely. Make sure your peppers are warm.
Can I grow peppers indoors on a windowsill?
Absolutely, but you have to make sure they get enough direct sunlight. At best, open the window every day for several hours.
When should I start pepper seeds indoors?
As early as January and by February at the latest.
How long do peppers take to ripen?
Depending on the variety, peppers and chillies need between 60 and 80 days from seed-starting to harvesting the first fruits.
Why Growing Peppers in Pots Might Be the Best Method of All
Growing peppers and chillies in pots changes the way we think about gardening. Instead of depending on perfect soil or a large garden, we create ideal conditions wherever we live — on a balcony, a patio, or even a sunny window.
Containers give us control: we can follow the sun, protect plants from bad weather, extend the season, and even grow peppers as perennials. What begins with a single pot often turns into a small collection of thriving plants and an unexpectedly abundant harvest.
If you’ve been waiting for the “right space” to start growing your own food, this is your sign: you already have everything you need. One pot, one plant, and a bit of curiosity are enough to begin.
May is one of the best months to sow and plant vegetables.
The arrival of May brings warmer soil, longer days, and the perfect conditions for vegetable gardeners to truly kick their growing season into high gear. As spring firmly establishes itself across most regions, May represents that sweet spot in the gardening calendar—when the threat of frost has largely passed (at least after mid-month) but the scorching heat of summer hasn’t yet arrived. This golden window offers both beginner and experienced gardeners an opportunity to plant a wide variety of vegetables that will flourish in the months ahead.
If you’re short on time, scroll down for a quick planting checklist.
The vegetables you plant in May will form the backbone of your summer harvests, providing fresh, nutritious produce straight from garden to table during the peak growing months.
In this guide, we’ll explore which vegetables thrive when planted in May, how to give them the best start, and how to time your sowings for continuous harvests throughout the summer and into fall. Armed with this knowledge, you’ll be able to maximise your garden’s productivity during one of the most crucial planting months of the year.
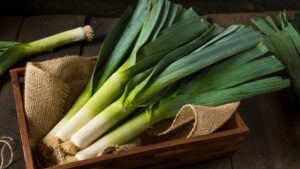
You can still sow winter leeks indoors in May. I either sow 2 – 3 seeds per small pot, or I take a larger container and sow them in rows that I will be thinning later.
Brassicas
May is a good time to think of our winter harvest. Late brassicas should be sown indoors at this stage of the season so that they are ready to plant out when the first spring vegetables like spinach, peas, or lettuce have been harvested.
You can start these brassicas indoors in May:
Kale, palm kale and black cabbage (which is also a variety of kale)
Savoy cabbage
White and red cabbage (late varieties for making sauerkraut and storing)
Kohlrabi
Cauliflower
Brussels sprouts
Lettuce
It’s good to seed-start lettuce indoors every four weeks. That way, we have a continuous supply of plants and will never run out of fresh lettuce during the growing season. Seeing that temperatures increase, however, we want to choose varieties that like warmer weather, like, for example, iceberg and oak leaf lettuce.
This method of sowing vegetables every 3 – 4 weeks is called succession planting which not only ensures a continuous harvest but also that our beds are always covered.
Cucurbitaceae
If you haven’t seed-started Cucurbitaceae yet, or if you want to have a second batch ready for later planting, you can sow the following plants out indoors now:
Beans like it warm but as long as no nightly frosts are forecast, it’s safe at this stage of the season to sow bush and climbing beans.
Chicory
Chicory stays on the bed till autumn. Then we’re going to take it out with the roots and proceed to grow it indoors in small batches in the dark. If you want to have chicory in winter, sow it out now.
Carrots
Once temperatures rise, it’s time to sow semi-late varieties. If you have planted onion bulbs in autumn, sow the carrots in the rows between the onions. That way, carrots and onions will protect one another from harmful pests.
Parsnips
May is the last good window for sowing parsnips. They love deep, loose soil where they can grow their long roots.
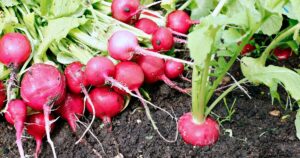
Radishes
If you have radish varieties that are bolt-resistant, you can sow them how. The early varieties, however, will not work any more as they’ll only produce flowers and seeds now.
Radishes need only a few days to germinate and then not only show us the row but are a yummy vegetable for salads or as a ferment.
Lettuce
We still have some early varieties out that we can harvest, but the lettuce we want to sow in May must be summer-proof, that is, bolt-resistant varieties.
Rocket salad
Rocket salad is one of the easiest crops to grow. Sow it, harvest the leaves, and when you let it bloom, it will spread itself.
Spinach
Again, make sure you sow bolt-resistant varieties now.
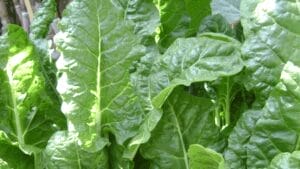
Swiss chard
can also be sown directly now.
Zucchini, pumpkins and cucumbers
Most of us will have seed-started zucchini and pumpkins indoors and transplant them after the last night frosts, but it’s also possible to sow them directly. You can, in fact, combine both methods, and so have new plants when the older ones might get mildewy.
Corn, like many other plants, likes it warm, but you can sow it outdoors 2 – 3 weeks before the last predicted frost date. That way, the plants will only show when it’s safe, and you needn’t fear that they might die from cold.
Vegetables to Plant Outdoors in May
Before we plant anything outdoors, it’s important to harden the seedlings off by gradually exposing them to outdoor temperatures. Start by putting your plants outside for 2 – 3 hours at first and prolong that time over a week before transplanting.
Lettuce
The lettuce that we started in March or April is now ready for transplanting outside. Make sure that the seedlings are not planted too deeply, or they may rot. As a rule of thumb, put them into the soil as deep as they were in the pot.
Brassicas
All brassica seedlings we have started indoors in March, like kohlrabi, early Savoy cabbage and cauliflower, as well as white and red cabbage, can be planted outdoors in May. Leave plenty of space between the seedlings so that you can plant celery in between later. Cabbage and celery are great companions in the patch and repel each other’s pests. Here you can find more great vegetable pals that love to be planted near each other.
Celery / Celeriac
Both vegetables can be safely planted outdoors in May, as I said, ideally in combination with brassicas to keep each other’s pests off.
Leek
Plant leeks between the cabbage rows. That way, you not only make the best use of space here, seeing that cabbage grows on the ground and leek on the “first floor”, but they also deter pests from one another. For best protection, however, cover them with a pest protection net.
Another possibility to pair leeks is with carrots. As with brassicas and celery, they will keep each other’s pests at bay.
Onions
Whether you’ve seed-started them indoors or bought small bulbs, you can now plant them outdoors.
Zucchini / Pumpkins / Cucumbers
When it’s guaranteed that there will be no more night frosts (in my zone 7b that’s usually around mid-May), it’s safe to plant all the curcubitaceae out. Cucumbers thrive when planted together with nasturtium. Nasturtiums also help attract beneficial insects.
Tomatoes / Peppers / Eggplants
What goes for the cucumber family is also valid for the nightshades: when there will be no more night frosts, you can safely plant them outdoors. When planted together with basil, tomatoes will not only produce more fruit as the basil flowers attract pollinators, but they are also said to taste better.
Frequently Asked Questions About Planting in May
Planting in May raises many questions, especially about timing and frost protection. Here are the most common ones:
What vegetables can I plant in May?
In May, gardeners can plant warm-season and fast-growing vegetables. Popular choices include beans, carrots, lettuce, radishes, spinach, zucchini, pumpkins, cucumbers, tomatoes, and peppers. As soil temperatures rise and frost risk decreases, May becomes one of the most productive planting months of the year.
Is May too late to start a vegetable garden?
May is not too late to start a vegetable garden. Many vegetables grow quickly in warm soil and longer daylight hours. Crops such as beans, salads, zucchini, cucumbers, and herbs establish rapidly when planted in May and can still produce abundant harvests throughout summer.
What seeds should be started indoors in May?
Seeds commonly started indoors in May include leeks, late brassicas like kale and cabbage, cucumbers, pumpkins, and zucchini. Starting seeds indoors allows gardeners to raise strong seedlings that can replace earlier crops and extend harvests into late summer and autumn.
When can I plant tomatoes outside in May?
Tomatoes should be planted outdoors only after the last frost date has passed and nighttime temperatures remain consistently above 10 °C (50 °F). In many temperate regions, this occurs around mid-May. Hardening off seedlings for about one week helps prevent transplant shock.
Can I still plant carrots in May?
Absolutely, the warm soil accelerates germination. Just make sure you choose a later variety that’s suitable for this seed time.
Is May too late to plant potatoes?
Not at all, but I wouldn’t plant late varieties. The risk that frost hits early and before they’re fully ripe is too high. Instead, choose a variety that takes shorter until it can be harvested.
What vegetables grow fastest if planted in May?
Lettuce, rocket salad, a last batch of radishes and spinach are fast-growing vegetables. These crops are perfect for filling empty garden spaces between larger plants. They all have a relatively short time from sowing to harvest and can be easily used as gap fillers.
What flowers should be planted with vegetables?
Certain flowers can repel pests from veggies. Plant nasturtium with cucumbers or marigolds and blooming herbs like basil and thyme with tomatoes.
Do I need to wait until after the last frost in May?
You can sow and plant cool-hardy vegetables before the last frost (here’s a detailed guide about what to sow and plant in April, for example). However, heat-loving vegetables like tomatoes, eggplants, peppers, chillies, cucumbers, zucchini and pumpkins would die under frost. Before you plant them out, temperatures should not fall below 8 °C at night.
What vegetables should not be planted in May?
All vegetables that cannot cope with summer heat, for example
peas
early spinach
cold-season brassicas
Common Gardening Mistakes in May
There are a few things that can be done wrong in the vegetable garden in May. Have a look and then avoid them.
Planting tomatoes too early: wait until the last night frosts are over
Forgetting to harden off seedlings: start about a week before you plan to transplant
Overcrowding beds: check the indications on the seed packages for reference
Stopping succession sowing: fill gaps in the beds by sowing and planting continuously
May Planting Summary
As we’ve explored, May offers an unparalleled opportunity to set the stage for a bountiful growing season. By carefully selecting what to sow and plant during this pivotal month, you’re not just gardening—you’re investing in months of fresh, homegrown produce and the satisfaction that comes with it. So get out and play in the dirt!
May is one of the most exciting months in the vegetable garden. As frost risks fade and growth accelerates, it’s time for planting, protecting seedlings, and preparing for summer harvests.
In my own garden in Bavaria, mid-May is usually the turning point when tomatoes and cucumbers finally grow without protection.
May is the transition month between spring preparation and summer growth in the vegetable garden. Most planting, pest protection, watering routines, and soil care established now determine the success of the summer harvest.
The work done in May largely determines how productive your vegetable garden will be for the rest of the growing season.
This May gardening checklist walks you through everything you need to do now:
What to sow and plant in May
How to protect our plants from pests
Fertilisation and mulching
Thinning out
Essential maintenance tasks
Let’s break down garden tasks we can do in May:
May Garden Checklist: Essential Tasks at a Glance
If you only have time for a few things, focus on these essential May garden tasks:
Protect your vegetables from pests
Harden off seedlings
Sow and plant vegetables outdoors
Thin out seedlings
Water sufficiently
Mulch beds
Fertilise vegetables
🌍 Climate Note:
Gardening seasons vary depending on your climate and last frost date.
This May gardening checklist is written for temperate Northern Hemisphere gardens (Central Europe, UK, Northern USA), that is, USDA hardiness zones 6 – 8.
If you live in a different zone, you’ll want to adjust the timing according to your local conditions.
Here’s a quick overview of the most important garden tasks to tackle in May:
Garden Task
Best Time in May
Priority
Protect vegetables from snails & slugs
right after planting
High
Protect cabbage & leeks from pests
beginning of May
High
Harden off seedlings
one week before planting
High
Sow & plant outdoors
after the last night frosts
High
Thin out seedlings
when they're about 5 cm (2 inches)
High
Water plants
when the soil is dry
Medium
Mulch beds
when seedlings are 10 cm high ( 4 inches)s
Medium
Fertilise vegetables and berry shrubs
every 4 weeks
High
Break out first chilli/pepper blossom
when it shows
Low
Save seeds from last years vegetables
when they form
Low
Finally, we can wave those night frosts goodbye and enjoy the sun and warmth that May brings. All the veggies we’ve sown or planted out already get a boost, and suddenly the earth is green again. With all the happiness it brings, there are also some tasks for us gardeners to make sure our green babies get on well.
If you’re just transitioning from spring preparation, you might also want to revisit the tasks from April. Many jobs started last month continue now — especially soil preparation and early sowing. → Continue from last month with my April Garden Tasks checklist
🌱Monthly Garden Checklist Printable
Download the printable May garden checklist + get future seasonal checklists.
How should gardeners manage the changing weather in May?
✔️ Why it matters: Protect your plants from sudden weather changes
The weather in May can be pretty volatile, and frosts at night are by no means impossible. During the day, however, temperatures can become quite hot already. Both extremes stress the plants and can even destroy them. Watching the weather and forecast is important to protect our plants before they get damaged.
When night frosts are forecast, I always put a fleece over my seedlings so that they’re protected from the cold.
When it gets hot during the day, I mulch them to keep the moisture in the soil.
In Bavaria, we often have a strong breeze in May, which additionally dries out the soil and rips off leaves or even breaks the stems of young plants.
When it finally rains (we haven’t had rain here for weeks), it may be heavy, and here as well, a protective net can prevent damage.
🌿 Gardener’s Tip:
Check the forecast daily and protect your plants if necessary.
One of the biggest challenges for gardeners in May is pest pressure. As temperatures rise, slugs and insects become highly active.
Protect your seedlings from snails and slugs
✔️ Why it matters: Snails and slugs can eat all your seedlings in one night.
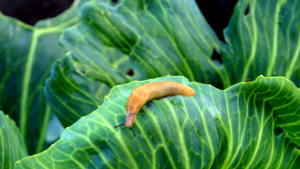
Are there any pests more dreaded than snails and slugs? I don’t think so. They are practically everywhere and, especially in spring, treat our gardens like all-you-can-eat buffets.
The seedlings that just start looking out of the soil, as well as the young plants we’ve put outside, all of that is a feast to slugs and snails, and somehow they manage to tell all their friends and families about it.
While I’m all for sharing with those who have less, slugs and snails don’t fall into that category, however, so there’s no need to have a bad conscience. If we want to harvest those veggies we nursed and nurtured all those months, we must make sure that snails and slugs won’t get near them!
A good way to keep those little suckers off our seedlings is to put snail collars around them, which they can’t overcome. Or you get out in the wee hours of the morning or in the evening with a bucket and collect them. Choose your way, but I prefer the collars.
🌿 Gardener’s Tip: Check for slugs at dusk after rain — that’s when they’re most active.
Slugs are not the only pests, though.
Protect cabbage and leeks from pests
✔️ Why it matters: Pests can destroy your harvest
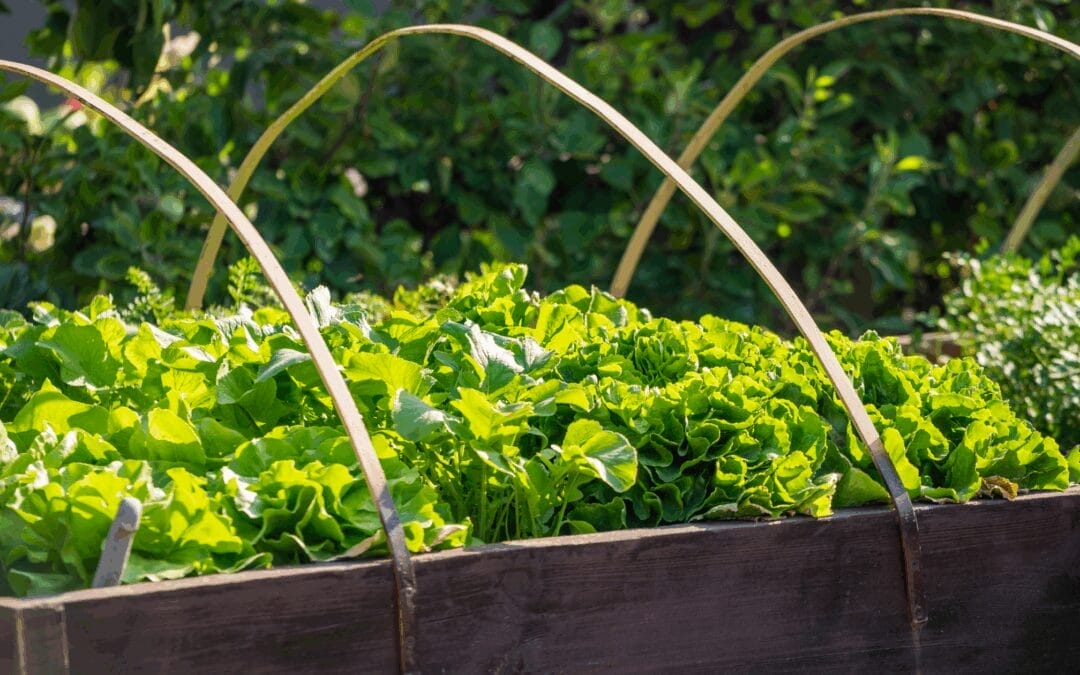
If you haven’t done so already, protect your cabbages and leeks with a protective net against pests like the cabbage white butterfly and the leek fly. Most often, you can buy protective nets as a set with half-arches that you can stick across the vegetables and put the net on top. That way, our plants have plenty of room to grow while being safe from pests. Just make sure that you fix the net thoroughly into the ground.
By the way, celery is a good companion for cabbage. In the unlikely event that a cabbage fly finds its way under the net, it may find itself repelled by the celery smell.
🌿 Gardener’s Tip: Protect leeks and cabbage with a net.
After protecting young plants, the next important step in May gardening is preparing seedlings for outdoor planting.
How do you harden off seedlings in May?
✔️ Why it matters: Plants must get used to outdoor conditions
All the vegetables we have seed-started indoors during the last weeks can finally be planted outdoors in May. Before we expose our seedlings to outdoor conditions, however, we must harden them off so that they won’t get a shock when they get from that cosy, protected atmosphere to the outside garden where temperature differences between night and day are higher, and the wind can blow harshly.
To harden off our seedlings, we put them outside for a few hours per day, prolonging the time with each day. After about a week, our seedlings are ready to be planted outside.
🌿 Gardener’s Tip: Put seedlings out for a few hours and gradually prolong the time.
Sow and plant outdoors
✔️ Why it matters: We continue in May what we started earlier.
🌿 Gardener’s Tip: Make a planting plan and get started.
When all plants and seeds are in the soil, make sure to give them what they need.
How often should you water the garden in May?
✔️ Why it matters: With increasing temperatures, your plants need more water.
The seeds, as well as our freshly transplanted seedlings, need water until they’ve formed a healthy root network. As it can be quite dry in spring, especially in May, make sure that you keep your plants and seeds moist enough to sprout.
Watering is especially important in the greenhouse, where rain doesn’t get in, and if you plant in containers, for example, on a patio or balcony. Check the soil moisture daily and water regularly and thoroughly.
🌿 Gardener’s Tip: Water in the mornings so that the moisture can dry off during the day.
Thin out seedlings
✔️ Why it matters: Your seedlings need enough space to grow.
If you – like me – often sow vegetables like, for example, beetroots, too tightly, you can now thin them out. Carefully remove seedlings that are too close to each other and plant them in gaps or even into a separate row. That way, they get enough space for them to become large and sturdy.
🌿 Gardener’s Tip: Check your seed package for the appropriate space between vegetables.
When the seedlings have reached a certain height, we can protect them and the soil.
Mulch garden beds
✔️ Why it matters: Mulch suppresses weeds and keeps the soil moist.
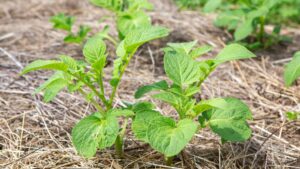
When my plants are about 10 – 15 cm (4 – 6 inches) high, I add mulch to my patches. For that, I either use (dry!) grass clippings, (old) hay, straw or leaves. Other good mulch materials are wood chips that have the additional advantage of being avoided by snails and slugs.
🌿 Gardener’s Tip: Add dry grass clippings, hay, straw or leaves as mulch.
Vegetables need food to grow into food, though.
Fertilise your plants
✔️ Why it matters: Plants need nutrients to grow optimally.
Like a bunch of ravenous teenagers, our vegetables need food or rather, fertiliser. After planting our seedlings outdoors, they’ll be grateful for a healthy dose of organic liquid fertiliser to push their growth.
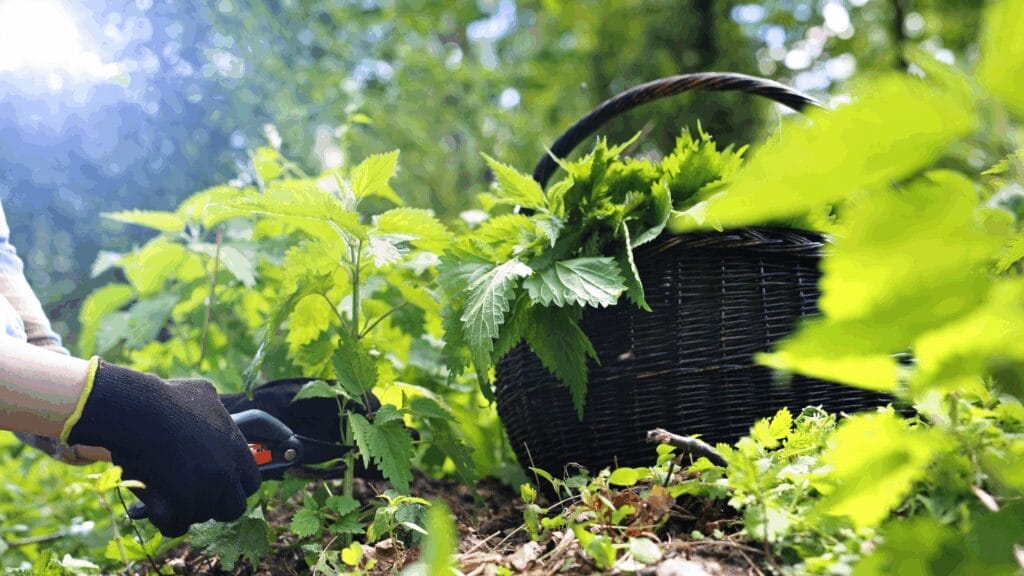
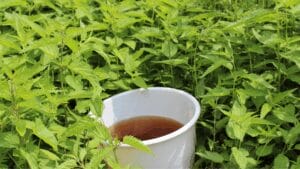
Did you know, by the way, that you can make a great fertiliser out of stinging nettle? Just cut it off, put it in a bucket and fill it up with water. Let the brew sit for 3 – 4 weeks (warning: it stinks!), take out the stinging nettles, and then you’ve made a nitrogen-rich fertiliser for nought! Now add this liquid manure to your water at a ratio of about 1:20 and fertilise your plants, especially the heavy-feeders, with it.
Your berry shrubs, such as raspberries, gooseberries, currants, and blackberries, need food as well. They also profit from a healthy dose of that liquid manure from stinging nettles I mentioned above. Additionally, you should cover the soil under the bushes and shrubs now with mulch.
Join my newsletter for monthly garden guidance aligned with nature’s rhythm.
Break out the first blossom on your peppers
✔️ Why it matters: It makes the plant form more blossoms
Check your peppers and chilis for the first blossom they produce and – brutal as it may sound- break it out. In doing so, you induce the plants to produce more flowers, which will eventually turn into fruit. If you let the first blossom stay on the plant, it would form no or only a few additional flowers and your harvest would be very small.
🌿 Gardener’s Tip: Use small scissors or your fingers to cut off the first bloom
Save seeds
✔️ Why it matters: Saves money
Are there still some last year’s vegetables in your garden? Don’t rip them out. Instead, let them blossom and build seeds that you can save for next year. They not only usually produce more sturdy plants, but they also make us independent from seed companies and let us save heirloom plants.
🌿 Gardener’s Tip: Only harvest dry seeds
The best gardens are not sterile but have a large, diverse wildlife.
Support the Wildlife
✔️ Why it matters: Insects and birds help with pollination and keep pests away
Plants, especially vegetables and fruits, need insects to pollinate them. Otherwise, there won’t be any fruits. The calculation is simple: no pollinators – no harvest.
At the same time, beneficial insects can help keep pests at bay, like ladybug larvae eating aphids.
We can help attract all those bees and insects by sowing flower strips as insect pastures, either on the borders of our vegetable garden or in the patches between the plants. An insect hotel is also a great way to invite insects into your garden.
Where there are insects, there are birds that also help in decimating pests. Make sure they have ample nesting space. In my garden, I’ve hung up a birdhouse for that purpose.
Help keep all those animals in your garden by providing water for them.
🌿 Gardener’s Tip: Add flowers and blooming herbs to your vegetable garden.
Frequently Asked Questions About Gardening in May
Gardening in May raises many questions, especially about planting times and pest protection. Here are the most common ones:
Can you plant tomatoes outside in May?
Absolutely. May is the right time, but only after the last night frosts and after hardening the seedlings off.
Is May too late to start a vegetable garden?
No, not at all. In fact, May is one of the best months to start a vegetable garden because soil temperatures are warmer and many plants establish quickly. If you haven’t started seeds earlier, you can buy plants like tomatoes, peppers and cucumbers. See the complete May sowing and planting calendar.
Is frost still a risk in May?
Yes, until around mid-May, there can still be frosts at night. Check the weather forecast and don’t plant out sensitive plants too early.
Should I fertilise my garden in May?
May is a key feeding month for many plants. As temperatures rise, vegetables and fruits grow rapidly and need food. Use a balanced fertiliser and avoid over-fertilising young seedlings to prevent them from becoming weak.
Common May Gardening Mistakes
Mistakes can happen, even when you’re an experienced gardener. To help you prevent them, I’ve listed the most common mistakes:
Planting before the last frost
It’s tempting to transplant our seedlings when it’s warm during the days, but nights can still be frosty in May. Check the weather forecast and, when in doubt, wait a few days longer. It would be a pity to kill your seedlings a few days before it’s safe to plant them out. I’m speaking of experience here….
Forgetting to harden off seedlings
Seedlings must be accustomed to outdoor conditions before being transplanted. Otherwise, they can stagnate or even die.
Overwatering young plants
Check the soil’s moisture by poking a finger into it and only water when it’s dry below the surface.
Mulching too early
Don’t mulch before the seedlings have reached a height of about 10 cm (4 inches). Otherwise, they could get suffocated.
🌿 May Gardening Summary
In May, focus on:
Planting warm-season vegetables
Protecting seedlings from pests and weather
Establishing watering routines
Feeding and mulching actively growing plants
Each month builds on the previous one in the garden, and following seasonal rhythms makes gardening simpler and more productive year after year.
Why May Garden Tasks Matter
As May unfolds with its warm sunshine and gentle rains, your garden is ready to truly come alive. Now’s the perfect time to get your hands dirty planting those summer vegetables, while keeping an eye out for unwanted pests that enjoy the warmer weather too.
Beyond all the gardening tasks, May invites us to pause and enjoy the abundance around us. I share some slower seasonal thoughts in my May Reflections.
Remember to water consistently as temperatures rise, add a fresh layer of mulch to retain moisture, and feed your plants enough but not too much. With just a few hours of care each week this month, you’ll be rewarded with a thriving garden that will provide beauty and bounty throughout the summer. Happy gardening!
Gardening never truly stops — it simply changes with the season. Continue with my June Garden Tasks to stay one step ahead.
🌼Want this checklist of May Garden Tasks as a download?
Download the printable May garden checklist + get future seasonal checklists.
Can’t get enough of gardening? These articles may also interest you: