Fermentation Problems Explained: Causes, Fixes & When to Throw It Away
For beginners, fermentation might seem intimidating. What if it goes wrong and you accidentally poison somebody? Fortunately, vegetable fermentation is far safer than many beginners imagine. You can learn more about that in my article about fermentation safety.
First of all, serious illness from a properly prepared vegetable ferment is extremely uncommon, as there are some unmistakable signs of spoilage. Some occurrences, on the other hand, are quite normal. This guide will help you identify the most common fermentation problems and determine whether your ferment is perfectly safe, needs a simple adjustment, or should be discarded.
Before we dive into troubleshooting, it’s worth noting that fermentation is not the same as pickling. Fermentation relies on beneficial microorganisms to preserve food, while pickling uses vinegar. If you’re unsure about the difference, read my guide on fermentation vs. pickling first.
✔ Cloudy brine → Normal
✔ White sediment → Normal
✔ Kahm yeast → Usually harmless
⚠ Mould → Throw away
⚠ Rotten smell → Throw away
✔ Overflowing brine → Normal
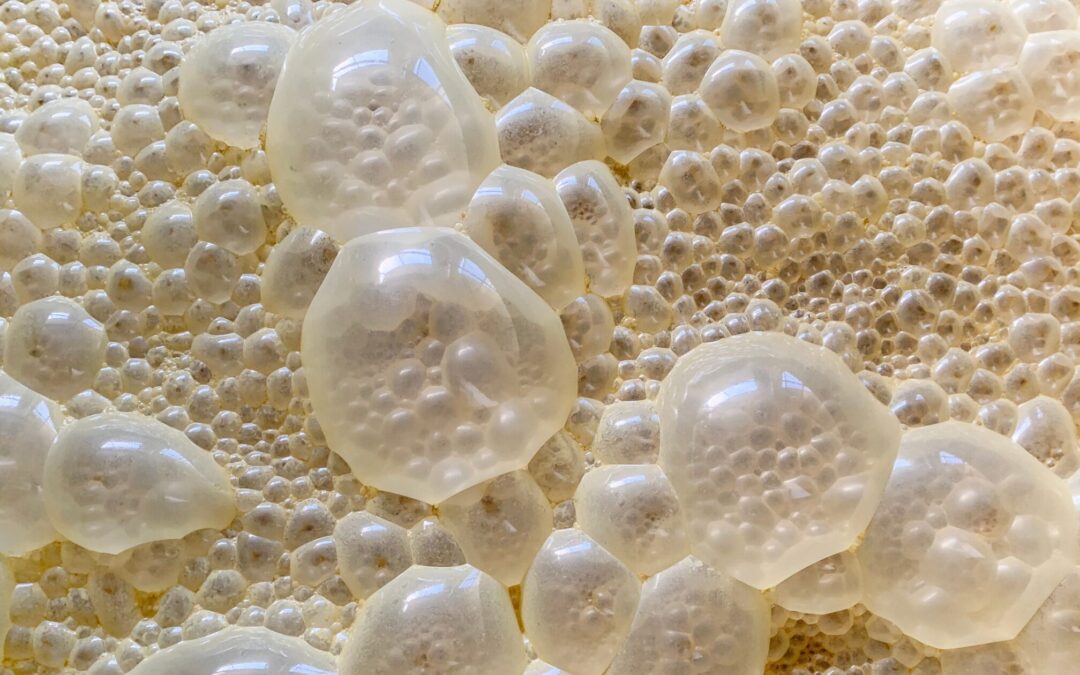
✔ Bubbles → Normal
Why Fermentation Goes Wrong
Most fermentation problems can be traced back to one of four causes:
- Too much oxygen
- Incorrect salt concentration
- Temperatures that are too high or too low
- Poor-quality vegetables
Understanding these four factors will help you prevent most fermentation issues before they start.
❌ Fuzzy mould
❌ Rotten smell
❌ Pink/black/green mould
❌ Slimy vegetables with unpleasant smell
What Healthy Fermentation Looks Like
Many beginners mistake normal fermentation for failure. But many of the signs that may irritate us are actually normal occurrences in a healthy ferment.
Signs of a healthy ferment
- Bubbles: Lactic acid bacteria consume natural sugars in the vegetables and produce (amongst others) carbon dioxide, which shows as bubbles
- Cloudy brine: tiny traces of microorganisms make the brine cloudy
- Slight sour smell: as the name “lacto-acid fermentation” indicates, acid is produced, which makes the ferment smell sour
- Colour changes: during the process, vegetables may change their colour; an example is these fermented radishes that turn from a bright magenta to a pastel pink
- Sediment at the bottom: traces in the brine can settle at the bottom
- Floating spices: spices are lighter than brine and sometimes get past the weight on top and float around
✔ Bubbles
✔ Cloudy brine
✔ Sour smell
✔ White sediment
Quick Fermentation Troubleshooting Guide
| Problem | Safe? | What to do |
|---|---|---|
| Kahm yeast | ✔ Usually safe | Remove surface layer |
| Mould | ❌ No | Discard ferment |
| Cloudy brine | ✔ Normal | No action needed |
| Floating vegetables | ⚠ Fix it | Re-submerge |
| Mushy vegetables | ✔ Usually safe | Improve temperature/salt |
| No bubble | ✔ Often normal | Check smell and taste |
| Overflowing brine | ✔ Normal | Use tray |
| Too salty | ✔ Safe | Rinse before eating |
New to fermentation? Download my free Fermentation Starter Checklist and learn the simple steps that prevent most fermentation problems before they happen.
You should know that fermentation is remarkably forgiving, and most problems we may encounter in fermentation look scarier than they actually are. White films, bubbles, strange smells, and cloudy brine, for example, are normal signs of a fermentation going right.
When I started fermenting, I worried every time the brine turned cloudy or a few spices floated to the surface. Over time, I learned that many of the things that look alarming are actually signs that fermentation is working exactly as it should.
There are, however, a few indicators that our ferment is spoiled. Knowing the difference between harmless changes and genuine spoilage is key.
So let’s have a closer look at what could make you wonder.
White Film on Top of the Brine
Sometimes, a very thin white, cloudy film can form on a ferment’s brine surface. When you try to remove it, it breaks into tiny fragments that are difficult to get onto a spoon.
This film is most likely Kahm yeast – and it’s harmless.
What is Kahm Yeast?
Kahm yeast is a layer of wild yeasts that forms on lacto-fermented goods. It always appears on the surface; that is exactly where the ferment has contact with oxygen. Its typical appearance is flat and sometimes slightly wrinkled, but it never shows a furry structure. And that’s the great difference between Kahm yeast and mould.
Important: Kahm yeast is not mould. It occurs when oxygen comes into contact with the ferment.
Reasons for Kahm Yeast in Fermentation
Kahm yeast is not an accidental occurrence but the result of certain conditions that have gone out of balance:
- Oxygen: Fermentation works best in an anaerobic environment, that is, without oxygen. When the vegetables are not fully submerged under the brine, there’ll be an area on the surface where wild yeasts can grow.
- Salt: A common reason for Kahm yeast is too little salt. Salt is not only important for the taste, but it also controls which microorganisms can grow. When you use too little salt, unwanted yeasts get a head start.
- Floating vegetables: All vegetables or parts of them that are above the brine surface come in contact with oxygen, and that’s where Kahm yeast grows. To prevent that, we use weights in fermentation. Find more information about weights in my article about fermentation equipment.
- Temperature: When it’s too warm, fermentation processes work faster – unfortunately also the ones we don’t want. Kahm yeast grows fast in temperatures above 25 °C (77 °F). The ideal temperature range for fermentation lies between 18 and 22 °C (65 – 72 °F).
- Hygiene: Although you needn’t sterilise the jars and lids you use for fermentation, they shouldn’t be dirty either. Wash all your equipment – and your hands! – well with warm water before you start.
Is Kahm Yeast dangerous?
The short answer is: No. In most cases, Kahm yeast is harmless. But it can affect the ferment’s taste and make it slightly musty. Most importantly, it’s a sign that there’s oxygen in the ferment and that’s where mould can grow.
When you detect Kahm yeast on your ferment, there’s no need to discard the whole jar. Carefully remove the yeast from the surface with a spoon, then wipe the jar and the fermentation weight clean.
Afterwards, smell the ferment: when it smells fresh and slightly sour, everything’s ok. If the smell is unpleasant or “weird”, discard it.
White Sediment at the Bottom of the Jar
Often, there’s a white sediment forming at the bottom of the jar, especially some time after the initial fermentation process has ended. This sediment is completely normal.
During fermentation, dead lactic acid bacteria and vegetable particles can settle at the bottom of the jar. This white sediment is harmless and a normal sign of fermentation.
When Should You Worry?
If the sediment becomes fuzzy, colourful, or is accompanied by a rotten smell, discard the ferment.
Vegetables Floating Above the Brine
All vegetables, herbs and spices must at all times be submerged in the brine. Sometimes, however, parts of them may pop up and float above the brine.
This is a problem, because exposure to oxygen increases the risk of Kahm yeast and mould.
Why It Happens
- Carbon dioxide production: in lacto-fermentation, gases like carbon dioxide form, which is why ferments bubble for a few days. These bubbles can push the vegetables upwards and sometimes above the brine.
- Trapped air pockets: When the vegetables are not pressed tightly into the jar, air pockets may remain where the brine won’t get in.
Solutions
- Always use fermentation weights to keep the vegetables under the brine.
- Gently press the vegetables under the brine, keep them down with a weight and, if necessary, top the jar up with salt water.
- Check your jars daily during fermentation. That way, you can spot air pockets or floating vegetables early on and act accordingly.
Mould Growing on the Surface
Contrary to Kahm yeast, mouldy ferments must always be discarded.
How Mould Looks Different
While Kahm yeast is flat, even and like a white film on the surface, mould grows in sections. It’s often coloured – either green, black, blue, or even pink – and, most importantly, it has a fuzzy, hairy appearance.
Why Mould Develops
The reasons for mould growth on a ferment are similar to those of Kahm yeast:
- Oxygen: Mould needs oxygen to grow. So, when there’s oxygen in the ferment, mould can develop.
- Salt: Too little salt cannot keep harmful bacteria or fungi, like mould, at bay.
- Floating vegetables: All vegetables or parts of them that are above the brine surface come in contact with oxygen, creating a perfect environment for mould. Use fermentation weights to keep everything under the brine.
- Overripe or defective vegetables: they may already contain mould spores that grow further in the ferment.
- Hygiene: Wash all your equipment – and your hands! – well with warm water before you start.
Is Mould Dangerous?
Yes, it is, and for that reason, you must discard ferments that have become mouldy.
My Ferment Smells Bad
When you’re new to fermentation, the right smell may be unknown to you. So let me tell you what good fermentation smells like:
The contents of a jar of lacto-fermented vegetables should smell sour, tangy and a little bit yeasty.
When, instead, you get smells like rotten meat, putrid, or like sewer or even vomit, that’s a clear warning sign! Always discard ferments that smell bad.
Why it happens
- Salt: The most likely cause for a bad-smelling ferment is contamination with harmful bacteria, and that’s almost always due to an improper salt ratio.
- Temperature: When temperatures are too high, harmful bacteria may grow faster than the beneficial ones.
Solutions
- Always stick to the required amount of salt, which should be at least 2, better 3 – 5 % of the weight of the vegetables.
- Keep an eye on the temperature: the ideal fermentation temperature range is between 18 and 22 °C (65 – 72 °F).
Soft or Mushy Vegetables
Usually, fermented vegetables stay crunchy. Yet, sometimes they may go soft and mushy. I’ll tell you why.
Why it happens
- Temperature: When temperatures are too high (above 25 °C/77°F), the vegetables can become softer
- Time: With time, ferments become softer or mushy, even though they have been stored in a cool place, where fermentation slows down but never really stops completely.
- Salt: As with the other problems, the correct amount of salt can prevent this problem, as well.
- Naturally softer vegetables: cabbage, carrots, and radishes are crunchy, but vegetables like pumpkin or zucchini are naturally a lot softer and thus can become mushy during fermentation.
How to Prevent It
- Always stick to the required amount of salt, which should be at least 2, better 3 – 5 % of the weight of the vegetables.
- Keep an eye on the temperature: the ideal fermentation temperature range is between 18 and 22 °C (65 – 72 °F).
- Use fresh vegetables, at best directly after harvesting.
The Ferment Is Not Bubbling
A sure sign of a successful fermentation start is the formation of bubbles, but what if there’s no sign of them?
Why it happens
- Temperature: While temperatures above 25 °C / 77 °F increase the risk of mould or Kahm yeast, temperatures below 18 °C / 64 °F can slow down the fermentation process or take longer for it to start.
- Slow starter culture: if you use a starter culture like brine from an earlier ferment, it may contain only a small amount of active microbes. It’ll take them some time to reproduce and do their work.
- Fermentation already completed: bubbles only form at the beginning of the process. When the main work is done, they’ll disappear – a sure sign to put the jars in a cool place.
- Small batch size: the larger the container, the more vegetables you use and the more microbes are in the ferment. In reverse, that means the smaller the batch, the fewer microbes you have.
How to Tell if It’s Still Working
Before you give up, look out for
- Aroma changes: smell the ferment and look for all the signs I described earlier.
- Brine cloudiness: it’s a sure sign of an active fermentation when the brine gets cloudy.
- Taste changes: when the ferment tastes sour, tangy and slightly yeasty, it has been fermented.
Brine Overflowing From the Jar
Overflowing brine is actually a clear sign of active fermentation!
Why It Happens
Lactic acid bacteria convert vegetable sugars into lactic acid and carbon dioxide. This gas forms the bubbles and develops a certain pressure within the jar, which can press the brine out of the jar.
What To Do
- Always place the jars on a tray where the brine collects and can be removed later.
- Leave adequate headspace: leave at least 2 cm (about 1 inch) between brine surface and lid so that there’s room for expansion.
Brine Level Has Dropped
When brine flows out of the jar, it sometimes occurs that there’s too little left in the jar. Another cause for a dropped brine level is evaporation or the shrinkage of vegetables due to water loss.
Solutions
If that happens, you can simply add more brine. Just mix 20g salt per 1 litre of water, mix it thoroughly until the salt has dissolved, and top the jar up.
My Ferment Is Too Salty
While a certain salty taste is normal, too salty is too much.
Why It Happens
- Measuring by volume: always weigh the vegetables and calculate the amount of salt necessary. This is way more accurate than measuring by volume.
- Salt: the salt concentration should be between 2 and 5 %.
But what to do when the ferment is too salty?
Solutions
- Rinse before eating: take out the portion you want to eat and put it into a bowl with clear water. Rinse it and repeat this process until all the salt has been washed out. Let it drain in a sieve (plastic or acid-proof metal) for 15 minutes and taste it.
- Mix with fresh vegetables
- Use it in cooked dishes, for example with extra sauce to dilute the salt.
My Ferment Isn’t Sour Enough
Imagine opening a jar of homemade sauerkraut, only to discover that it’s just kraut without the sour.
Why it happens
- Fermentation time: this is the most common reason for ferments that are not sour enough. Fermentation and the development of lactic acid takes its time.
- Cool temperatures slow down the fermentation process, and it takes longer to create that sour taste.
Solution
That’s easy: simply ferment the vegetables longer. Fermentation cannot be rushed, and patience is the key.
When Should You Throw a Ferment Away?
More often than not, a ferment is perfectly safe to eat. There are, however, a few warning signs that indicate a ferment should be discarded.
| Discard it if you see | Usually safe |
|---|---|
| ❌ Fuzzy mould | ✔ Cloudy brine |
| ❌ Pink mould | ✔ Bubbles |
| ❌ Black mould | ✔ White sediment |
| ❌ Orange mould | ✔ Kahm yeast |
| ❌ Rotten smell |
You can download my fermentation starter checklist, a free printable with all the ingredients for a successful fermentation at home.
Frequently Asked Questions About Fermentation Problems
Can I scrape mould off fermented vegetables?
No. If mould is present, discard the entire ferment.
Is Kahm yeast dangerous?
No. Kahm yeast is usually harmless but may affect flavour.
Why is my brine cloudy?
Cloudy brine is typically a sign of active fermentation.
Why isn’t my ferment bubbling?
Temperature, batch size, or fermentation stage may be responsible.
Can fermented vegetables be too salty?
Yes, but they can often be rinsed before eating.
Can I eat vegetables that floated above the brine?
If they were only briefly exposed and show no signs of mould, they are usually safe. Re-submerge them as soon as possible.
Is white sediment mould?
No. White sediment at the bottom of the jar is usually dead lactic acid bacteria and is perfectly normal.
Fermentation problems can happen – know how to deal with them.
Every experienced fermenter has looked nervously into a jar at some point. The good news is that most fermentation “problems” aren’t really problems at all. Once you understand what your ferment is telling you, you’ll spend less time worrying—and more time enjoying the results.
If you’re ready to put these principles into practice, try my beginner-friendly recipes for fermented radishes, fermented cucumbers, or homemade sauerkraut. The more you ferment, the more confidence you’ll gain.
Trust your senses, follow a few key fermentation principles, and you’ll soon discover that fermentation is far less intimidating than it first appears.
Wondering whether fermentation is safe in general?
Read my complete guide to fermentation safety first.
Ready to Try Fermentation?