Fancy strawberry jam with a twist? Try these yummy recipes for strawberry jam with mint, woodruff or kiwi. Four ingredients and about 30 minutes of your time are all you need to be sent to seventh jam heaven.
Strawberry Mint Jam
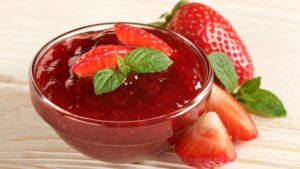
My first recipe is for strawberry mint jam. The sweetness of the strawberries in combination with the fresh mint leaves makes a refreshing spread for a summer breakfast!
Hint: The mint flavour will develop over time, so don’t use more than the recommended 3 – 4 stems. Otherwise, the jam could taste a bit like toothpaste…
Yield: 6 – 8 jars à 200 ml
Ingredients:
1 kg strawberries 500 g preserving sugar 3 – 4 stems of mint lemon juice
Instructions:
1. Sterilize your jars and lids by washing them with boiling water. Let them cool on a rack and dry them out.
2. Wash the strawberries, cut off the green leaves and let them dry in a colander.
3. Remove the mint leaves from the stems and cut them into very fine pieces.
4. Next, put the strawberries into a high pot and blend them with a hand blender.
5. Add the mint leaves, preserving sugar and lemon juice and bring it all to the boil under constant stirring.
6. Let it boil for 5 minutes while constantly stirring. If foam forms, you can remove it if you like. It’s a purely optical matter and doesn’t impact storage or flavour.
7. Test if the jam sets. When it’s ready, fill it into the jars and close the lid tightly. Place the jars upside down onto a towel for about 5 – 10 minutes. This will help to build a vacuum within the jars.
8. Let the jars cool down and store them in a cool, dark place. Or you just eat the jam up at once after cooling 😉.
Strawberry Woodruff Jam
Remember the woodruff syrup we made in spring? Besides adding it to your drinks, it’s also great in strawberry jam. The herbal and slightly earthy flavour of the woodruff matches very well with the sweetness of the strawberries.
Yield: 10 – 12 jars à 200 ml
Ingredients:
1 kg strawberries 500 ml woodruff syrup gelling agent 3:1 lemon juice
Instructions:
1. Sterilize your jars and lids by washing them with boiling water. Let them cool on a rack and dry them out.
2. Wash the strawberries, cut off the green leaves and let them dry in a colander.
3. Next, put the strawberries into a high pot and blend them with a hand blender.
4. Add the woodruff syrup, gelling agent and lemon juice and bring it all to the boil under constant stirring.
5. Let it boil for 5 minutes while constantly stirring. If foam forms, you can remove it if you like. It’s a purely optical matter and doesn’t impact storage or flavour.
6. Test if the jam sets. When it’s ready, fill it into the jars and close the lid tightly. Place the jars upside down onto a towel for about 5 – 10 minutes. This will help to build a vacuum within the jars.
7. Let the jars cool down and store them in a cool, dark place.
Strawberry Kiwi Jam
I would never have come across this recipe if I hadn’t been presented with a (very) large box of kiwis one day. The boys, of course, ate lots of them but there were still so many left that I had to find ways to preserve them. A day before the kiwis came into my life, I had been harvesting strawberries. So I decided it would be worth a try to combine these two fruits. I haven’t regretted it!
Yield: 6 – 8 jars á 200 ml
Ingredients:
500 g strawberries 500 g kiwis 500 g preserving sugar 2:1 lemon juice
Instructions:
1. Sterilize your jars and lids by washing them with boiling water. Let them cool on a rack and dry them out.
2. Wash the strawberries, cut off the green leaves and let them dry in a colander.
3. Peel the kiwis and chop them roughly.
4. Next, put the strawberries and kiwis into a high pot and blend them with a hand blender.
5. Add the preserving sugar and lemon juice and bring it all to the boil under constant stirring.
6. Let it boil for 5 minutes while constantly stirring. If foam forms, you can remove it if you like. It’s a purely optical matter and doesn’t impact storage or flavour.
7. Test if the jam sets. When it’s ready, fill it into the jars and close the lid tightly. Place the jars upside down onto a towel for about 5 – 10 minutes. This will help to build a vacuum within the jars.
8. Let the jars cool down and store them in a cool, dark place.
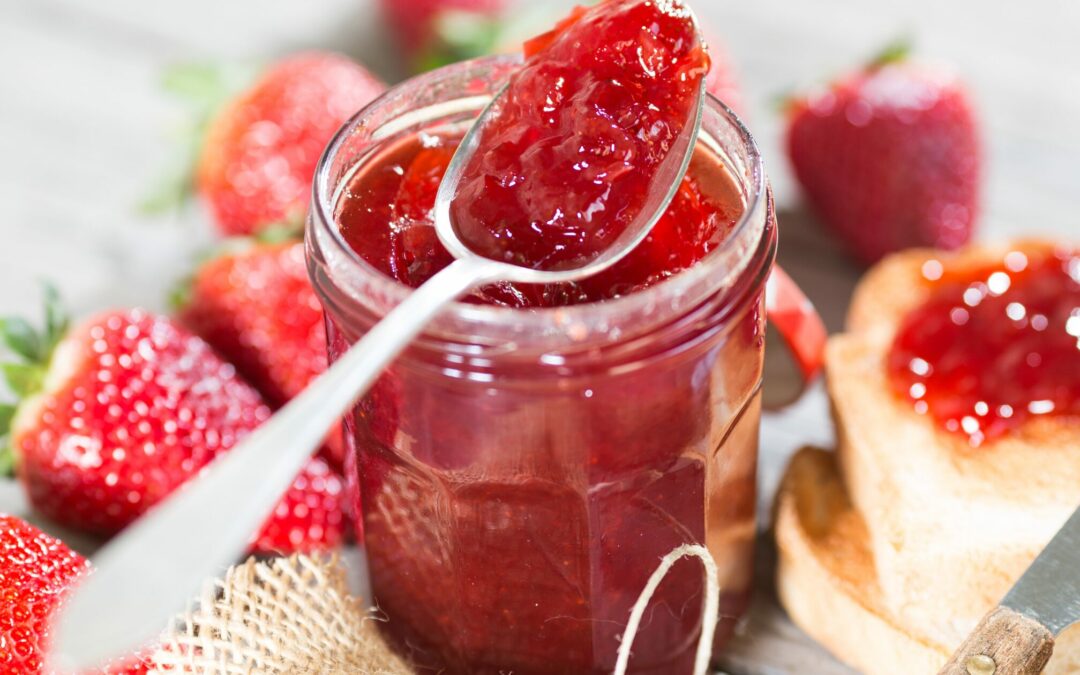
Strawberries! These sweet, bright red fruits are always a highlight in desserts and cakes. And above all in homemade classic strawberry jam! Enjoy it on freshly baked rolls and you have the ultimate indulgence for breakfast. You can easily capture the sweet taste of summer in a jar by making a classic strawberry jam. This easy recipe only requires three ingredients and about 30 minutes of your time. And when it has cooled down, you can use it for breakfast, in pancakes or even as a cake filling.
Why you should make your own classic strawberry jam
You’ll see: it’s so easy to cook your own strawberry jam and the result is a thousand times better than store-bought products.
Home-made strawberry jam is fresher and more flavourful, especially when you use fully ripe fruits from your own garden or a local market.
You can tailor the recipe precisely to your preferences. You can decide how sweet you want it – in this recipe, we’ll use preserving sugar 2:1 for less sweetness – and add other flavours like mint or woodruff.
You have full control over the sugar content and completely do without dubious additives.
Cooking jam makes you happy and you’ll always have a great gift for family and friends ready at hand.
Three ingredients for classic strawberry jam
Only three ingredients are necessary for a classic strawberry jam:
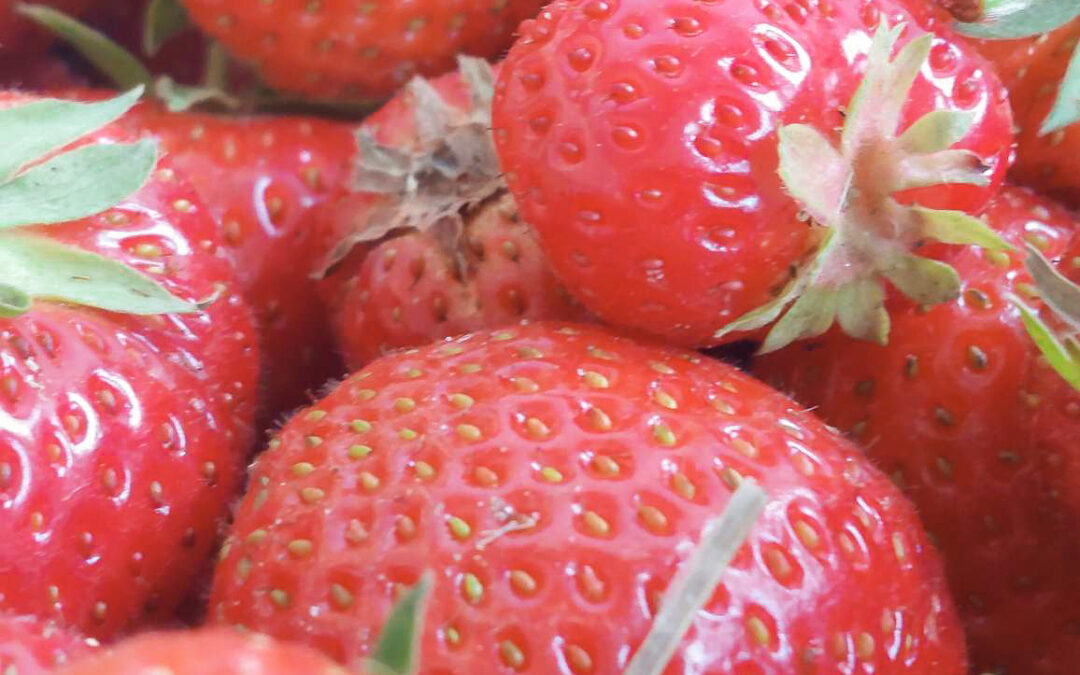
Only pick strawberries that are fully ripe and don’t show any white spots. They should be bright red and have a sweet smell. If they don’t smell at all, they most probably won’t taste at all either.
For sweet fruits like strawberries, I recommend using preserving sugar 2:1. That way, the jam won’t be too sweet and the characteristic flavour of the strawberries is more pronounced.
Lemon juice supports the gelation of fruits low in acid like strawberries. Furthermore, it helps to keep the red colour and adds a nice, fresh flavour to your jam.
My top tips for making strawberry jam
Sterilized jars will prolong the shelf life of your jam. Wash your jars and lids with boiling water and let them dry on a rack.
Cook the jam slowly. That way you make sure that it gelates evenly and doesn’t burn. Stir constantly to dissolve all the sugar.
Always test if the jam sets. Put a spoonful of jam onto a cold plate. If the jam runs it’ll need 1 – 2 minutes further boiling. If it sets on the plate, it’s ready to be filled in jars.
Fill the jam immediately into the sterilized jars and close the lid tightly. That way you prevent the formation of mould and prolong the shelf life of your jam.
Store the jars in a cool and dark place to keep the freshness and taste of your jam.
Classic strawberry jam
Yield: 6 – 8 jars à 200 ml
Ingredients:
1 kg strawberries 500g preserving sugar 2:1 1 tbsp lemon juice
Instructions:
Sterilize your jars and lids by washing them with boiling water. Let them cool on a rack and dry them out.
Wash the strawberries, cut off the green leaves and let them dry in a colander.
Next, put the strawberries into a high pot and blend them with a hand blender.
Add the preserving sugar and lemon juice and bring it all to the boil under constant stirring.
Let it boil for 5 minutes while constantly stirring. If foam forms, you can remove it if you like. It’s a purely optical matter and doesn’t impact storage or flavour.
Test if the jam sets. When it’s ready, fill it into the jars and close the lid tightly. Place the jars upside down onto a towel for about 5 – 10 minutes. This will help to build a vacuum within the jars.
Let the jars cool down and store them in a cool and dark place. Or you just eat the jam up at once after cooling.
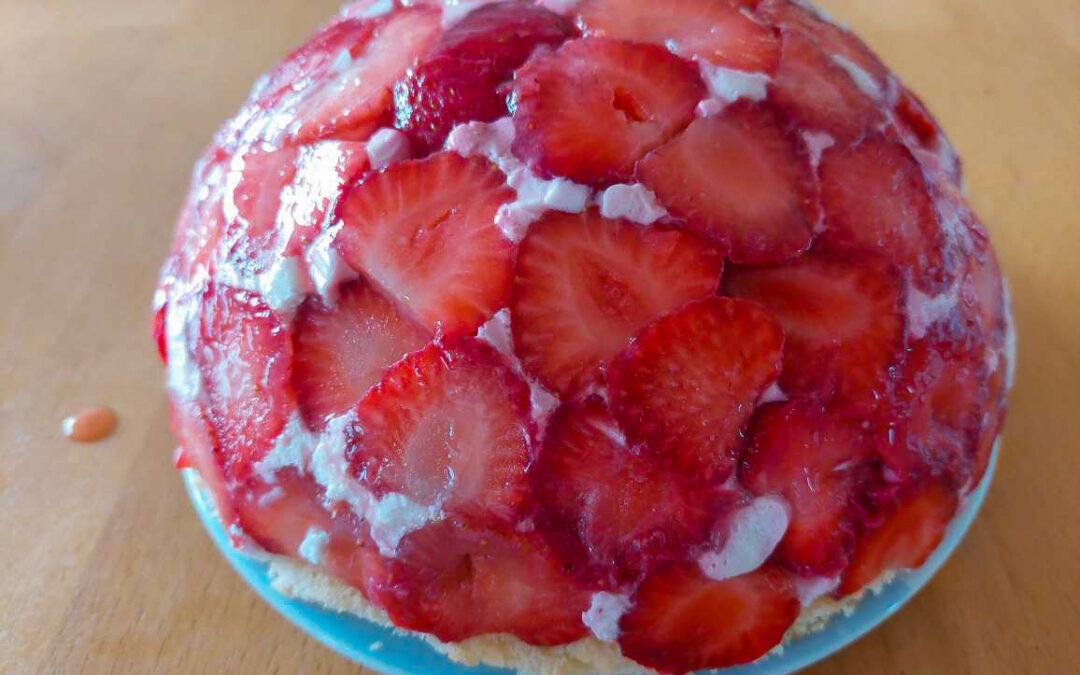
Strawberries! Every year we can’t wait for the first ripe strawberry and the knowledge that their harvesting time is limited to only a few weeks, makes them all the more precious. I think this relatively short availability and the fact that they don’t freeze well make them so popular. However, you can’t keep them for long in the fridge either and thus have to process them quickly. There are many fast and easy strawberry recipes like this strawberry pavlova or the strawberry tiramisu. But sometimes, we want to do something more impressive. That’s what this recipe is for. This strawberry dome cake will be a showstopper on every coffee table and it’s said to have even left some mother-in-laws speechless 😉 Admittedly, it takes more time to prepare this wonderful cake but it’s worth every minute of your effort!
Strawberry Dome Cake
10 – 12 servings
Ingredients:
3 eggs (size M) 1 pinch of salt 220 g sugar 100 g flour 1 tsp baking powder approx. 1 tsp butter 12 gelatin leaves (red or white) 1 kg strawberries 300 g curd cheese 200 g cream 1 package of red cake glaze
Instructions:
Preheat the oven to 180 °C (350 °F). Separate the eggs and beat the egg whites and salt until stiff. Gradually add sugar and beat again until the sugar has dissolved. Stir in the egg yolks. Mix the flour and baking powder and sieve it onto the stiff egg whites. Carefully fold in the flour mixture.
Line a baking tray with baking paper and put the dough on it. Smooth it out until it’s even and bake it in the oven for about 10 minutes. In the meantime, put a dishcloth on a flat surface and sprinkle it with sugar. When the cake is ready, remove it from the oven and immediately put it on the cloth, facing downwards. Remove the baking paper and let it cool down.
Take a half-round bowl and line it with cling film. Soak the gelatin leaves according to the packet instructions. Wash the strawberries and remove the green leaves. Cut about 300 g of the strawberries into slices and layer the bowl with them.
Mash the remaining strawberries together with 100 g of sugar. Stir the puree into the curd cheese. Remove the gelatine from the water and squeeze it. Afterwards, dissolve it in a small pot on medium heat and stir in 2 tbsp of the curd. Then stir this mixture into the remaining curd and let it cool down. In the meantime, whip the cream until it’s stiff and fold it into the curd mixture.
Cut the sponge cake into three layers for your half-round bowl. This can best be done with glasses or bowls of different sizes. The first layer should be the smallest, followed by a larger one. The last layer should be large enough to cover the bowl opening.
Carefully fill some of the cream into the bowl and put the smallest cake layer onto it. Alternately layer the mousse and the sponge, ending with the largest cake layer. Put it in the fridge for at least 3 hours.
Put a cake plate onto the bowl and turn it over so the cake sits on the plate. Remove the bowl and cling film. Prepare the cake glaze according to the package instructions and pour it over the cake. Let it cool for at least another 30 minutes.
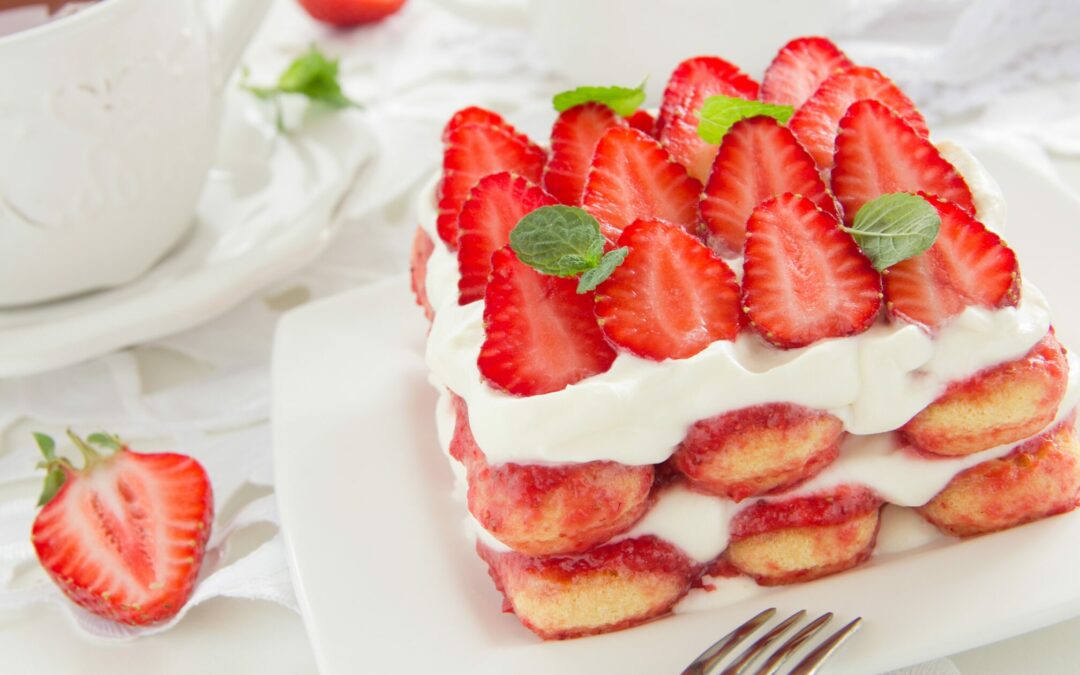
The classic tiramisu consists of ladyfingers, coffee, mascarpone and cocoa. But did you know that you can also make strawberry tiramisu? It’s lighter than the original and thus the perfect dessert for summer! Whenever I make it, I have to quickly secure a portion for me before the boys gobble it up in no time! I can’t blame them. And when you taste it you’ll certainly agree: One bite of this delicious dessert and you’ll become addicted, as well.
The good thing is that it’s swift to make. But look for yourselves:
Strawberry Tiramisu
For 4 people (or 2 greedy boys)
Ingredients:
15 – 20 ladyfingers 300 g strawberries 300 g curd cheese 150 g cream 3 tsp sugar 1 tbsp lemon juice
Instructions:
Wash the strawberries, remove the green leaves and cut them into slices. Put them into a bowl and mix them with 1 tsp of sugar and the lemon juice. Let the strawberries marinate for about 20 – 30 minutes, until a juice forms.
Whip the cream until it’s stiff. Mix the curd with 2 tsp of sugar and gently fold in the cream.
Put the ladyfingers side by side into a tray. Drizzle some of the strawberry juice over them so that they soak it up. Evenly spread the cream-curd mix onto the ladyfingers and put strawberry slices on top. Repeat these steps until all ingredients are used up. The last layer should be strawberries. Serve well chilled.
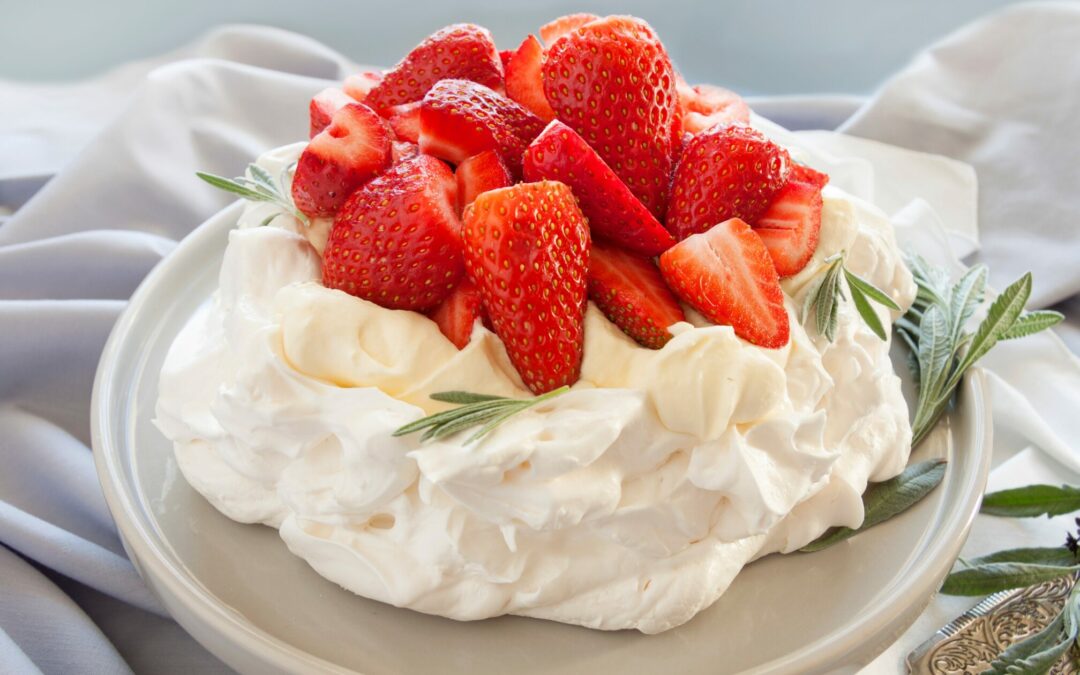
If you have never come across a pavlova, you missed something! It’s basically a baiser base with cream and fruit. That may sound a little dull but don’t underestimate this yummy combination: the sweet, crisp base, the rich, fluffy cream and the fresh fruit will catapult your palate onto cloud nine! With this beginner-friendly recipe, I’ll show you how to make a wonderfully tasty strawberry pavlova.
Strawberry Pavlova
For 5 people
Ingredients:
For the Baiser base
270 g icing sugar 15 g cornstarch 4 egg whites (150 g) 1/2 tsp baking powder a pinch of salt 1/2 tbsp white vinegar
For the topping
250 g cream 250 g strawberries 1 tbsp sugar 1 tbsp balsamic vinegar almond flakes or chopped pistachios (optional)
Instructions:
Mix the icing sugar and cornstarch and sieve twice. Stir the egg whites, the baking powder and the salt in a metal bowl and set it in a hot water bath. Mix the icing sugar-cornstarch mixture in portions and warm up the whole batter until it is hand-warm. Transfer it into a second bowl and stir it until it’s very stiff. Add the white vinegar and mix it in.
Preheat the oven to 150 °C (300 °F). Fill the baiser into a piping bag with a large-holed nozzle. Alternatively, fill it into a common freezer bag and cut off a corner. Put baking paper onto the tray. Now, pipe three even circles onto the baking tray and bake them in the oven for 10 minutes. Reduce the temperature to 100 °C (210 °F) and let the baiser dry for approximately 2 hours. Let it cool.
Roast the almonds in a pan without fat until they are light brown. Put them on a plate and let them cool down. In the meantime, wash the strawberries, remove the leaves and cut them into slices. Whip the cream until it’s stiff. Layer the baiser bases with cream and strawberries (and almonds if you use them). The last layer is strawberries. Alternatively, you can use only one cake base and top it with cream and strawberries. Serve immediately, otherwise the baiser will soak through and become soft.