
.
Updated: August 2026
I love it when I can harvest cucumbers and gherkins because it means that it’s summer! And summer, for me as a school secretary, means holiday season, one of my favourite times of the year.
While I could – and often do – eat cucumbers all summer long, gherkins are best preserved. Fermented gherkins (or salt gherkins) are a classic ferment. Crisp, tangy and naturally fermented, they have very little in common with the vinegar pickles you’ll find in most supermarkets.
Now, fermented gherkins are not “better” than pickled ones; they are just preserved with a different method. Here you can read about the difference between fermentation and pickling, and if you want to try your hand at the vinegar-pickled version, check out this recipe.
In this guide, I’ll show you how to master fermented gherkins. Let’s dive in.
- Fermentation time: 4–7 days
- Salt concentration: 3.5%
- Temperature: 15–18 °C (60–65 °F)
- Difficulty: Easy
- Ready after: ➡️ Half-sour: 4–5 days ➡️ Full-sour: 6–7 days
- Storage: up to 1 year refrigerated
Before You Start: 4 Things That Make Fermented Gherkins Successful
As I said before, fermented gherkins are a classic example of lacto-acid fermentation, but there are a few aspects to consider.
Salt content
Fermented gherkins need a brine with a higher salt content. While a brine with 2% salt is usually enough, we use a concentration of 3.5% in this recipe. This is due to the relatively high water content of gherkins. The salt draws water from them and allows them to partly replace it with the salty brine. That way, they stay crunchy for a long time.
Tannic leaves
Additionally, I like to add leaves that contain tannin, which also help the gherkins stay crisp and crunchy. The tannins help strengthen the vegetable’s cell walls, which keeps the gherkins crisp. You can use the leaves of oak, wine, cherry, raspberry, blackberry, currant, bay and horseradish. If you can’t get any of those, you could also put a bag of black tea in the jar, but be prepared that it changes the gherkins’ colour.
Temperature
While I usually prefer fermenting other vegetables at temperatures around 20°C (68°F), I like to ferment gherkins at a lower temperature range between 15 and 18°C (60 – 65°F). That way, fermentation occurs a bit slower and won’t become too sour too soon. If you are up for a full-sour version, however, feel free to ferment at 20 °C / 68 °F.
Water
I use our tap water for fermenting, and it works just fine. However, if you live in a region where your tap water is highly chlorinated, or the house you live in has old (rusty) pipes that could leak iron, it’s best to run it through an activated carbon filter before using it for fermentation (or drinking or cooking, for that matter).
If in doubt, taste your tap water. Smelling and tasting good? Then go on and use it for fermentation. If it’s got a metallic or chlorine taste, filter it first.
Distilled water is NOT a good alternative, as – due to the lack of minerals – it tastes very bland and lets the gherkins go mushy.
Mastering fermented gherkins – Step by step
Probably the most difficult part of making fermented gherkins is getting the gherkins, unless you cultivate them in your garden. While all cucumber varieties can be fermented, gherkins are the best choice. They are uniformly small, usually up to 10 cm (4 inches). They have a thick skin that is thicker than cucumbers.

If you don’t grow your own gherkins, you can sometimes find them in the supermarket, but you need to check them carefully for freshness. Gherkins become flabby a few days after being harvested. If the ones you found show dull, wrinkled skin, they were picked too long ago. Yellow gherkins are also not suitable. They’ve been harvested overripe.
If you have a local farmers’ market in the vicinity, that’s a good place to buy freshly picked gherkins (or any fresh vegetables for that matter).
A word on bitterness
Sometimes, cucumbers and gherkins can get bitter, especially when the plant gets stressed by too much heat, too little water or great differences in temperature. Unfortunately, fermentation won’t remove existing bitterness. If you want to ensure that your gherkins are good to use, try one or two to check that everything’s all right.
Want to ferment with confidence?
Download my free Fermentation Starter Checklist and get practical preserving tips, seasonal recipes and new fermentation guides delivered straight to your inbox.
Equipment
Good news: you’ll only need a few jars with lids and fermentation weights for each jar. If you’re not quite sure whether your jars are ok and what weights you can use, check out my fermentation equipment list.
Ingredients
Yield: one jar of 4 l or 6 jars of 3/4 l
about 20 gherkins
12 – 15 garlic cloves
2 fresh dill flowers (alternatively: 2 tbsp dill seeds)
2 tbsp peppercorns
2 tbsp mustard seeds
5 bay leaves
3 l water
105 g salt
5 – 10 tannic leaves (for example, from oak, wine, raspberry, currant or blackberry)
Instructions
Sterilise the jars and lids. In this guide, you’ll learn four simple methods to do so.
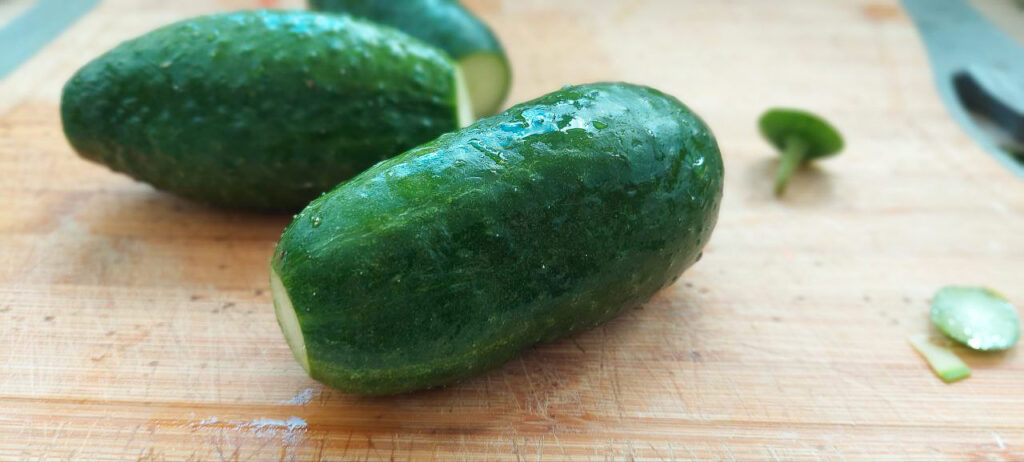
Thoroughly wash the gherkins and remove the vines and blossom ends. The blossom end contains enzymes that soften the gherkins during fermentation.
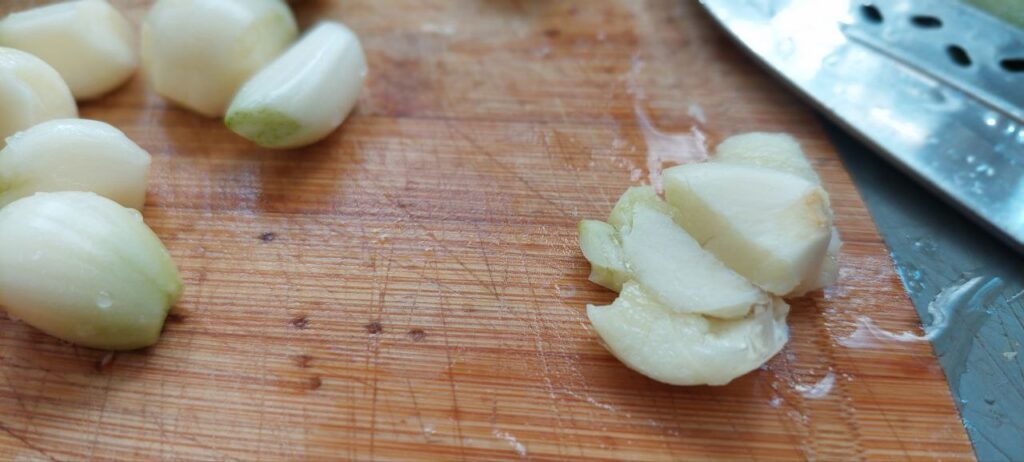
Peel the garlic cloves and either press them slightly with the blade of a knife or cut them in half.
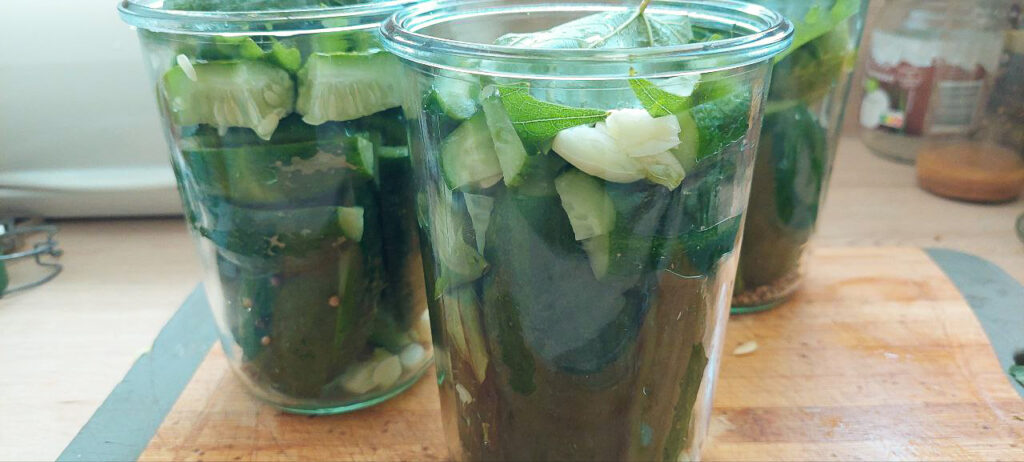
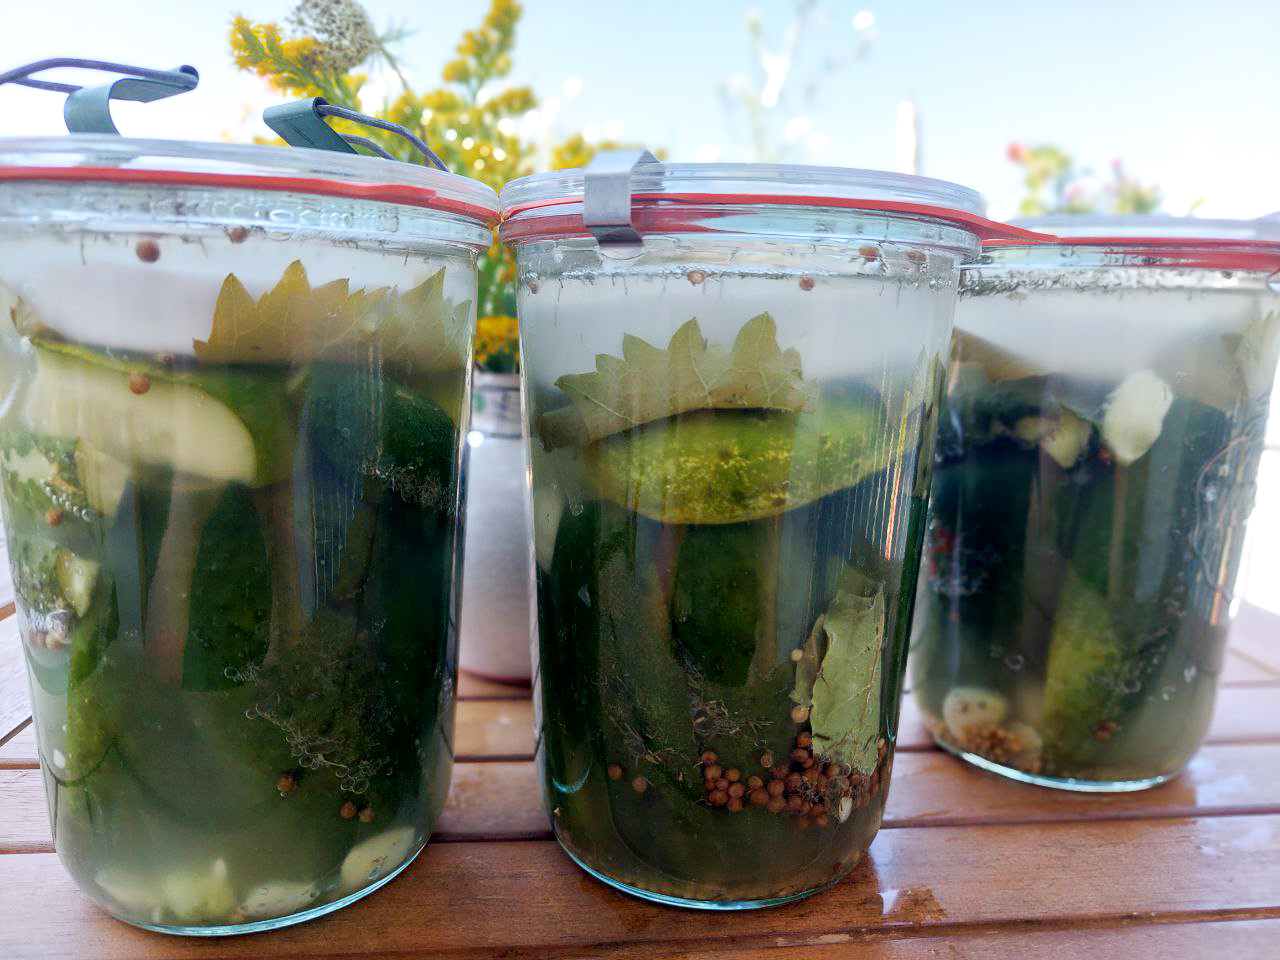
Now, layer the gherkins, the garlic cloves, bay leaves and spices in one large or several small jars. If the gherkins are too large for your jars, cut them into slices or sticks.
Prepare the brine by dissolving the salt in the water. Stir the mixture until the salt has completely dissolved.
Pour as much brine over the gherkins so that they are covered by it. Store the residual brine in the fridge.
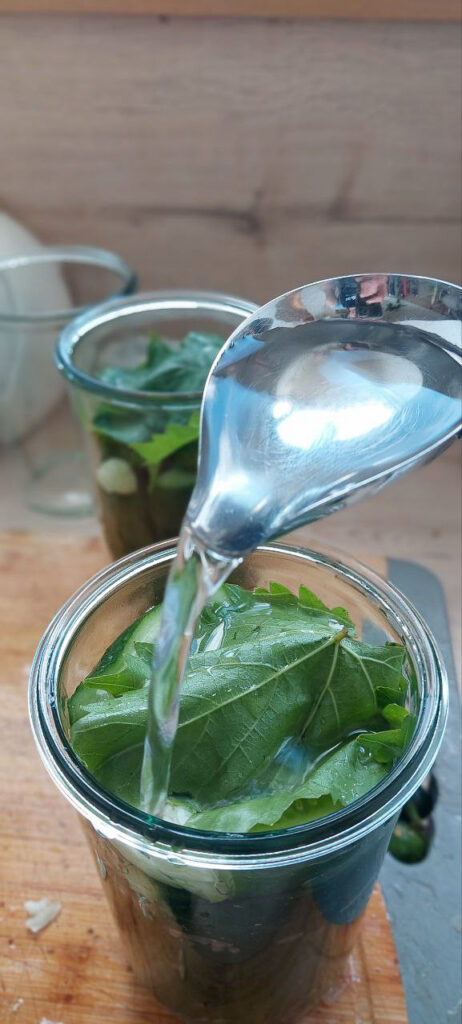
Cover the brine surface with the tannic leaves and put a weight on them to make sure that everything stays under the brine.
Put the jar or jars on a baking tray or something similar and let everything ferment at 15 – 18 °C (60 – 65°F) in a place without direct sunlight for 4 – 7 days.
You’ll usually notice bubbles within the first day or two, and the brine may become cloudy. Both are perfectly normal signs of active fermentation.
Keep an eye on the jars and pour in some of the brine from the fridge if, during fermentation, too much brine flows out of the jar.
After 4 – 5 days, the gherkins are half-sour; after 6 – 7 days, they’re full-sour. Taste them to test the flavour and either eat them right away or put them in a cool place (at best the fridge) to stop, or rather slow down, fermentation.
You can store the jars in the aforementioned cool place for up to 1 year. The flavour continues to develop slowly during storage, becoming more sour over time.

Fermented gherkins
Ingredients
Method
- Thoroughly wash the gherkins and remove the vines and blossom ends.
- Peel the garlic cloves and either press them slightly with the blade of a knife or cut them in half.
- Now, layer the gherkins, the garlic cloves, bay leaves and spices in one large or several small jars. If the gherkins are too large for your jars, cut them into slices or sticks.
- Prepare the brine by dissolving the salt in the water. Stir the mixture until the salt has completely dissolved.
- Pour as much brine over the gherkins so that they are covered by it. Store the residual brine in the fridge.
- Cover the brine surface with the tannic leaves and put a weight on them to make sure that everything stays under the brine.
- Put the jar or jars on a baking tray or something similar and let everything ferment at 15 - 18 °C (60 - 65°F) in a place without direct sunlight for 4 - 7 days. Keep an eye on the jars and pour in some of the brine from the fridge if, during fermentation, too much brine flows out of the jar.
- After 4 - 5 days, the gherkins are half-sour, after 6 - 7 days they're full-sour. Taste them to test the flavour and either eat them right away or put them in a cool place (at best the fridge) to stop or rather slow down fermentation.
- You can store the jars in the aforementioned cool place for up to 1 year
Notes
Recipe alterations
If you want a less “garlicy” taste, cut down the amount of garlic cloves. Instead, add some onion rings. You can also get creative with the spices, for example by adding dried chillies or coriander.
Ready for your next ferment?
If you enjoyed making these fermented gherkins, you’ll probably love experimenting with other vegetables too.
Download my free Fermentation Starter Checklist and receive seasonal fermentation recipes, troubleshooting tips and preserving ideas throughout the year.
Troubleshooting
Although you think you’ve done everything right, some problems may occur:
Shrivelled gherkins
Either the gherkins were not fresh enough (that is, they were harvested longer than two days before you processed them) or your brine was too salty. Either way, they’ve lost too much water in the brine and have become shrivelled. Nevertheless, you can still eat them.
Hollow gherkins
Here again, the gherkins may not have been freshly harvested. Another reason for hollow gherkins is that the gherkins were too large. But like shrivelled gherkins, hollow ones are still edible.
Discolouration
During the fermentation process, it’s normal that the gherkins’ colour changes from a fresh, bright green to a dull olive green. However, if they get a different colour, there are several reasons for that.
Either the water you used for the brine was too hard or, more often, colouring spices like curcuma or vegetables like red onions caused the colour change. Discolourations, however, are harmless, and you can eat the gherkins.
Slimy gherkins
That’s a more serious problem that could have been caused by several mistakes:
- either you used too little salt in your brine (i.e. a ratio below 3.5 %) or
- fermentation temperatures were too high (15 – 18 °C / 60 – 65 °F are ideal) or
- you didn’t cut off the blossom ends or
- The gherkins were not fully covered with brine.
Unfortunately, slimy gherkins are not edible, and you must discard them.
White film on top
If the layer is thin, white and smooth, it’s usually kahm yeast rather than mould.
Kahm yeast is a layer of wild yeasts that forms on lacto-fermented goods. It always appears on the surface; that is exactly where the ferment has contact with oxygen.
In most cases, kahm yeast is harmless. But it can affect the ferment’s taste and make it slightly musty. Most importantly, it’s a sign that there’s oxygen in the ferment and that’s where mould can grow.
When you detect kahm yeast on your ferment, carefully remove it from the surface with a spoon, then wipe the jar and the fermentation weight clean.
Afterwards, smell the ferment: when it smells fresh and slightly sour, everything’s ok. If the smell is unpleasant or “weird”, discard it.
Not sure whether your ferment is still safe to eat? Here’s how to tell the difference between harmless kahm yeast and mould.
Frequently Asked Questions
Why are my fermented gherkins soft?
You either haven’t cut off the blossom ends, or they’ve fermented at a high temperature for too long. Another reason could be that the ferment is older than a year.
How salty should the brine be?
It’s difficult to go by taste, which is why you should always take the exact amount of salt and water indicated in the recipe.
Can I ferment whole cucumbers instead?
Yes. Use small, firm pickling cucumbers if possible. Larger slicing cucumbers contain more water and usually don’t stay as crisp during fermentation.
Why are my gherkins hollow?
Either they were not quite fresh when fermented, or they were too large. They’re still edible, though.
Can I reduce the salt?
No. The salt ratio is crucial for a safe ferment.
How long do fermented gherkins last?
Properly stored in a cool, dark place, they last for at least a year. You can store them longer, but notice that the flavour will gradually get more sour and the gherkins will eventually turn mushy.
Small pickles, big flavour
Every summer has its flavours. For me, fermented gherkins are one of them.
They’re easy to make, don’t require many ingredients and taste so good, you’ll never want to have a pantry without them! Once you’ve made a batch yourself, you’ll discover just how different naturally fermented gherkins are from the vinegar pickles most of us grew up with—and chances are they’ll become a permanent resident of your fridge, too.
If you want to get creative, try out different herbs and spices or cut down on the garlic. As long as you stick to the salt ratio and make sure that everything’s under the brine, you’ll be fine!
Can’t get enough of fermenting? Try these recipes:
Channel Your Inner Oma: Simple Homemade Sauerkraut That Actually Tastes Amazing
For more preserving ideas, check out my library of preserving posts for canning, fermenting, and storage tips.
0 Comments