.
Home canning has become increasingly popular in recent years, and it’s obvious why: it’s cheaper to make preserves by yourself instead of buying them, and you have full control over what’s in your jars – or rather, what’s NOT in them! Also, what’s more sustainable than (ideally) growing your food on your doorstep and processing it freshly out of the garden?
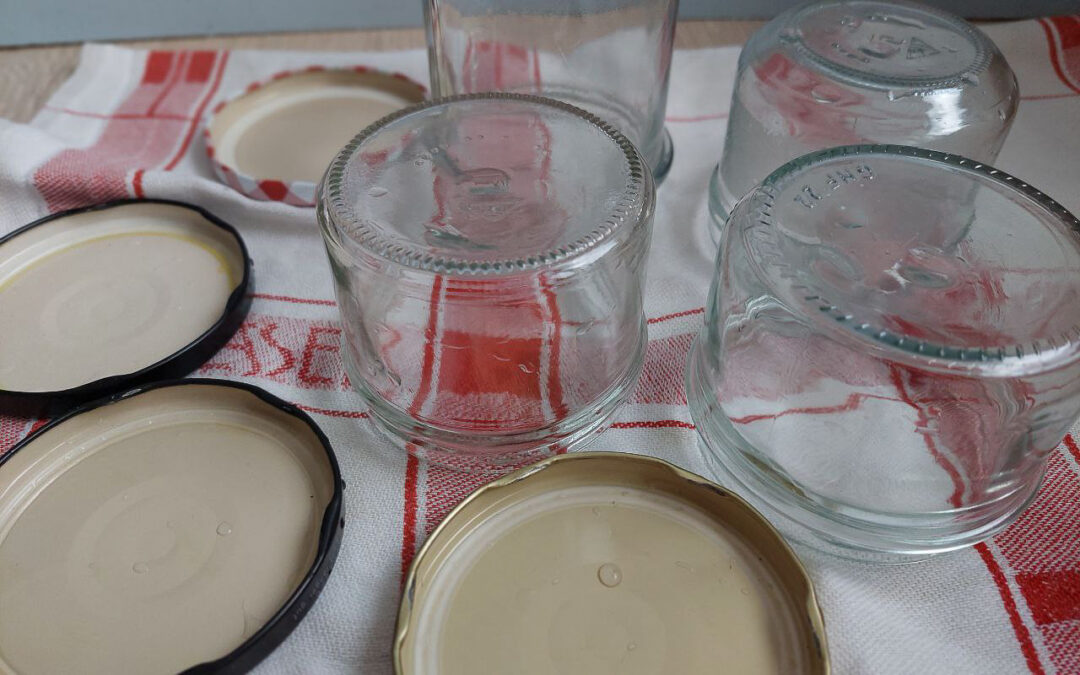
There is, however, one crucial point we must observe to guarantee that our homemade preserves are safe to eat for a prolonged time: hygiene. It goes without saying that you wash your hands before processing any food, but there are also the jars to consider, in which we put our preserves. The jars and lids must be clean, too. Yet, just washing them out will not do the trick. Some germs and bacteria thrive in anaerobic (that is, oxygen-free) environments, like in closed jars, and they’re not beneficial for us! In fact, they can cause severe illness like botulism, especially in low-acid food.
That’s why we must sterilise jars and lids and thus kill all harmful bacteria before we use them for canning and preserving. Now, don’t shy away! You don’t need any fancy equipment for sterilising your jars at home. In fact, I guarantee you already have all you need.
Stick with me and I’ll describe four simple yet effective methods of how to sterilise jars at home.
Find all my preserving tutorials in my Preserving Library.
Methods of sterilisation
Water-bath
The easiest method to sterilise jars is with boiling water. Put the open jars and the lids into a large pot and fill the jars and the pot with cold water. Jars and lids must be under water! Slowly heat the pot until the water boils. Let it all boil for 10 minutes. Remove the jars and lids with tongs and put them on a clean kitchen towel to dry off and cool down.
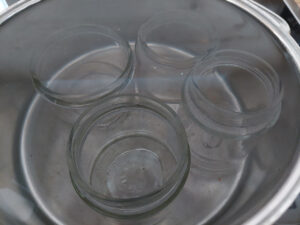
Make sure the jars are completely submerged!
Sterilisation in the oven
You can also use your oven to make your jars germ-free. This method is especially suitable when you have lots of jars to sterilise. Don’t sterilise the lids in the oven! They must be boiled in water. Pre-rinse your jars with hot water. Put the jars without lids on a baking tray and put them in the oven. Heat the oven to 140 °C / 285 °F top/bottom heat. Once the oven has reached that temperature, set your timer for 15 minutes.
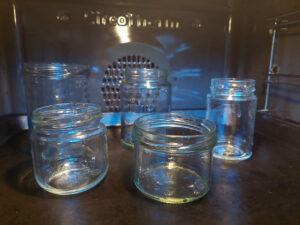
Afterwards, take the jars out of the oven, either with tongs or oven mitts. Don’t touch the rim or the inside of the jars! Put the jars on a clean kitchen towel and let them cool down.
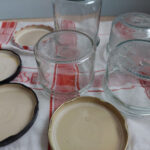
Dishwasher
The easiest but also the longest method to sterilise jars is in the dishwasher. It’s especially suitable when you have many or large jars of one litre (1.8 pt / 35 oz) or more. Put all the jars upside down, as well as the lids (separately), into the dishwasher.
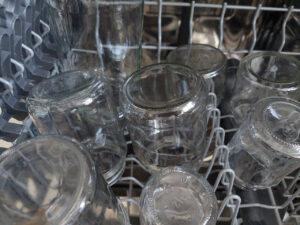
Do not add detergent! Also, do not add dirty dishes. Only the jars and the lids are allowed in that wash cycle! Choose the hottest programme and start it. Once the programme is finished, let the jars and lids cool off inside the dishwasher.
Microwave
The fastest method to sterilise jars is in the microwave. Do not sterilise lids that way! They must be boiled in water for 10 minutes. Fill the jars with water up to one-third. Put them in the microwave at 600 Watt and wait till the water is boiling. Leave them in the microwave for one further minute. Carefully remove them with tongs or oven mitts, or let them cool off in the microwave.
How to sterilise jars
Instructions
Water-bath sterilisation
- Put the open jars and the lids into a large pot and fill the jars and the pot with cold water. Jars and lids must be submerged!
- Slowly heat the pot, bring to a boil and boil for 10 minutes.
- Remove the jars and lids with tongs and put them on a clean kitchen towel to dry off and cool down.
Oven method
- Rinse the jars with hot water.
- Place them on a baking tray (not the lids!) and put it in the oven.
- Heat up the oven to 140 °C / 285 °F top/bottom heat.
- Once the oven has reached that temperature, set your timer for 15 minutes.
- Take the jars out of the oven, either with tongs or oven mitts. Don't touch the rim or the inside of the jars! Put the jars on a clean kitchen towel and let them cool down.
Dishwasher
- The easiest but also the longest method to sterilise jars is in the dishwasher. It's especially suitable when you have many or large jars of one litre (1.8 pt / 35 oz) or more.
- Put all the jars upside down, as well as the lids (separately), into the dishwasher.
- Do not add detergent! Also, do not add dirty dishes. Only the jars and the lids are allowed in that wash cycle!
- Choose the hottest programme and start it.
- Once the programme is finished, let the jars and lids cool off inside the dishwasher.
Microwave
- The fastest method to sterilise jars is in the microwave. Do not sterilise lids that way! They must be boiled in water for 10 minutes.
- Fill the jars with water up to one-third.
- Put them in the microwave at 600 Watt and wait till the water is boiling.
- Leave them in the microwave for one further minute.
- Carefully remove them with tongs or oven mitts, or let them cool off in the microwave.
Whatever method you choose to sterilise your jars and lids, the most important thing is that you don’t skip this crucial step! When you ladle your homemade jam into freshly sterilised and still warm jars, close them with a lid and listen for that satisfying “pop”, you know that only good things are in that jar. That jam will stay fresh and safe for a year or more, thanks to your sterilisation, and so all the time and effort you put in making that jam was absolutely worthwhile. And not only did you make a yummy preserve, but you’ll have the absolute certainty that it will benefit your family whenever you eat it. Enjoy your delicious, safe homemade preserves with complete peace of mind!
Wanna dive right into jam making? Here are a few inspirations:
How to Make Perfect Pear Jam: From Tree to Jar
From Orchard to Jar: Heavenly Pear Jam Variations
Non-Bitter Orange Marmalade (Just 3 Ingredients!)
Looking for more ways to preserve your harvest? Browse my library of preserving posts for all my canning, fermenting, and storage tutorials.