
.
Fermented Garlic in honey is a very beginner-friendly ferment that requires only two ingredients.
I always have some jars of fermented garlic in honey in the house, usually in different stages of fermentation.
First, because it’s incredibly delicious and wonderfully versatile: The longer the garlic ferments, the milder it becomes, while absorbing the honey’s sweetness until the cloves are delicious enough to snack on straight from the jar.
Another reason I always keep a jar on hand is that many people value garlic-infused honey during the cold and flu season.
My main reason for making this ferment, however, is that it tastes marvellous and is very easy to make.
Quick Overview
| Prep time | 15 minutes |
| Fermentation time | At least 3 months |
| Difficulty | Easy |
| Best for | Beginners |
| Storage | At least 1 year |
| Flavour | Garlicy-sweet |
I guess by now, you wonder what honey-fermented garlic tastes like, don’t you? Let me tell you:
How does fermented garlic in honey taste?
We all know that garlic alone has a sharp and sometimes even biting flavour. When it’s fermented in honey, its flavour mellows over time, and it becomes sweeter over time due to the honey. Even people who normally find raw garlic too strong often enjoy the mellow fermented cloves.
Meanwhile, the honey becomes beautifully infused with garlic, more “spicy” and complex in flavour.
Convinced? Then let’s dive in.
Fermented Garlic in Honey
As promised, you only need a few things:
Equipment
To make fermented garlic, you only need a bowl to soak the cloves, a spoon to scrape out the honey and one large, clean jar with a lid, either twist-off or flip-top.
If you’re just getting started, have a look at my guide to fermentation equipment. It explains which jars and accessories are actually useful and which ones you can safely skip.
Ingredients
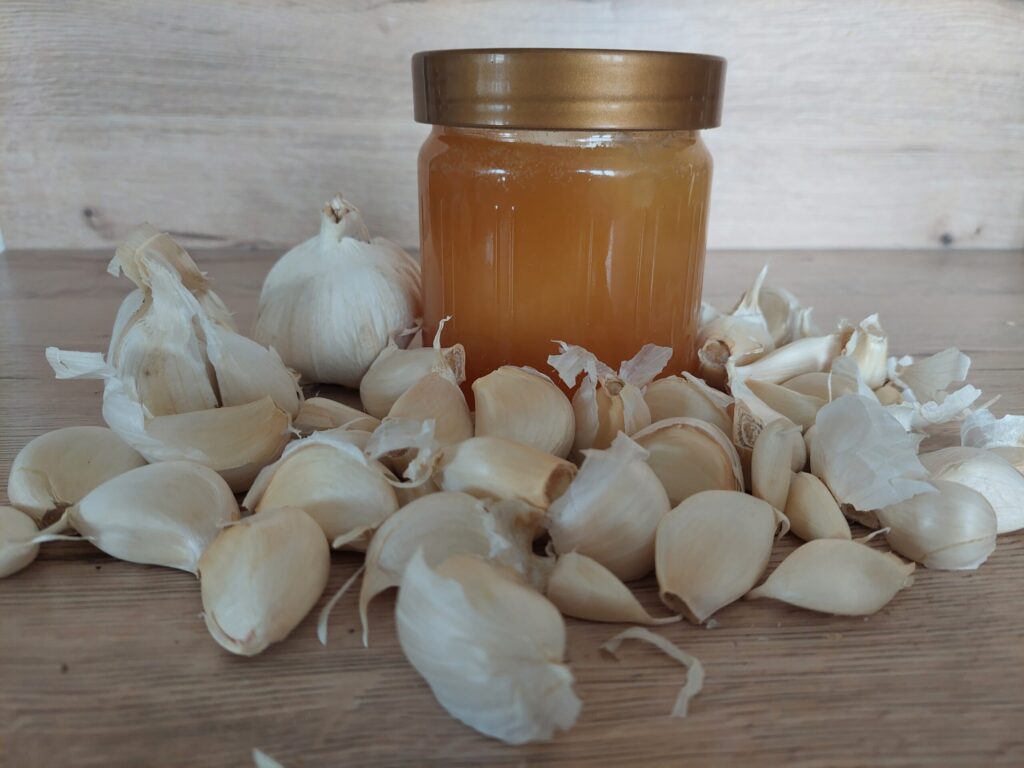
To make fermented garlic in honey, you just need
5 – 6 bulbs of garlic
about 500 g of raw honey (enough that all cloves are well-covered)
It’s best, of course, to use garlic you cultivated yourself in the garden. If you want to learn more about it, read my complete garlic growing guide here. It’s not necessary to use it freshly harvested; you can make the ferment later in the year, when you’re not up to your ears in preserving. Make sure, though, that the cloves haven’t dried up or started sprouting.
It doesn’t matter if you take liquid or crystallised honey. The garlic naturally releases moisture, which quickly turns even crystallised honey liquid again. It’s important, though, that you use raw honey. Raw honey works best because it contains naturally occurring yeasts and other microorganisms.
Instructions
Step 1: Peel the garlic
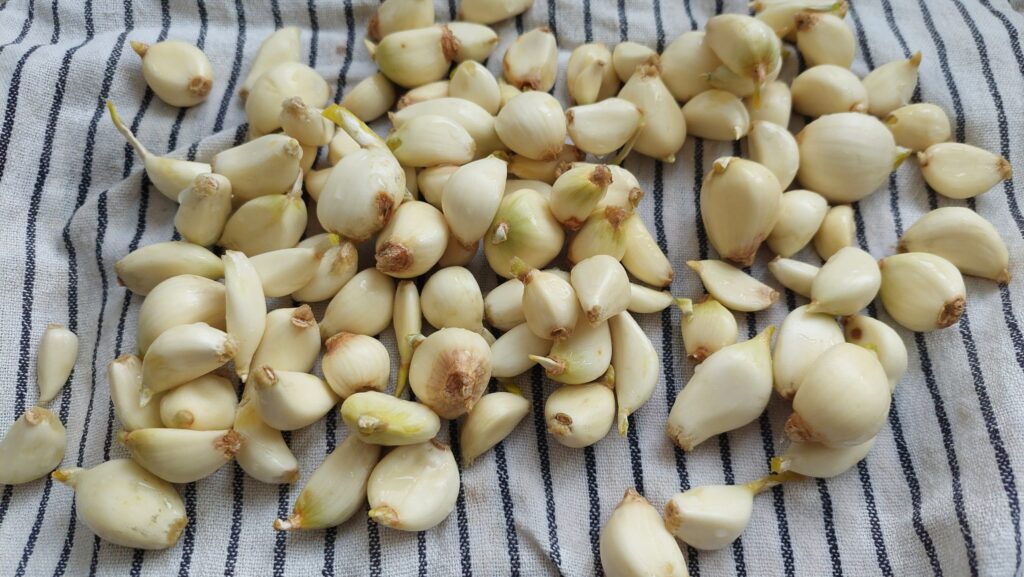
Remove the outer skin from the garlic bulbs and separate the cloves.
Some people say that the cloves can be easily peeled when you put them in a bowl, cover it with a second bowl and shake them vigorously.
That method never worked for me, though.
Instead, I put the cloves in a bowl and pour hot (not boiling!) water over them. Then I let them sit for about three minutes. Afterwards, the peels remove fairly easily.
Step 2: Fill the jar
Put the peeled cloves in a jar and keep in mind that you need enough room left for the honey.
Every ferment needs some headspace because the ferment can become bubbly and occasionally overflow. This is particularly important for honey ferments. Honey ferments can become surprisingly active during the first weeks and often foam considerably. That means it’ll most likely need about 1.5 – 2 inches of space between the surface of the honey and the rim of the jar.
Step 3: Pour the honey
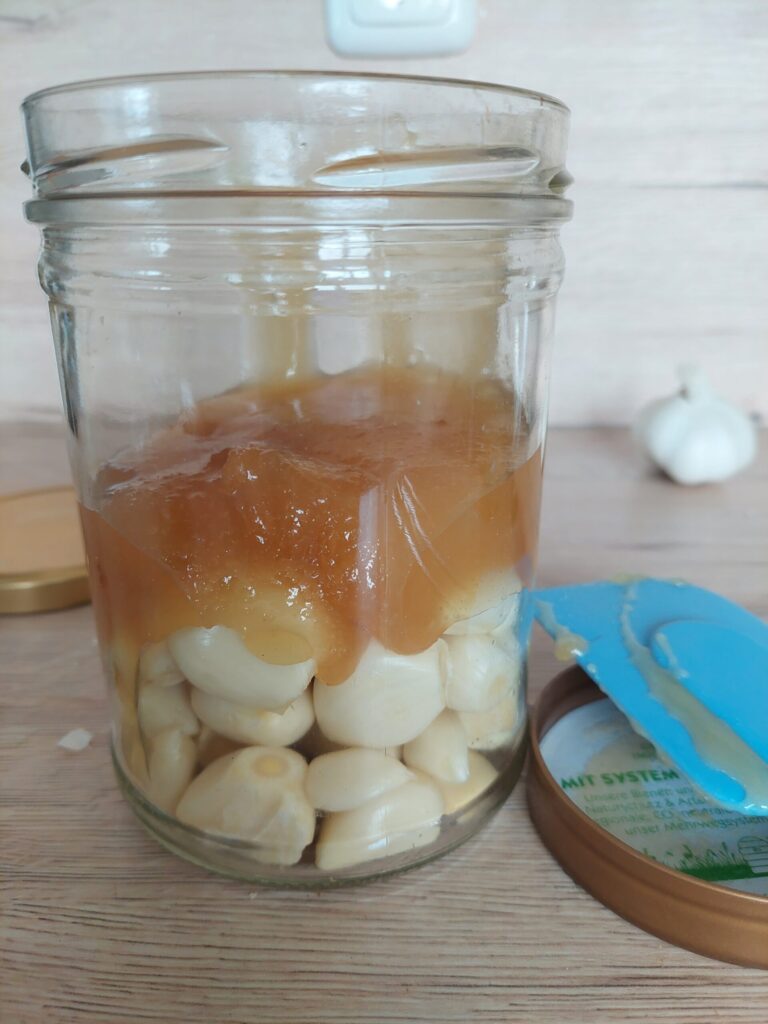
Now, pour the honey into the jar. This is easier when the honey is liquid, but you can, of course, also use crystallised honey, as long as it’s raw.
No matter which sort you use, gently stir the garlic through the honey until every clove is completely coated.
Step 4: Close the jar loosely
Loosely tighten the twist-off lid or close the flip-top lid. Within a few days, pressure begins to build as fermentation produces gases and pushes the honey upwards. A loosely closed lid or a flip-top jar allows the fermentation gases to escape while limiting the amount of fresh air entering the jar.
If the lid is closed too tightly, however, gases are trapped inside, and the pressure will build up, which could even lead to the jar exploding.
Due to the pressure building during fermentation, honey may leak out of the jar. That’s normal. Just wipe it off with a damp cloth. To prevent your kitchen surface (or wherever you put your jar) from becoming sticky, put the jar into a tray or a small bowl. That way, overflowing honey can be cleaned off more easily.
Step 5: Turn the jar daily
Garlic cloves are lighter than honey and tend to float on the surface, and even above it. Although they’ve been covered in honey at the beginning, over time, the honey drips away, and the cloves could mould.
To prevent that, we turn the jar upside down at least once a day. Flip it over and wait until the garlic cloves rise to the surface. Then flip it back again.
Unlike garlic stored in oil, garlic fermented in honey undergoes active fermentation. As long as the cloves remain completely submerged and the ferment develops normally, the environment becomes increasingly inhospitable to spoilage organisms.
Sometimes, honey may leak from the lid. That’s totally normal, just wipe it off.
Step 6: Let it ferment
Put the jar in a warm place of about 20 °C (68 °F). I usually keep it on the windowsill or the kitchen counter.
Within a few days, the first bubbles will show, and sometimes the honey will become a bubbling volcano! The warmer the temperature, the faster and more active the fermentation process.
In the course of fermentation, the honey will become liquid or – if you’ve used liquid honey already – thinner. That’s normal, as the water from the garlic cloves will diffuse into the honey.
After about 2 – 4 weeks, the initial fermentation is over, and you can put the jar in a cooler place. Not necessarily the fridge, we still want it to mature, but maybe a cool basement. You can, of course, use the garlic now already, but I seldom touch it before it has matured for at least 6 months. Fermented garlic in honey improves greatly with age. Like wine or cheese, it gets better the longer you let it sit.
Ingredients
Equipment
Method
- Separate the cloves and peel them. This is easiest, when you soak them for about 3 minutes in hot (not boiling!) water.
- Put the peeled garlic cloves in the jar.
- Pour the honey over the garlic cloves and stir until all the cloves are completely covered with honey.
- Secure the lid onto the jar, but - in case of a twist-off lid - not too tightly. That way, the gases that will form during fermentation, can leak out.
- Put the jar in a tray or bowl and set it at room temperature ( about 20 °C / 68 °F).
- Turn the jar upside down at least once a day and wait until the garlic cloves resurface. Then, turn it back and let the microbes do their work.
- Let the garlic ferment for 2 - 4 weeks (depending on the room temperature). Afterwards, put the jar in a cool basement. Let it mature for at least 3 months, better 6 months.
Notes
What Happens During Fermentation in Honey?
Fermentation in honey is not the same as lacto-acid fermentation. If you’re interested in that process, I’ve written a guide about how lactic acid fermentation works here.
What’s more, neither process is the same as pickling with vinegar. If you’re wondering what sets them apart, here’s my detailed guide to fermentation vs pickling.
In honey ferments, yeasts usually play the main role. Lactic acid bacteria may also contribute, but alcoholic fermentation is generally the dominant process. There are naturally a few lactic acid bacteria in honey, but it’s mostly the yeasts that do the work here.
Honey has a natural water content of about 17 %. When we increase that to at least 19 %, the wild yeasts in the honey become active and start fermenting. The bubbles are one of the clearest signs that fermentation is underway, as is the fact that the honey becomes more liquid and sometimes even runny.
In this recipe, it’s the garlic juice that diffuses over time and naturally increases the honey’s water content just enough to produce a very small amount of alcohol.
The amount of alcohol produced is extremely small—far below that of alcoholic beverages. Fermented garlic in honey is generally considered safe to consume, including by children and during pregnancy. If you avoid alcohol completely for personal, religious or medical reasons, however, it’s always best to consult a healthcare professional before consuming fermented foods.
How Do You Know It’s Ready?
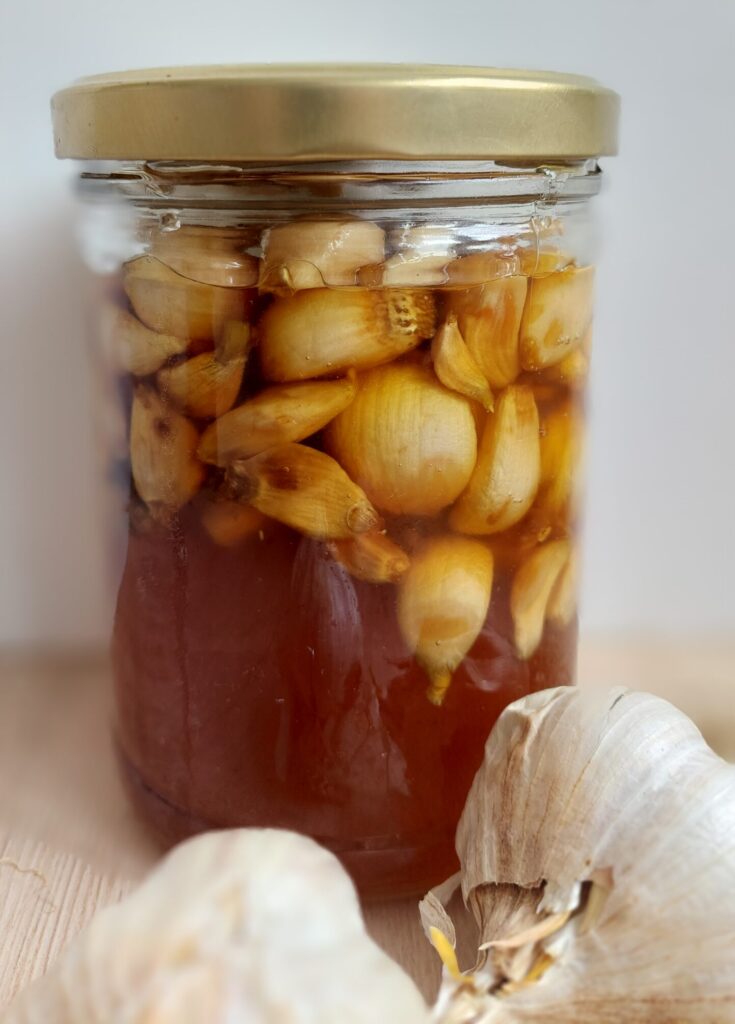
At first, bubbles form, usually after a few days, which shows that fermentation has started. Then, the honey will become thinner due to the garlic’s liquid.
After 2 – 4 weeks, the bubbles will die down. Now it’s time to put the jar in a cooler environment. You could eat the cloves now, OR you wait for another few months to let them mature.
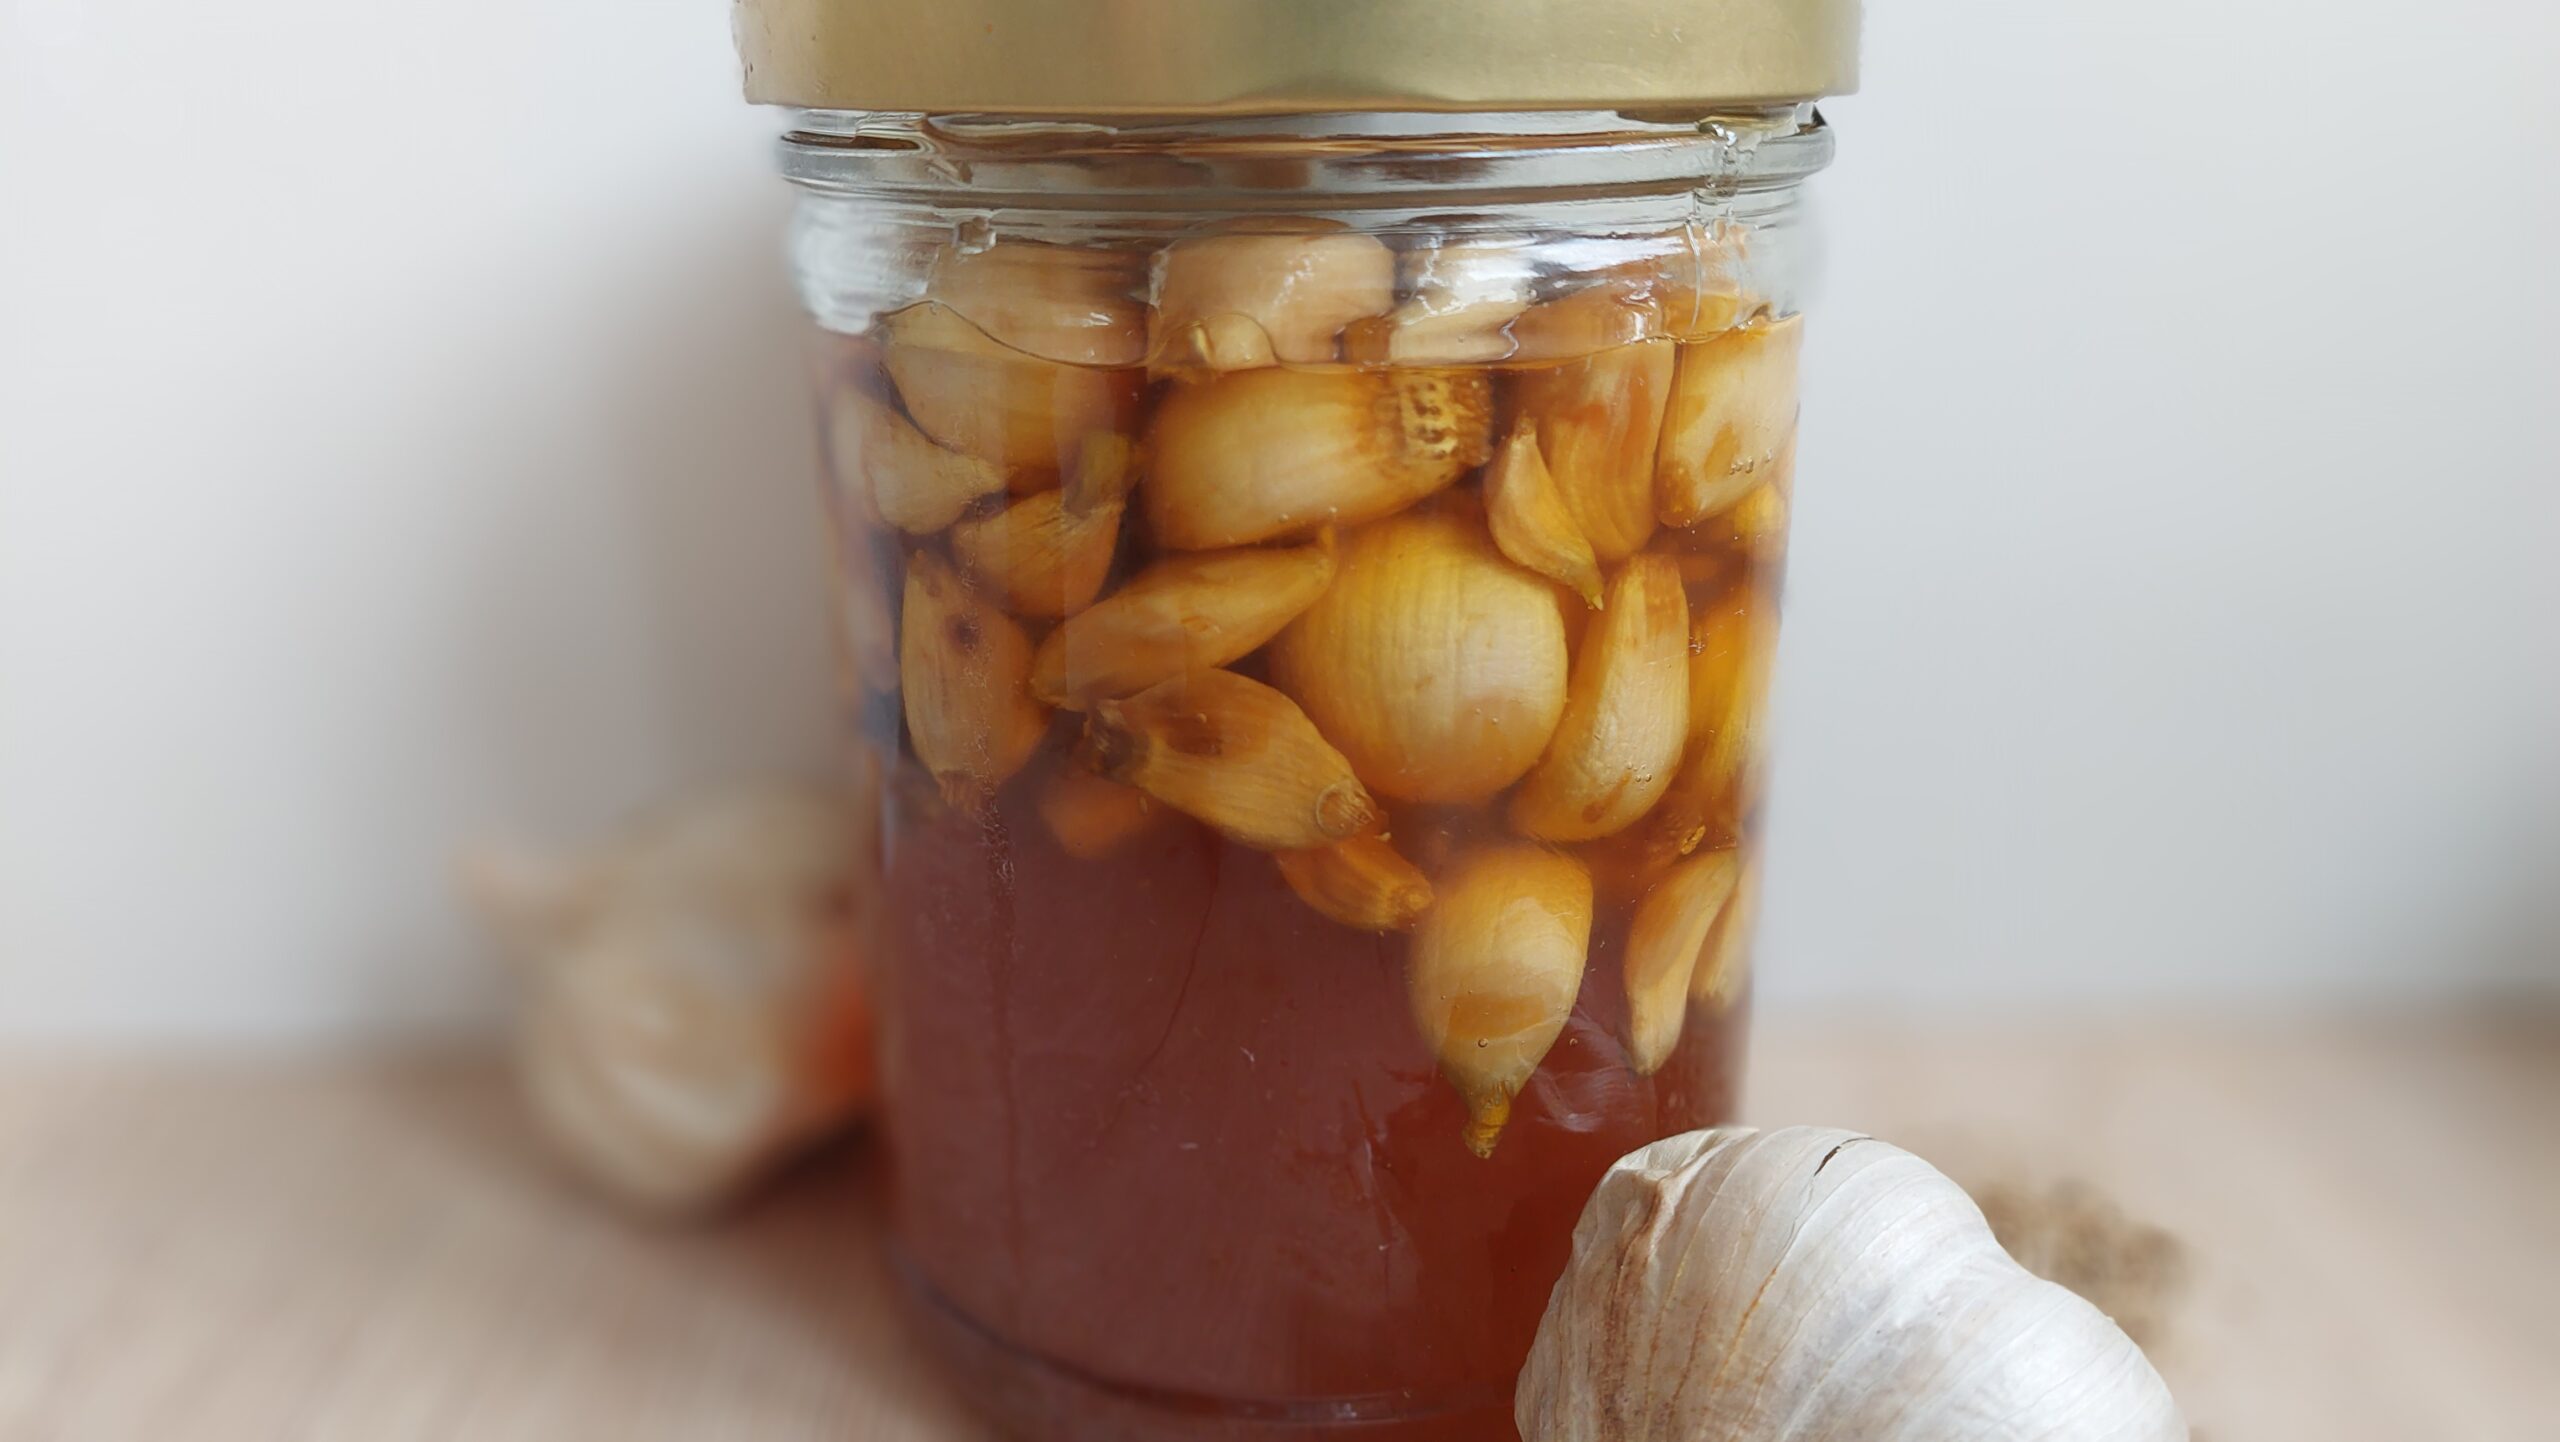
Over time, the garlic cloves turn slightly translucent, and the honey becomes darker. The garlic’s aroma mellows, while the honey’s flavour becomes more complex and tastes sweet and garlicky.
I usually let the garlic ferment in honey for at least three, better six months before I use it to flavour my dishes.
How to Use Fermented Garlic in Honey
To be honest, I often snack on the cloves like sweets (not on a date night, though). But there are more ways to use fermented garlic in honey:
- Try making a sweet-and-savoury bruschetta by adding garlic slices to tomatoes on bread and drizzling a bit of the honey over it.
- When I feel a cold coming up, I take 1 – 2 tablespoons of the honey in a glass of warm water. The water mustn’t be hot, as natural enzymes and many of its beneficial properties are best preserved when the honey isn’t heated.
- Furthermore, you can marinate meat in a mixture of this fermented honey, minced garlic and miso paste or soy sauce.
- Use the garlic in hot and sweet curries or as a condiment in meatballs.
- I sometimes the honey and finely chopped garlic cloves to add a sweet note to salads and bowls. Just mix it into your normal dressing.
- Try roasted vegetables with fermented garlic. It’s so good, you’ll lick the plate!
- Drizzle it over pizza or stir it into sauces: there’s almost no end to the use of fermented garlic in honey!
Love simple fermentation recipes?
Download my free Fermentation Starter Checklist and never wonder again whether your ferment is on the right track.
How to store fermented garlic in honey?
Here’s the good news: unlike lactic-acid ferments, honey ferments needn’t be stored in the fridge. A cool, dark cupboard or a cool basement is enough.
If you don’t have either, room temperature is equally fine. Just make sure that the jar isn’t exposed to too much light.
Fermented garlic in honey can last for years, but its flavour will change over time. In fact, I have a jar of three-year-old fermented garlic. The cloves are of a very dark brown, almost black, and they simply taste heavenly!
When you observe the following few aspects, your fermented garlic in honey must become a success!
- Always use clean jars
- Keep the garlic covered with honey
- Don’t panic if the honey becomes runny
- Bubbles are good
- Don’t use wet utensils
Common Problems
Here’s a quick overview of the most common occurrences with honey-fermented garlic and what (if anything) to do about them:
| Problem | Cause | Solution |
|---|---|---|
| Honey becomes thin | Normal | Nothing to do |
| Garlic floats | Normal | Turn jar 1 - 2 times / day |
| Few bubbles | Cool room | Give it more time |
| Strong smell | Normal | Well, it's garlic 😏! |
| Mould | Garlic exposed | Discard batch |
If your ferment behaves differently than expected, don’t panic. Most issues are perfectly normal. I’ve put together a detailed guide to common fermentation problems and how to solve them.
Frequently Asked Questions
Can I use dried garlic?
No. Fermentation in honey only works with fresh ingredients that diffuse their liquid into the honey.
Does the honey stay sweet?
Yes, but it also absorbs the garlic’s flavour.
Can I refrigerate it?
Yes. Refrigeration slows fermentation considerably. Most people simply store it in a cool cupboard or basement instead, so it can continue maturing.
How long does honey-fermented garlic keep?
At least one year. My experience shows that honey-fermented garlic can be stored much longer, though.
Can I reuse the honey?
Yes, there are several uses for garlic-infused honey (see above).
Can I add chilli or herbs?
Absolutely. Chillis will add a spicier note, while the herbs complement the garlic flavour.
Two ingredients + Patience = Foodie’s heaven
Garlic fermented in honey is one of the easiest ferments you’ll ever come across. It only requires two ingredients and a bit of patience. With that, you’ll create something so flavourful and versatile that I guarantee you won’t have to think about long-term storage 😄.
If you’ve tried it already, why not experiment by adding chillies, peppercorns or ginger to the mix? And herbs like rosemary, thyme or basil? There’s so much more to explore.
So let’s get out, pick some garlic and start fermenting. Your winter self will thank you for it.
Eager for more fermentation recipes? I’ve got you covered:
How To Ferment Radishes: Two Easy Recipes for Spring’s First Harvest
Mastering Fermented Gherkins: Small Pickles, Big Flavour
Channel Your Inner Oma: Simple Homemade Sauerkraut That Actually Tastes Amazing
0 Comments