
.
Lacto-fermented radishes are among the easiest ferments to make, and now I’ll show you how it’s done.
Radishes are among the first rewards of the spring garden — if you’re wondering what else to start early, my guide to what to sow and plant in March might be helpful. With a cultivation time of just 3 – 4 weeks, they can be ready to eat by early to mid-April, if we sow them as early as March, in the greenhouse or a cold frame. If you’re planning your spring garden, have a look at what to sow and plant in March to make sure you don’t miss the first radish harvest of the year.
One of my greatest delights in spring is to make a large spring salad bowl and add the first radishes, freshly harvested from the greenhouse. But that’s not all…
Why ferment radishes at all?

Now, I don’t know about you, but I always seem to sow too many radishes. Or is it just that they all seem to ripen at once? Anyway, delicious as they are, I can only eat so many of them. To keep the surplus for later and thus prolong the season, I always make lacto-fermented radishes.
As you know, lacto-fermented vegetables not only taste wonderful but they’re also rich in probiotics, which is great for your gut health. So apart from preserving our harvest, we also make something really beneficial for our health.
Fermentation Safety Basics
If you’ve never fermented before, or if you just need a little reminder: fermentation is perfectly safe when you observe a few rules:
- Wash the vegetables in cold water before processing them
- Make sure that they stay under brine all the time.
When the brine smells tangy, that’s good. If your ferments have developed mould or get slimy, discard them.
Fermentation equipment
Good news: you don’t need special equipment.
A cutting board and a knife come in handy, and I think it’s safe to assume that you already have those in your kitchen.
If you have fermentation jars or pot with weights, that’s wonderful. But honestly, you don’t have to go all crazy with equipment when fermenting, especially if this is your first time. A large jar with a fitting lid will do nicely. As a weight, you can use a freezer bag filled with brine and closed tightly.
If you’re new to fermenting, check out my guide on fermentation equipment for beginners.
Let’s get started, shall we? There are two simple ways to ferment radishes:
How to Ferment Radishes: Two Easy Methods
Fermented radish slices
These are done with the dry-salting technique, which means that the sliced radishes are mixed with salt, kneaded and left to form a brine.
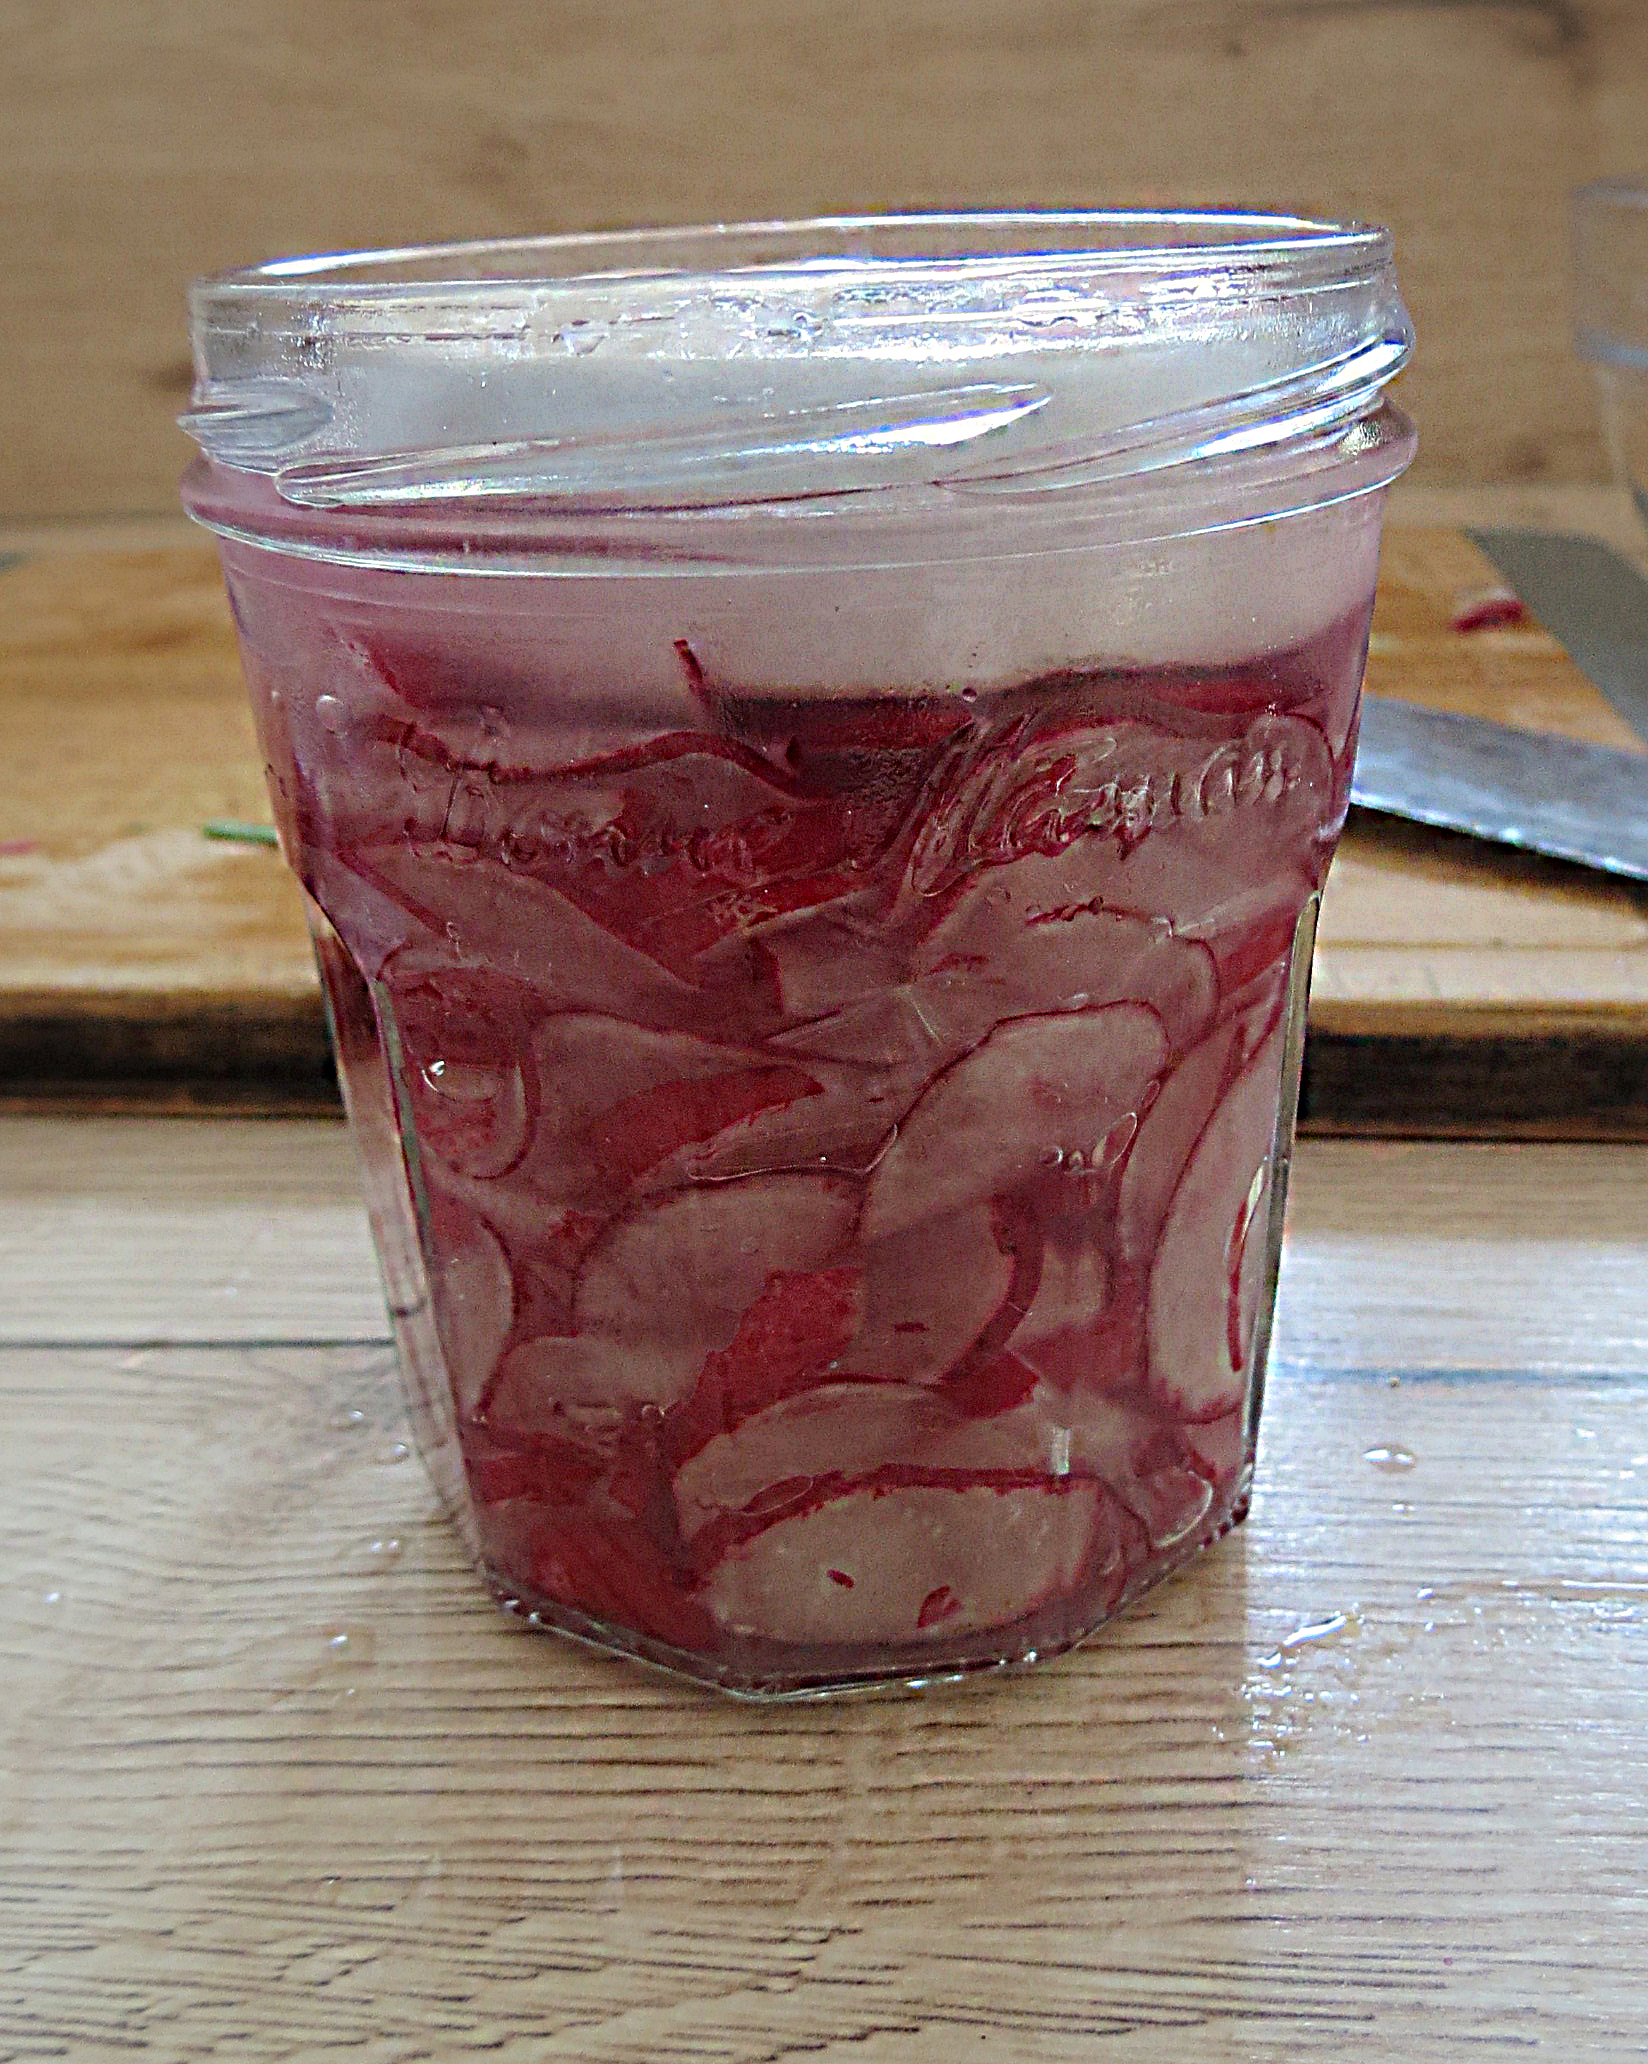
Fermented radish slices
Ingredients
Method
- Wash the radishes and dry them. Cut off the root and the leaves.
- On your cutting board, slice the radishes thinly.
- Put the radish slices into a bowl and mix them with half the amount of salt. Rub the salt in well and taste the radishes: they should be salty but not too much. If necessary, add some salt. The radishes become wet and soft, and slowly a brine builds.
- Now, put the radishes portion by portion into the fermentation container of your choice and press them tightly with your hands or a tamper into the jar to avoid air bubbles. There should be enough brine to cover the radishes.
- Leave about 2 cm to the lid, put a weight onto the radishes so they stay under the brine, and close the container.
- Put the bowl onto a tray and let the radishes ferment for 5 - 14 days in a cool place without direct sunlight. Make sure that there's always enough brine.
- Taste the radishes after 5 days. If they are ready, store them in the fridge or another cool place; if not, leave them out to ferment further until you like the taste.
Notes
Whole fermented radishes
This recipe uses a different method. As the radishes are left whole, we make a brine of salt and water and cover them with it.
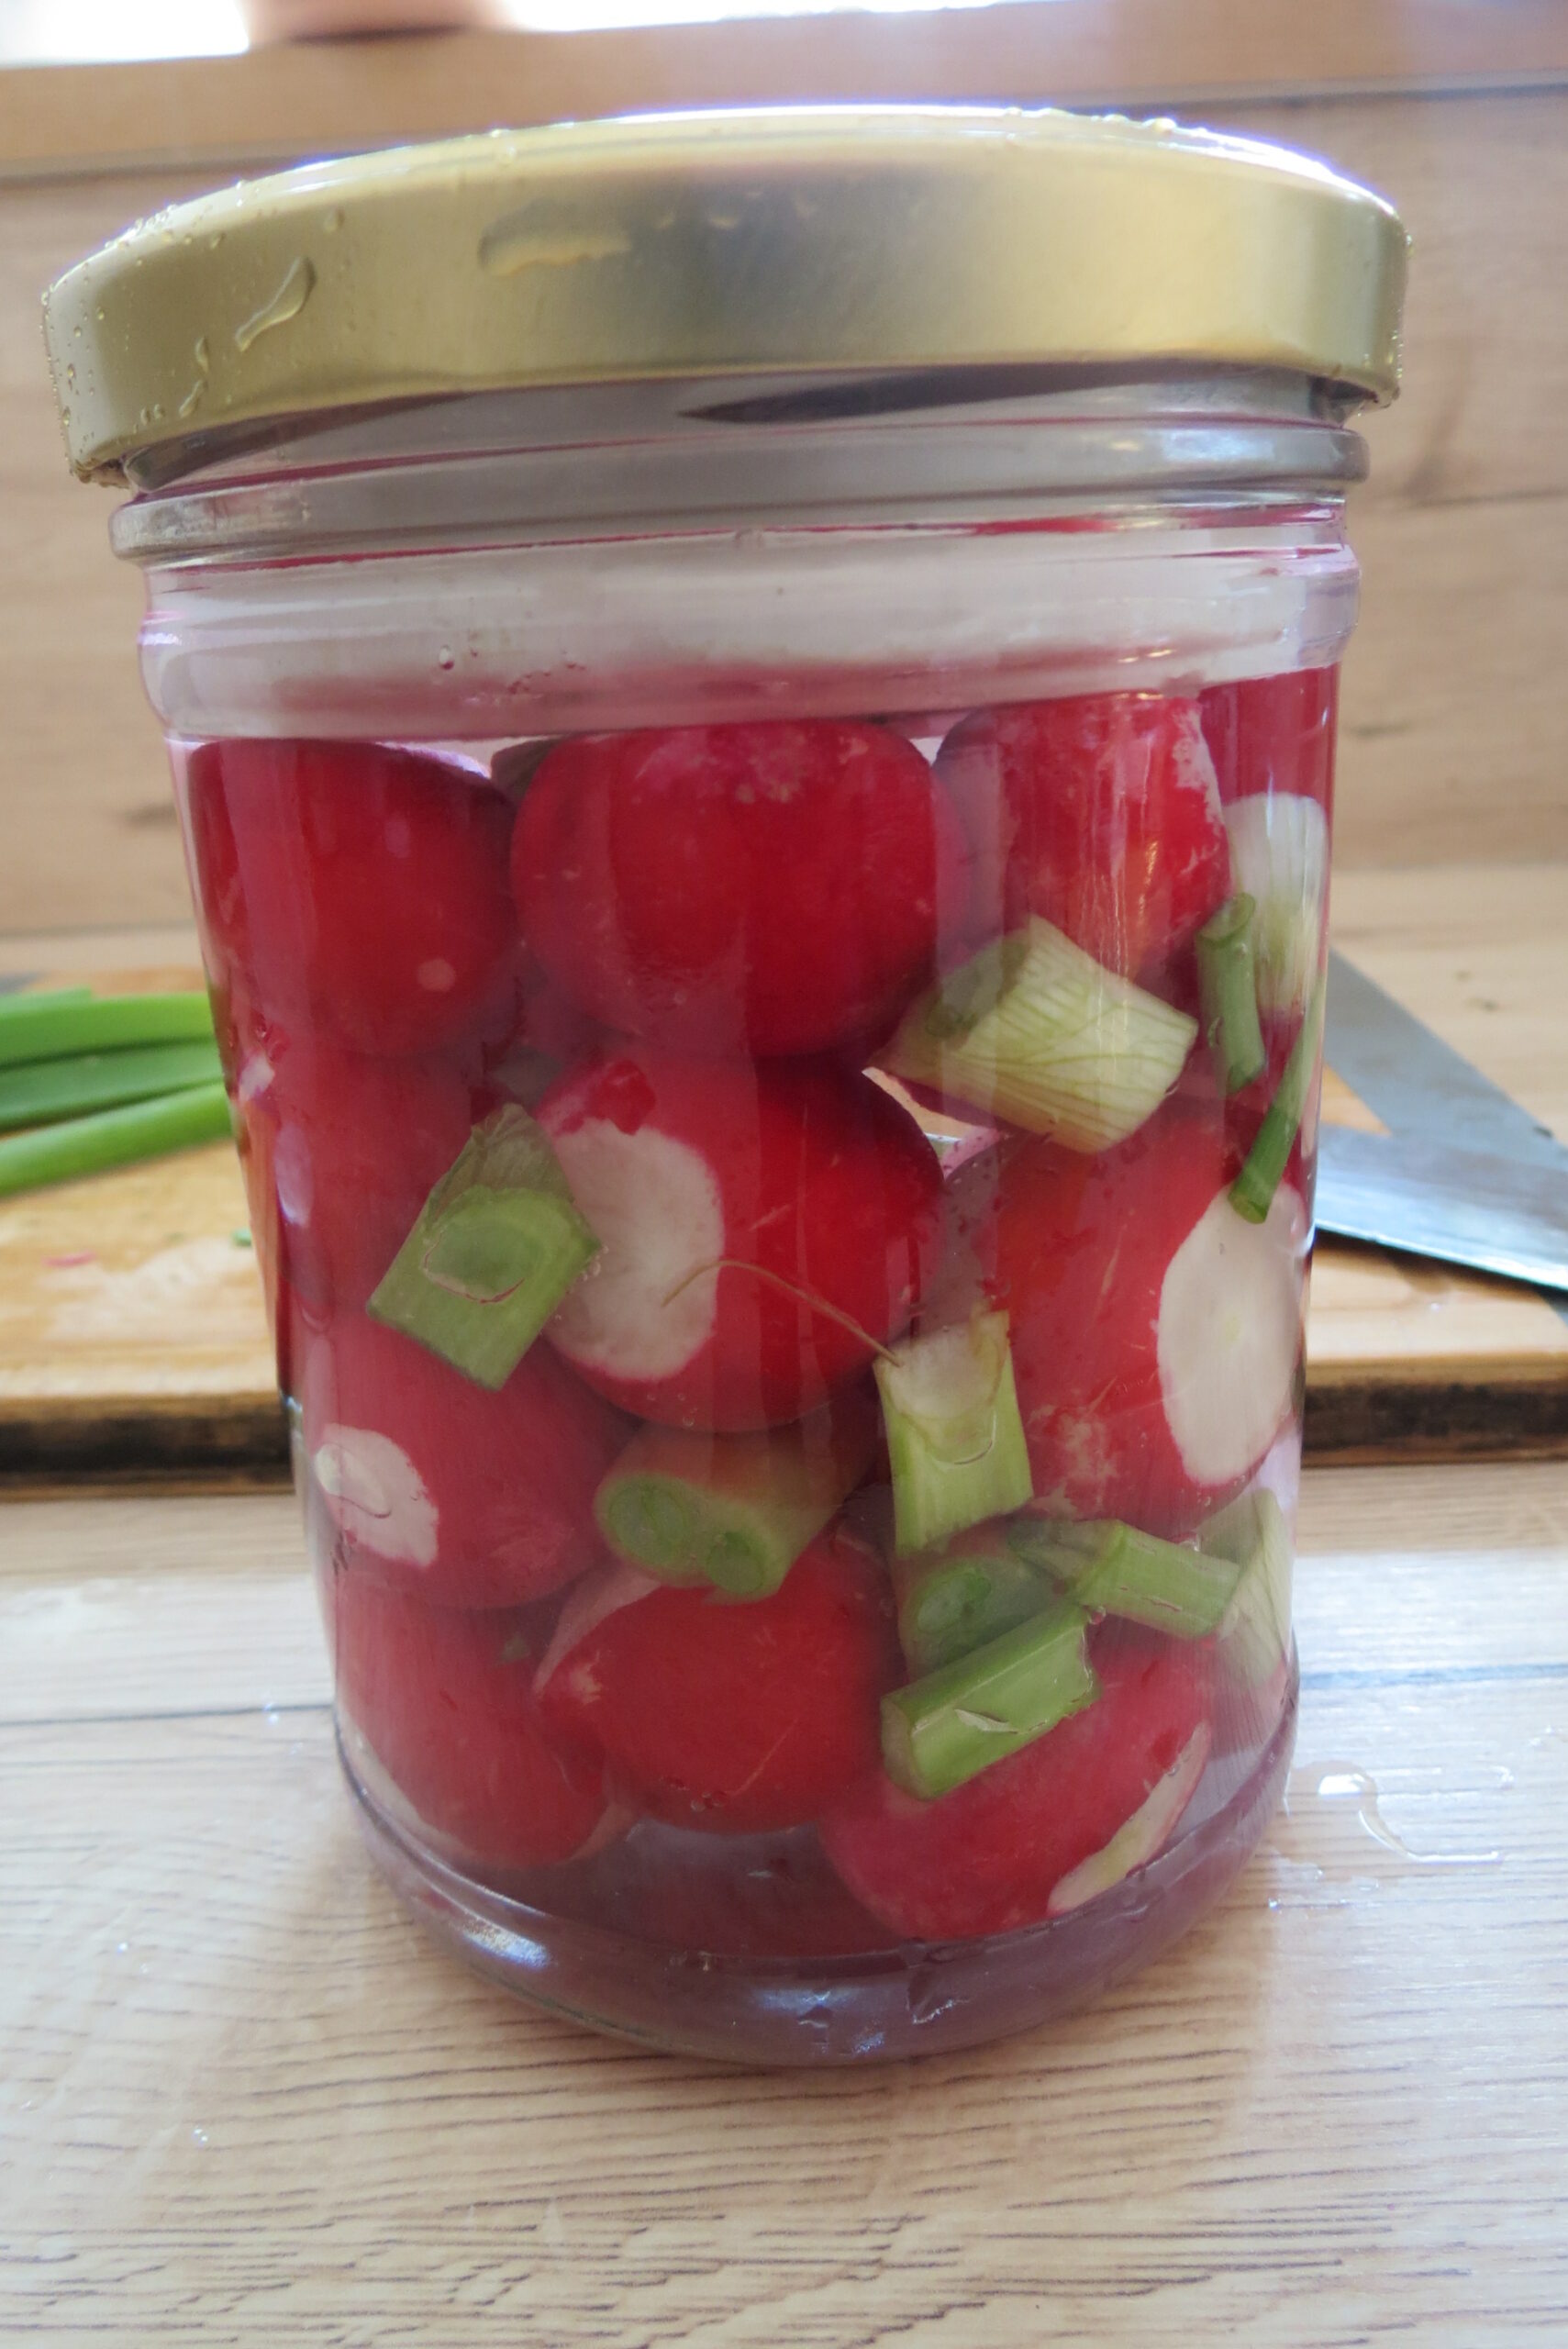
Fermented whole radishes
Ingredients
Method
- Wash the radishes and spring onions in cold water and put them into the fermentation container of your choice. Make sure the vegetables are stacked tightly.
- For the brine, dissolve the salt and sugar in the water and pour so much brine over the vegetables that they are fully covered.
- Store the leftover brine (up to one week) in the fridge.
- Secure the lid on the fermentation container.
- Put the jar onto a tray and let the radishes ferment for 7 - 10 days in a cool place without direct sunlight.
- If too much brine evaporates, fill up with the brine in your fridge.
- After 7 days, taste the radishes. If you are satisfied with the taste, store the radishes in the fridge. If not, leave them out to ferment further until you like the taste.
Notes
Variations
Once you master the basic ferment, try these variations:
- Add ground coriander for an exotic flavour
- Minced garlic adds some sharpness
- For more spiciness, add chilli flakes or grated ginger.
- Slices of thick, organic lemon peel make the fermented radishes more tangy.
These are just a few additions for fermented radishes. But don’t let me stop you there. Get creative!
Serving Suggestions For Fermented Radishes
Now that your radishes are ready, here are some of my favourite ways to enjoy them:
- Add fermented radishes to your grain or Buddha bowls
- Use them as a side dish for meat or fish
- Top your salads with them for an extra tangy kick
- Fermented radishes make a wonderful crunchy side to Asian-inspired dishes
- Eat them on homemade sourdough or rye bread with butter
- Sneak some of them into your children’s lunch box 😁
Frequently Asked Questions
What radishes can I ferment?
You can make this recipe with any variety available, red, white and even daikon radishes. Red varieties, however, are particularly pretty.
Why did my fermented radishes lose their colour?
That’s totally normal. In the course of the fermentation process, the radishes will lose their colour, and the brine becomes opaque.
Why does my ferment smell strong?
If your brine smells tangy, salty and sharp, that’s perfectly normal. If it smells mouldy, however, (and if mould has formed), discard the ferment.
How long do fermented radishes take?
Radishes take between 5 and 14 days to ferment. It depends on the size of the radishes (whole ones will take longer to ferment than slices) and temperature. Taste your fermented radishes after 5 days, and if you like the taste, store them in the fridge or a cool basement.
How long can I store fermented radishes?
When you’re satisfied with the taste, store fermented radishes in the fridge or a cool basement for up to 6 months.
Bringing the Season into the Kitchen
Seasonal cooking and preserving doesn’t have to be complicated. Small habits — sowing a few seeds, harvesting what grows, preserving a little at a time — slowly shape a more seasonal rhythm in everyday life. That’s exactly what I explore here on Seasonal Simple Life.
Fermented radishes are a small spring miracle — made in minutes, enjoyed for months. I hope these two recipes inspire you to make the most of your harvest, however abundant it turns out to be. Have you tried fermenting radishes before? Or are you giving it a go for the first time? I’d love to hear how it goes.
Continue your seasonal journey.
If you’re enjoying working with your spring harvest, here are a few more ideas to help you grow, preserve, and cook with the season:
Dirt, Seeds, and Potential: What to sow and plant in March
Plan your early garden and make the most of the first sowing season.
Fermentation equipment
A beginner-friendly overview of what you really need — and what you don’t.
Channel Your Inner Oma: Simple Homemade Sauerkraut That Actually Tastes Amazing
A classic ferment that builds confidence quickly.
Mastering Fermented Gherkins: Small Pickles, Big Flavour
Take your fermentation skills one step further.
0 Comments