
.
You wanna start fermenting and dread what you have to buy for it? No worries! The cool thing about fermentation is that you don’t need any fancy fermentation equipment. After all, people have been fermenting food for thousands of years using very simple tools.
Do You Need Special Equipment to Ferment Food?
When we look at how people in the olden days fermented vegetables, they had only very simple tools. And that means that we can, too.
Don’t get me wrong: Good equipment makes fermentation easier and more reliable. If you’re beginning, though, you can start with surprisingly little.
- A jar
- Salt
- Water
- A weight
- A lid
Everything else is optional.
Common Fermentation Problems and the Equipment That Prevents Them
| Problem | Helpful Equipment |
|---|---|
| Vegetables floating | Fermentation Weight |
| Mould on surface | Weight + proper lid |
| Brine overflow | Larger jar |
| Inconsistent results | Kitchen scale |
| Too much oxygen | Airlock or proper lid |
Ready to start your first ferment?
Download my free Fermentation Starter Checklist and make sure you have everything you need before you begin. It includes essential equipment, basic ingredients, hygiene tips, and key steps for successful vegetable ferments.
Quick overview of fermentation equipment
In this chart, I’ll show you all the tools for fermentation and whether they’re absolutely necessary or just a nice-to-have:
| Equipment | Essential? | Beginner-Friendly? | Approx. Cost |
|---|---|---|---|
| Jar with lid | Yes | Yes | € |
| Weight | Yes | Yes | € |
| Airlock | No | Yes | €€ |
| Crock | No | Later | €€ |
| pH Meter | No | Advanced | €€€ |
Before we talk about jars, crocks, weights, and airlocks, however, there’s one thing that’s even more important than the equipment itself: cleanliness.
Hygiene Matters More Than Equipment
The good news is that vegetable fermentation doesn’t require the same level of sterilisation as canning. You don’t need to boil every utensil or work in laboratory conditions.
However, you should always:
- Wash your hands thoroughly
- Clean jars, lids, bowls, and utensils before use
- Remove any damaged or mouldy parts from vegetables
- Use fresh, good-quality ingredients
Good hygiene gives the beneficial microorganisms the best possible start and reduces the risk of spoilage.
Now that we’ve cleared that matter, let’s have a look at the basic fermentation equipment you need and some of the fancy stuff you might want to buy later.
Fermentation equipment
Containers
First of all, avoid metal containers and unknown or non-food-grade plastics for fermentation. Metal reacts with acid, which can lead to the dissolution of metals into the brine. This can affect both the safety and quality of your ferment.
The same applies to plastic: not all plastics are acid-resistant. The softer the material, the stronger it reacts to acid. If you use freezer bags as weights, make sure they don’t contain PVC or BPA.
Glass jars and lids
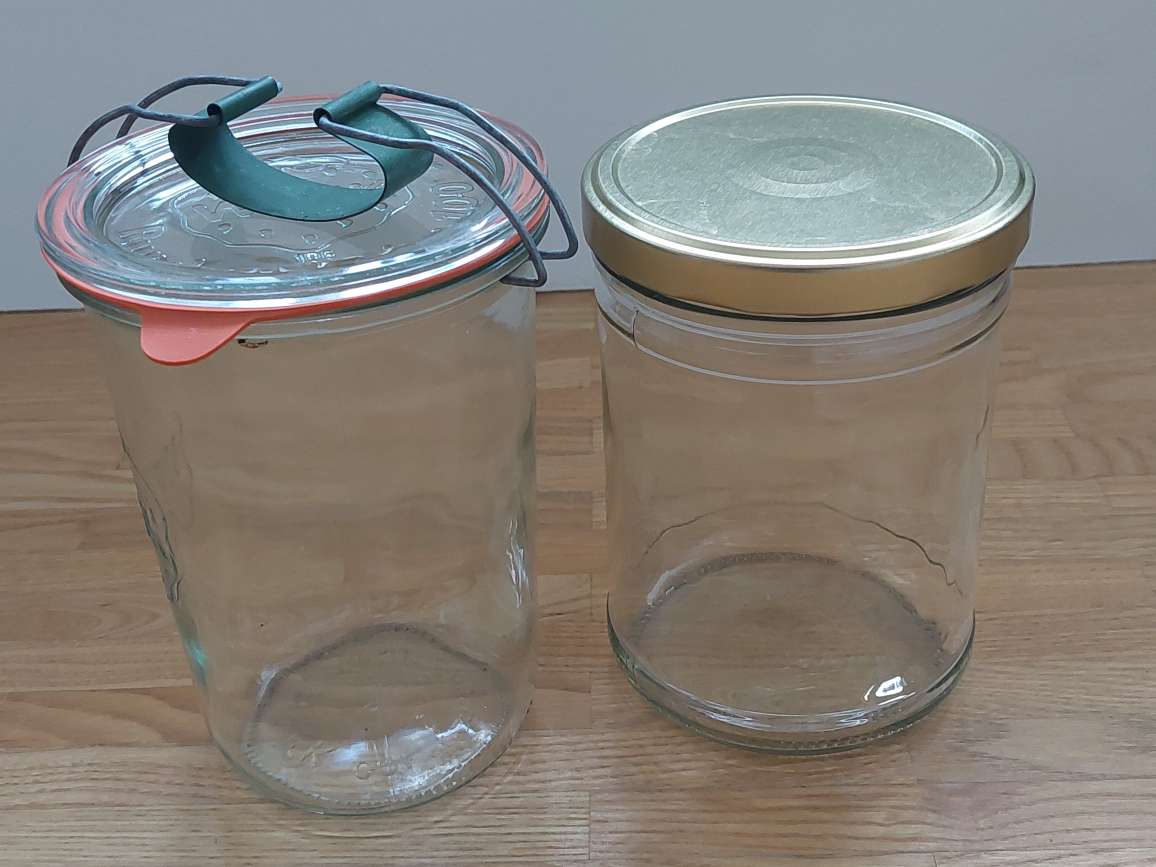
I usually use twist-off or flip-top jars. They are cheaper than crocks, and you can ferment smaller portions. Additionally, you can see through the glass what’s going on inside. It doesn’t matter if you use Mason, Weck, Kilner or Fido jars; they’re equally good.
What’s more important, or rather what makes a jar a good fermentation jar, is
- a wide opening: the best jars are the ones with a straight opening
- easy cleaning: jars with a straight opening can be cleaned more easily than jars with indented openings
- food-safe materials: glass jars are ideal because glass is non-reactive, easy to clean, and perfectly suited to acidic ferments
- appropriate size: I usually use jars of 500 ml, 1 litre and a large crock pot of 3 litres, especially when I make a large batch of fermented gherkins.
Fermentation Weights
Vegetables must always stay submerged under the brine during fermentation, or else they would mould. To ensure that nothing pokes through the surface, we use weights.
Fermentation crocks usually come with suitable weights, but if you don’t have any, you can use a dish, for example.
You can also use stones, but depending on their lime content, they might react with the acid. You should at least boil them for 10 minutes before using them.
There are also great glass weights out there. I especially love that they can be so easily cleaned and sterilised. On the downside, they’re comparatively expensive.
DIY Weight options: Freezer bags
For beginners, I recommend using freezer bags. Fill them with brine or (clean) pebbles and put them onto the covering (e.g. a cabbage leaf) to keep the veggies under the brine. The reason I recommend filling them with brine is that in the (unlikely, yet possible) event that the bag gets damaged, it’s not water flowing into the glass and watering down the brine there.
My favourite DIY fermentation weight
After years of using freezer bags, I made my own glazed clay weights. They’re inexpensive, reusable, easy to clean, and fit my jars perfectly. They’ve become one of my most-used fermentation tools.
I cut out circles of a 1 cm thick slice of clay, making their diameter slightly less than the opening of my jars. Then I cut a hole in the middle and glazed and baked the clay weights.
During baking, they shrank a bit further, and now their size is perfect for my jars.

You can also make weights from hardwood that doesn’t secrete resin, like walnut. Keep in mind, though, that wood swells in brine! Saw a circle with a diameter of one centimetre less than the opening and drill a hole into the middle where the brine could get through. Put the wooden weight into water for one to two days and look how much it swells before you use it. I’ve never used them, as I find the clay weights perfect for my needs, but go ahead and try making wooden weights if you like.
Fermentation Lids and Airlocks
Lactic acid fermentation needs an anaerobic environment, that is, without oxygen. For that reason, we need to cover the jars so that no air gets into them. On the other hand, the bacteria and yeasts involved in the process produce carbon dioxide that needs to get out of the jar.
So, we need a system that lets carbon dioxide get out while at the same time prevents air from flowing in.
- Standard lids: they’re cheap and easy to use, but can be too tight to let the carbon dioxide get out. Through experience, however, I’ve found out that when you screw the lid on, but not too tightly, the gases can get out from under the rim. Occasional burping, which is sometimes recommended, is not necessary.
- Airlock Systems: An airlock lid looks a bit like a unicorn with its horn. Airlock systems grow in popularity because they make things a lot easier. With an airlock, you can leave the jars to themselves. Just make sure that you leave enough space from the top of the brine to the top of the glass jar, at least 2 – 3 fingerbreadths.
That said, airlocks are convenient, but not really necessary.
Note: I know that many people just use a clean cloth to cover their jars or open the jars every day during fermentation, but the risk of mould-forming is so much higher with these methods! I always use the lid and – in case of twist-off jars – secure it loosely or – in case of flip-top jars – secure it tightly. The gases can leak out either under the lid or the rubber ring, and you minimise the risk of mould-building.
Kitchen Scale
While I have nothing against measuring in cups and spoons, in the case of fermentation it’s more reliable to measure the weight, not the volume of the vegetables. When we’ve sliced or grated the vegetables we want to ferment, we weigh them first. This weight is the basis for our salt calculation. In this fermentation for beginners guide, I explain how you can calculate the amount of salt you’ll need for your fermentation. And you can download a cheat sheet there that shows examples for salt ratios. Just saying.
Salt
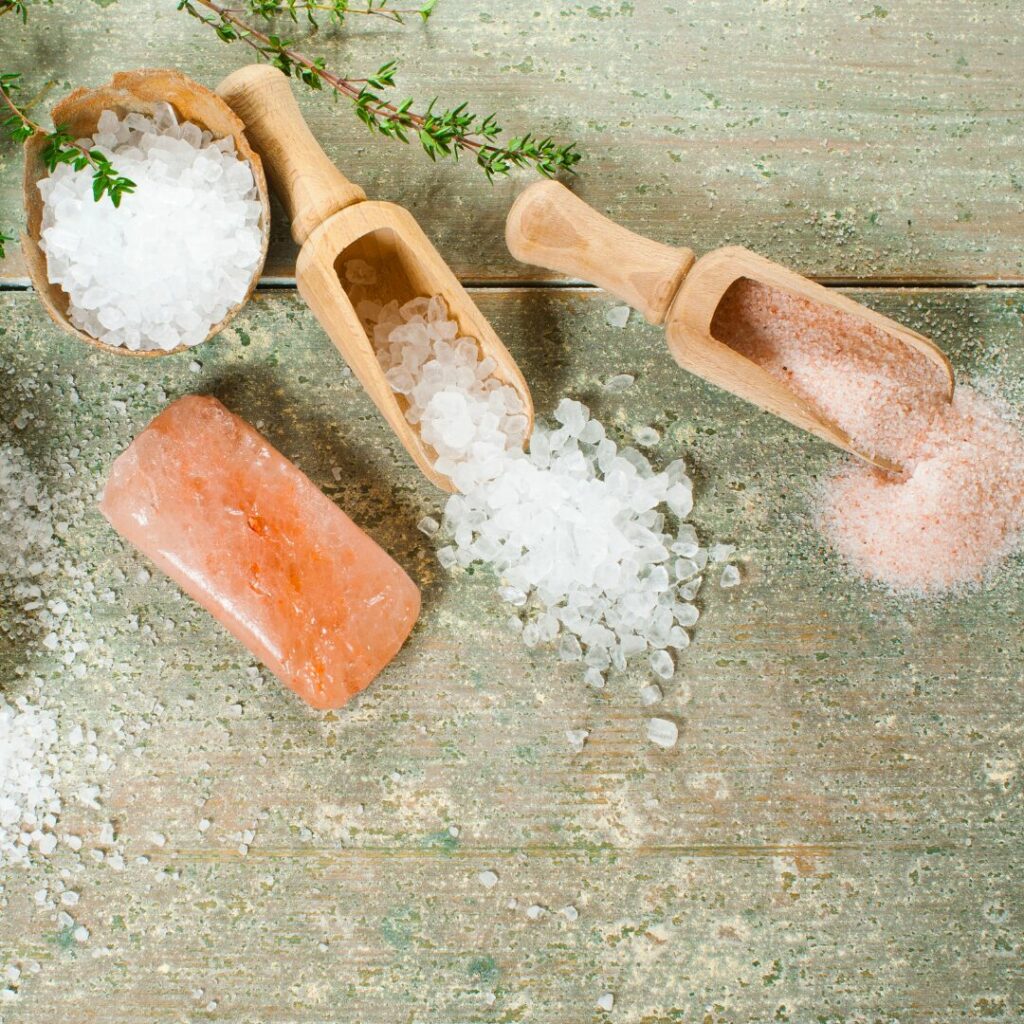
Strictly speaking, salt isn’t equipment but an ingredient. Since no fermentation setup is complete without it, though, it’s worth mentioning here.
Salt suppresses undesirable microorganisms and helps the vegetables to release water. Furthermore, it creates a favourable environment for lactic acid bacteria so they can thrive, and it contributes to the flavour and texture of the ferments.
The best salt types to use for fermentation are sea salt, special pickling salt or pure rock salt.
Don’t use salts that contain anti-caking agents or any strongly flavoured speciality salts.
For more information about salt in fermentation, consult my guide about fermentation for beginners.
Useful Tools That Make Fermentation Easier
Apart from the right containers and coverings, there are a few tools that are really helpful when you want to ferment.
Cutting devices
A sharp knife plus a wooden board or grater will do just fine for slicing the vegetables you want to ferment. But this list wouldn’t be complete if I didn’t mention the wonderful invention of a cabbage slicer. As the name indicates, it’s especially great for cabbage slicing (you can use it for any other veggies, though), and it’s one of my favourite tools for making my homemade sauerkraut.
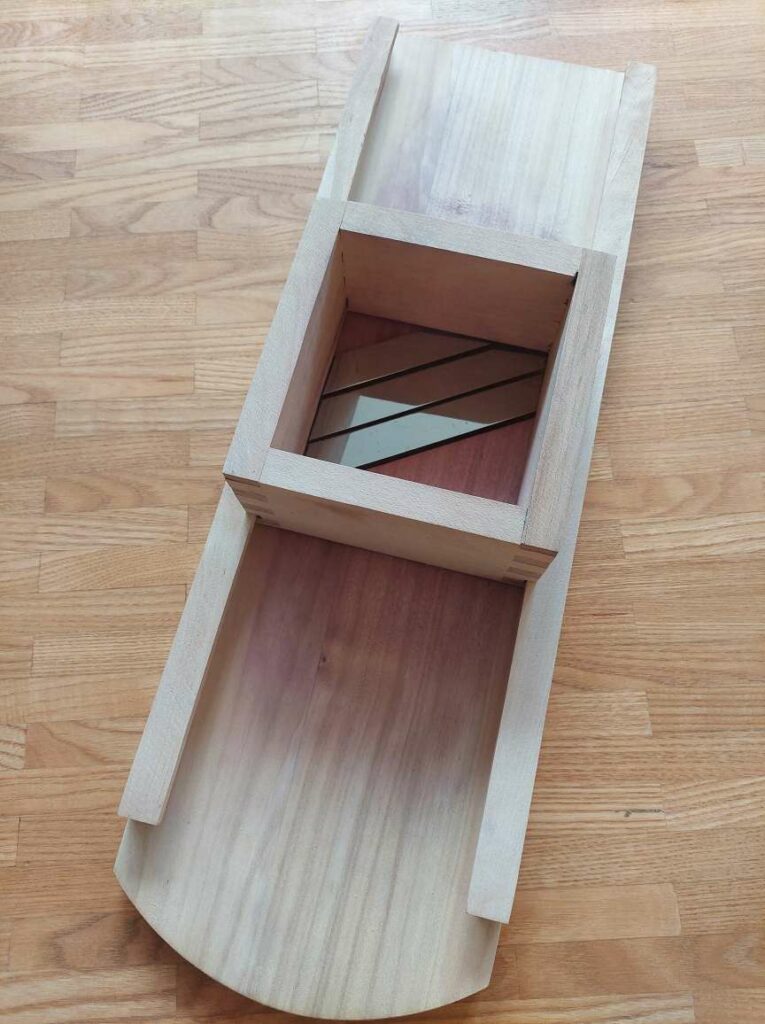
If you’re just starting, however, you don’t need a slicer, as you can also do the job with a knife and a cutting board.
Note: I know that some people use the cutting or grating device of their kitchen machine. Go ahead if you like, but make sure that the slices are not too thin and mushy.
Large Mixing Bowl
When you want to make fermented vegetables, a large mixing bowl comes in handy. We usually slice or grate the veggies and mix them with salt, and that’s where the bowl comes in. You can use bowls made of glass, metal or plastic in which you gather all your sliced vegetables and mix them with salt.
Yes, I know, earlier I said that you should avoid metal or plastic containers, but that’s only for the actual fermentation process. For mixing the vegetables with salt and letting them sit for a while until brine forms, metal or plastic are just fine. After all, the time the salt is in there is too short to induce a reaction.
Vegetable Tamper or Pounder
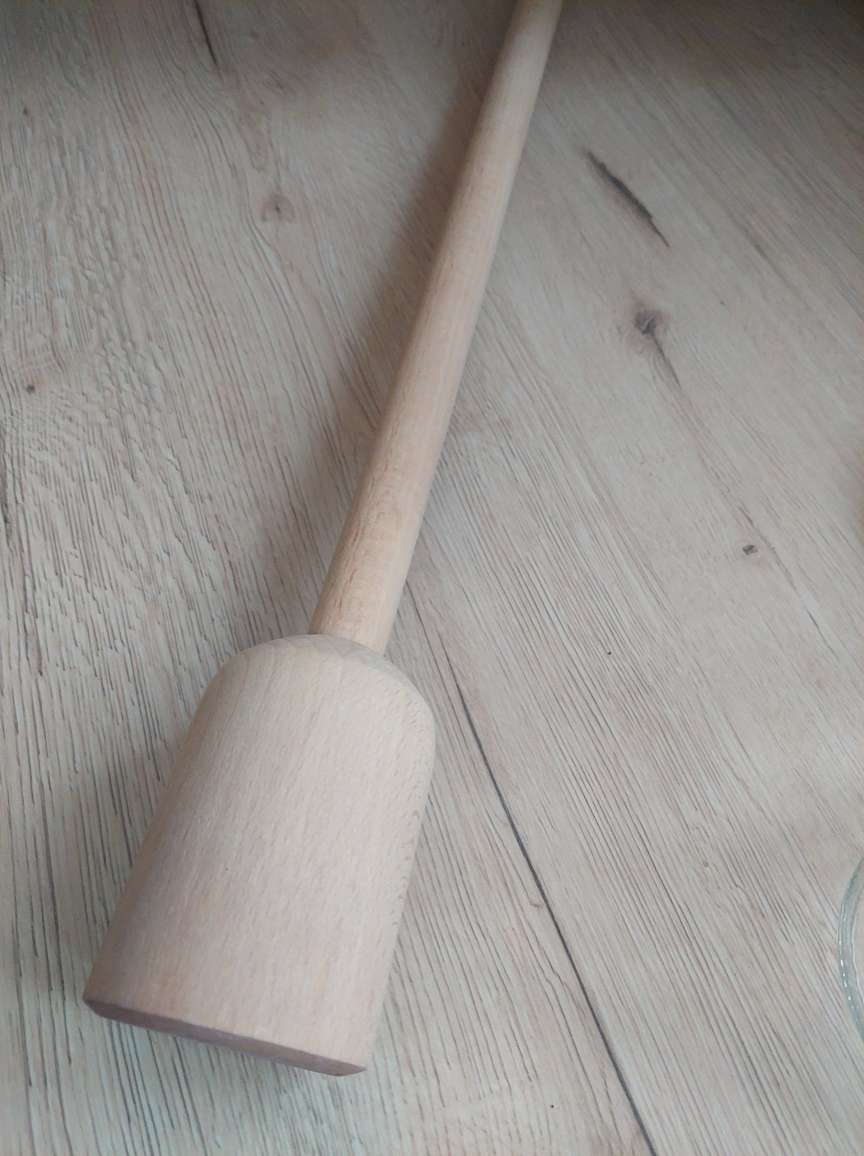
This is a convenient tool for pressing the vegetables tightly into the jars. Especially a wooden cabbage tamper (yep, I got one) is a great help to squeeze the vegetables tightly into the jars. Cool as a tamper is, though, it’s not really necessary when you start fermenting. You can always use your hands or a (clean!) empty bottle to press the vegetables into your containers.
Funnel
I find it easier to get the vegetables into the jar with the help of a funnel. The only requirement is that the funnel has a wide opening.
Labels and Marker Pens
Labelling the jars is unfortunately often overlooked. And before you think I’m exaggerating, let me tell you the story when I wanted to cook sauerkraut and ended up with a pot full of fermented kohlrabi instead. Just because I thought I could distinguish them easily and couldn’t be bothered with putting labels on the jars.
Don’t make the same mistake and always write clearly what’s in the jar. You’ll thank yourself later.
If you like or want to compare different recipes, also add the start date, the salt percentage and batch notes.
Optional Equipment for Serious Fermenters
Once fermentation becomes a regular part of your kitchen routine, you may enjoy some specialised tools.
Fermentation crocks
Traditional fermentation crocks made of stoneware have proved their worth as they store the vegetables dark and cool. If you buy a new one, check out its net weight, as they are usually very heavy. Then add the weight of the vegetables and brine and check if you can lift it when it’s full.
Another great advantage of crocks is that they have a water-seal in the form of a trough around the rim. When the vegetables are packed into the crock, we put the lid on top, and it fits right into the trough. Next, we fill the trough with water. That way, the gases that form during the fermentation process can get out (and you’ll hear a cute blubber), while at the same time air can’t get in.
pH Meter
Fermentation needs specific pH ranges in which the bacteria and yeasts can do their work. Checking the pH level makes sure that we have just the right environment for the microorganisms to thrive. In acidic conditions, they’ll happily go about their work. When the pH gets too high, though, the risk of spoilage increases.
Checking pH can be useful for consistency and food safety, but most home fermenters (like me) never use a pH meter and rely on established recipes and proper salt concentrations.
Temperature Monitoring
To start the fermentation process, we need temperatures between 18 and 24 °C. Later, temperatures must be lower to slow down the process.
A simple room thermometer is often enough to show us where in the house the temperatures are ideal for the different stages of fermentation.
Dedicated Fermentation Fridge or Chamber
This is a device that I only recommend for enthusiasts. I have the incredible luck of having a relatively cool basement where I can store all my ferments safely. Temperatures are just within the right range to make sure that the fermentation process slows down considerably and thus that the ferments don’t get too sour.
Most people, however, don’t have that luxury. If you fall among that group and intend to make many, many ferments, a fridge for storing them may be a good investment.
If you – like me – want to make ferments like koji that require very specific temperatures and humidity, a fermentation chamber might come in handy. But that’s really advanced and nothing a beginner should be troubled with.
Equipment You Can Skip as a Beginner
If you’re like me, you’re trying to convince yourself now that you need everything I mentioned. Or that it’s too much of a bother to get all those tools before starting. But really, if you just want to dip your toe into the fermentation sea and see if it’s right for you or if you’ve been fermenting quite some time but on a small scale, you can easily do without the following things:
- Expensive crocks: Glass jars with lids will do perfectly
- pH meters: Most vegetable ferments can be assessed by following a trusted recipe and paying attention to their smell, appearance, and taste.
- Fancy airlock systems: Just don’t screw the lid tightly and the gases can get out
- Fermentation chambers: Too expensive, need too much space, too much bother
Start simple. In fact, starting simple is miles better than not starting at all just because you think you need something fancy. When later you’re hooked on fermentation (and I’m confident you will), you can always upgrade and invest in more specialised equipment.
My Recommended Beginner Fermentation Setup
For beginners, the following equipment is what I’d recommend:
- 1-litre jar
- Weight
- Bowl
- Kitchen scale
- Salt
Most likely, you’ll already have all that at home. And honestly, you can make a lot of ferments just with that basic equipment.
When you want to do more, you can eventually invest in some of the following tools:
- More jars, maybe in different sizes
- Airlocks
- Glass weights
- Crock
If you had to buy everything from scratch:
- 2 x 1-litre jars
- glass or DIY weight
- kitchen scale
- sea salt
Total cost: roughly €15–25
Frequently Asked Questions
Can I ferment vegetables in ordinary jars?
Absolutely, as long as you’ve got the appropriate lid. In fact, ordinary jars are what most fermentistas have started with.
Are airlock lids necessary?
No. You can use twist-off or flip-top jars as well. As long as you don’t screw the lid too tightly, gases can get out, and air is prevented from getting in.
Do I need a fermentation crock?
No, glass jars will do nicely.
Are plastic containers safe for fermentation?
Avoid unknown or non-food-grade plastics. Food-grade HDPE fermentation buckets are commonly used and generally considered safe for fermentation.
How many jars should a beginner buy?
One is enough if you just want to give fermentation a try. You can always buy more later.
Do fermentation jars need to be airtight?
Not completely. Fermentation produces carbon dioxide, which must be able to escape. That’s why loosely fitted lids, flip-top jars, or airlock systems work well.
Final Thoughts
The most important thing with fermentation is to get started. Don’t let equipment stop you from making your first batch of sauerkraut or fermented gherkins! Or why not try out fermented radishes?
Simple tools that you probably have already at home are enough to make safe, delicious fermented foods. After all, our ancestors didn’t have fancy equipment when they fermented vegetables thousands of years ago. And you can always add the fancy things to your next birthday wish list 😏.
Focusing on understanding how fermentation works is much more essential than buying any fancy gadgets right now. So, get some vegetables, whip out the jar, bowl and weight and get started. Happy fermenting!
Wanna learn more about preserving? No problem: in my preserving hub you’ll find guides and recipes for fermentation, pickles, jams and more.
0 Comments