.
Before you start making your very first batch of soap, you should be familiar with the process. Please read this soapmaking step-by-step instruction thoroughly to make sure that your first soap – and the many soaps to follow – will be a smashing success!
It’s most likely that you’ll make your soap in the kitchen. Before you start, remove everything from the surface that’s got nothing to do with soapmaking and protect the surface with a plastic layer (a dustbin liner that’s been cut open or a plastic tablecloth cloth for example). Lye splashes may damage your work surface in the long run. Keep some vinegar at hand as it neutralizes soap batter or lye splashes. Make sure that you have enough time and solitude for soapmaking, no pets or children should be allowed. The most important thing, however, is to observe the safety guidelines.
Step 1: Lye preparation
Weigh the water (or cool tea or coffee) into a heat-proof container (plastic or glass). Keep your rubber spatula close at hand.
Get on your household gloves, safety goggles, breathing mask and apron. Wear all that safety gear until the soap batter is in the mould and all tools have been cleaned. Make sure that the room you’re working in is well-ventilated.
Weigh the sodium hydroxide into a plastic container, carefully so that there is as little dust as possible. Do not inhale the fine dust. If you’ve spilt some NaOH onto the surface, remove it immediately. Close the NaOH container as sodium hydroxide is hygroscopic which means it attracts water.
Now, slowly but steadily pour the sodium hydroxide into the measured water (never the reverse!) and dissolve under constant, gentle stirring. During this process, the liquid will generate heat, up to 80 – 100 °C and it’ll turn opaque. Toxic vapours will form now that must not be inhaled under any circumstances!
After 2 – 3 minutes the liquid becomes clear again and there should be no undissolved crystals on the bottom of the container. Let the lye cool down to the required temperature. To speed up this process, you can put the container into a cold water bath.
Step 2: Fats/Oils preparation

While the lye cools down, weigh the solid fats you want to use for your recipe and melt them at a low temperature. Take the pot off the heat and mix in the weighed liquid oils.
Check the temperature of the lye water and the oils. Both temperatures should be below 60°C unless it’s noted otherwise. Every soapmaker has their own temperature range they feel most comfortable with and works for most recipes. I prefer to work with temperatures between 43 and 45 °C, but that’s my personal preference and others may have different opinions.
Step 3: Additives
If you want to add fragrances, colourants and fillers, weigh them while the lye water and oils cool down. Your additives should be ready for use as soon as the soap batter builds a trace.
Step 4: Mixing the soap
When the fat/oils and the lye-water have reached the temperature you want to work with, pour the lye carefully (avoid splashes) into the oil mixture (never the reverse!) and mix with a whisk. Keep stirring until both liquids have combined well. Now, use your stick blender and immerse it fully into the batter. Never turn on the stick blender until it’s fully submerged! As most blender motors aren’t strong enough to mix for an elevated time, put the blender off from time to time and stir by hand. The soap batter becomes slightly lighter and changes its consistency. It’s right when there forms a trace at the surface. When you pull out the blender and the mass that’s dropping down is clearly visible on the surface, it’s time to add the essential oils colourants and fillers. Work fast as the soap batter will thicken quickly after it has built a trace.
Step 5: Pouring the soap
Pour the soap batter into the mould and cover it with a cling film or a greaseproof paper to avoid the building of soda ash. As an alternative, you can spray the surface with 99% rubbing alcohol which also creates a barrier between the soap surface and the air. Soda ash is just sodium carbonate that forms as a white layer on the soap surface. It’s totally harmless and just a matter of aesthetics. You can even brush it off the surface so spraying with alcohol or covering is purely optional.
Step 6: Cover the mould
If you have covered the soap batter with cling film or greaseproof paper, you can put a towel over it, as well as around the mould, to insulate the soap. If you don’t use any physical cover, you can place a folded piece of cardboard or a similar item over the top of the mould so that it isn’t touching the soap and put a towel as insulation on it.
This technique helps the soap to initiate a gel phase which is encouraged for soaps with non-sugary liquids as a basis for the lye. Soaps that have undergone a gel phase harden more quickly and have bolder colours. If instead of water, tea or hydrolate you have used milk for example or fruit purees, the sugar that it’s in those additives reacts with the lye and naturally heats the batter. These soaps are not insulated to avoid overheating.
Step 7: Cleaning your work material
Before you clean your work material, rub off the soap batter thoroughly with paper towels to avoid too strong a contamination of your kitchen sink. Discard the paper towels in the dustbin. Remember that for cleaning, as well, you must wear your gloves as the soap batter can be skin irritating.
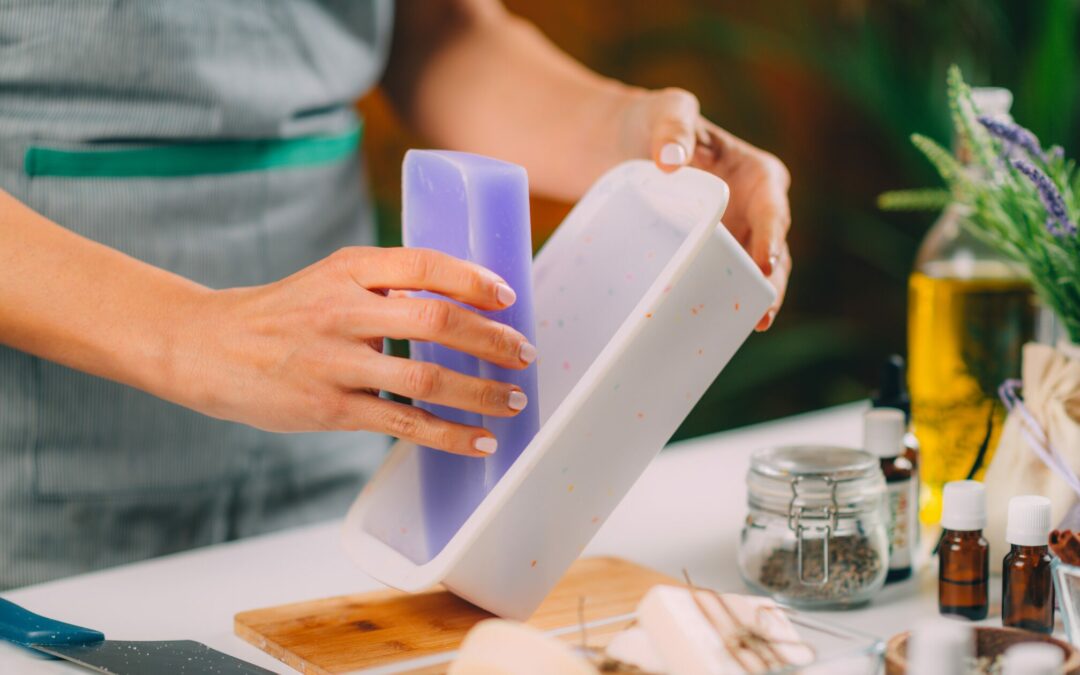
Step 8: Unmold and cut

Leave the soap in the mould for at least 2 days before you attempt to unmould it. Depending on the oils you used, it may take up to five days even, until the soap is hard enough to be unmoulded. The softer the oils (like olive or almond oil), the longer it takes the soap to harden. As a rule of thumb, if there is no visible mark when you press onto the soap surface, the soap is ready to unmould.
To unmould, pull the edges of the mould gently away from the soap, then lay it face down onto your work surface and slowly and gently press it out while gently rolling up the mould edges. If the soap doesn’t release smoothly or starts to crack or tear, leave it in the mould for another 48 hours and have another go.
Once the soap is out of the mould, you can cut it into bars. The bar size depends on the container you used and should be such that it comfortably fits into your hand. You can cut the soap with a sharp knife, serrated or non-serrated. Cut straight through the soap and slide the soap off the blade, otherwise it may break or tear.
Step 9: Curing
The soap bars must be cured in a well-ventilated area for four to six weeks before you can use them. I usually put the bars on greaseproof paper with a distance of about one centimetre. Turn the bars around several times during curing to make sure that they cure evenly. During that time, excess moisture evaporates, the soap becomes milder and the lather will improve. After curing time, you can measure the pH value with an indicator strip. It should be between 7.5 – 9.
Step 10: Storing
Store your cured soap bars in containers that are protected from light and at room temperature (or cooler). I usually use old shoe boxes. Light protection and a cool temperature are especially important for soaps with natural dyes and essential oils. Under the influence of light, the dyes will fade and heat makes the essential oils evaporate.
Now that you know the basic soapmaking technique, you may want to start with a beginner-friendly soap recipe like this one. Have fun!